

Storefront & Small Business Holiday Lighting: Permits, Insurance, and Maintenance Checklists
Table of Contents
- Common permits required for storefront holiday lighting
- Insurance coverage: types small businesses should carry
- Electrical compliance & safety standards
- Installation & seasonal maintenance checklist
- Energy use, load calculation, and cost control
- Hiring contractors and contract terms to minimize risk
- Permitting timeline, typical costs, and practical tips
- Case examples and community feedback
- Frequently asked questions (FAQ)
Common permits required for storefront holiday lighting

Most storefront displays need one or more local permits—building, electrical, right-of-way, or historic-district approval—depending on location and scope. Early permit checks prevent fines and mandatory takedowns.
Before planning lights, confirm municipal and utility requirements. Permits protect public safety (overhead wiring, sidewalk clearance, fire safety) and reduce liability. Typical permit types include:
- Building/temporary electrical permit: For new circuits, timers, or junction boxes mounted to the structure.
- Right-of-way/sidewalk use permit: When lights, ladders, or fixtures project over or into public sidewalks or parking lanes.
- Utility/overhead attachment permit: Required if you attach anything to utility poles or span lighting across public streets—often issued by the local utility or DOT.
- Historic district or façade permit: Many downtown business districts require design review for exterior changes, including lights and fasteners.
Key action: contact the local building department and the municipal permit portal at least 6–8 weeks before installation.
Permit comparison: who issues it, typical cost, and lead time
|
Permit Type |
Issuing Agency |
Typical Cost (USD) |
Average Lead Time |
|---|---|---|---|
|
Building / Electrical |
City/County Building Department |
$50–$400 (varies by scope) |
1–3 weeks |
|
Right-of-Way / Sidewalk Use |
City Public Works / DOT |
$25–$250 |
1–4 weeks |
|
Utility Attachment |
Local Utility / DOT |
$0–$500 (inspection or engineering fees) |
2–6 weeks |
|
Historic Façade Review |
Local Historic Commission |
Often nominal or included in city fees |
2–8 weeks (varies greatly) |
Insurance coverage: types small businesses should carry
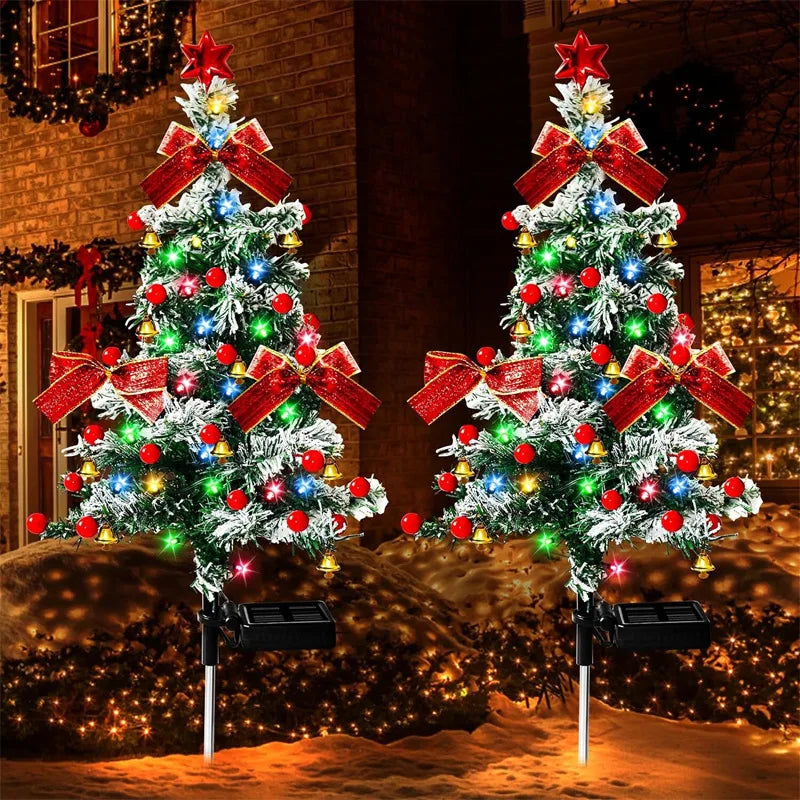
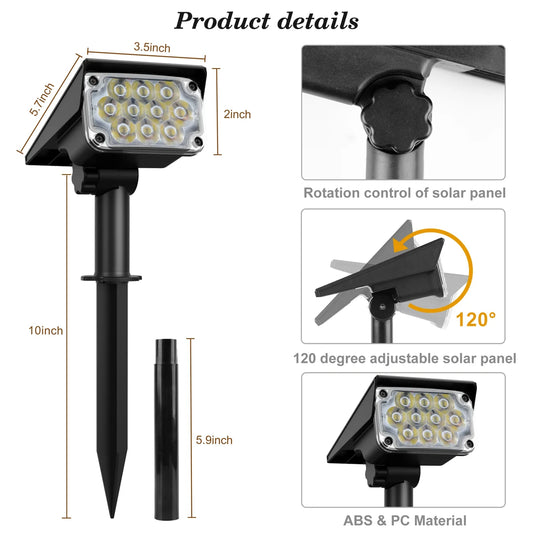
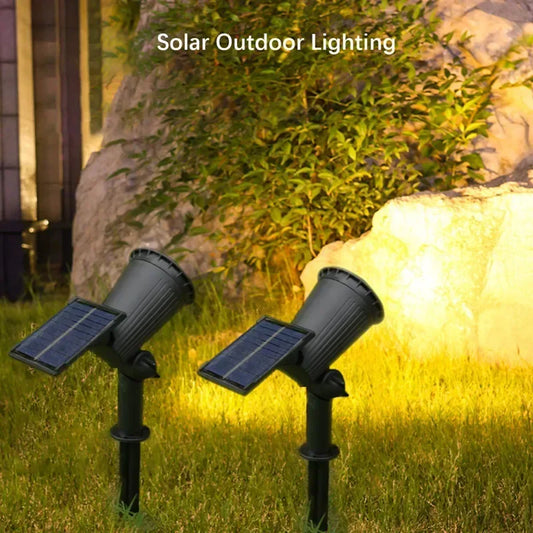
Solar Cedar Christmas Tree lights Outdoor Garden Pathway Lights
Confirm general liability, commercial property, and contractor insurance, plus COIs for hired installers; update policies for seasonal exposure.
Holiday lighting increases public exposure, trip/fall risk, and electrical hazards. At minimum, confirm:
- General liability insurance: Covers third-party bodily injury and property damage arising from displays (recommended minimum often $1M).
- Commercial property insurance: Protects your actual inventory and fixtures if damage occurs to lights or building elements.
- Inland marine / equipment floater: For expensive lighting rigs and rented equipment in transit and on-site.
- Workers' compensation: Required if staff or contractors perform installation and are employees.
When hiring a contractor, obtain a Certificate of Insurance (COI) naming your business as an additional insured. For public right-of-way work, utilities or city permits typically require a COI and proof of workers' comp.
Electrical compliance & safety standards
Follow NEC, NFPA, and OSHA guidance for outdoor wiring, GFCI protection, and load calculations to reduce fire and electrocution risk.
Key standards and references:
- National Electrical Code (NEC) requirements for temporary wiring and outdoor circuits.
- OSHA guidance on ladder safety, fall protection, and electrical hazards: osha.gov.
- Energy-saving and safety guidance on outdoor lighting from the U.S. Department of Energy: energy.gov.
Practical compliance checklist:
- Use GFCI-protected circuits for all outdoor outlets.
- Only use lights and extension cords rated for outdoor use (check UL-rating).
- Anchor fixtures with code-approved fasteners—no staples through cords.
- Keep clearances from fire department access points and emergency exits.
- Limit load per circuit; do a kW calculation before tying into the storefront panel.
Installation & seasonal maintenance checklist
A three-stage checklist (pre-install, in-season, post-season) reduces downtime, repair costs, and safety incidents.
Use this actionable checklist for installations and ongoing maintenance.
Pre-install (2–6 weeks before)
- Confirm permits and upload required site drawings to city portal.
- Perform electrical load calculation; label circuits for the contractor.
- Buy LED-rated commercial-grade fixtures with weatherproof connectors.
- Schedule electrical inspection slots with the municipality if required.
During season (weekly to monthly tasks)
- Weekly visual inspection for loose bulbs, damaged cords, and anchor integrity.
- Monthly electrical check: confirm no tripped breakers, test GFCIs, and verify timers.
- Maintain a log of outages and repairs (date, symptom, corrective action).
Post-season (immediate takedown and storage)
- De-energize circuits and tag any defects found during takedown.
- Remove fixtures carefully to avoid damaging the façade; document fastener locations.
- Clean, test, and store lights in labeled bins; note replacements needed for next season.
Energy use, load calculation, and cost control
Calculate expected wattage, prefer LEDs for lowest kWh and maintenance, and use timers and dimming for cost control.
Before installation, estimate electrical demand and cost. Energy.gov notes that LEDs use up to 75–90% less energy than incandescents for similar brightness, cutting both operating and cooling loads.
|
Lighting Type |
Typical Wattage per Strand |
Estimated Lifespan |
Typical Issues |
|---|---|---|---|
|
LED (commercial-rated) |
5–10 W per 50-ft equivalent |
25,000–50,000 hrs |
Higher upfront cost, low heat |
|
Incandescent / Mini |
40–100 W per 50-ft equivalent |
1,000–5,000 hrs |
Higher energy, more heat, frequent replacement |
|
Cold Cathode/Neon-style |
Varies (often 10–40 W per linear unit) |
8,000–30,000 hrs |
Specialized repair, higher installation cost |
Quick load calculation example: If you plan 20 strands at 10 W each (LED) = 200 W total. On a 120 V circuit, current draw = 200W /120V = 1.67 A; easily within a standard 15A circuit. For incandescent, 20 strands at 60 W each = 1,200 W → 10 A; closer to the circuit limit, leaving less headroom for additional loads.
💡 Smart energy use starts with efficient technology. Lumaz LEDs slash your lighting load and costs without sacrificing brilliant style.
Hiring contractors and contract terms to minimize risk
Use licensed, insured electricians familiar with public right-of-way work; require COIs and clear scope, inspection, and warranty terms in contracts.
Key hiring checklist:
- Verify contractor license and license number with the state licensing board.
- Obtain a COI listing your business as additional insured and naming the city if required.
- Require proof of workers' compensation and general liability limits (commonly $1M per occurrence).
- Specify performance milestones, acceptance criteria, and who pulls permits.
- Include a maintenance clause for in-season response time (e.g., 24–72 hours for outages).
Contract clauses to include:
- Scope of work and drawings attached as exhibits.
- Permit responsibilities and fee allocation.
- Insurance and indemnification language specifying limits and additional insured status.
- Warranty period for workmanship (commonly 1 year) and fixture warranty details.
Permitting timeline, typical costs, and practical tips
Start 6–8 weeks ahead; expect permit review, utility coordination, and possible historic commission review—budget time and 5–10% of project cost for permitting.
Typical timeline for a downtown storefront installation:
- Week 0–1: Preliminary design, scope, and cost estimate.
- Week 1–2: Contact city permitting office and utility for required forms and docs.
- Week 2–4: Submit permit applications, COIs, and site plans (may require contractor sign-off).
- Week 4–6: Permit review, comments, and modification.
- Week 6–8: Permit issuance, inspections scheduled, installation window opens.
Budgeting and tips:
- Allow 5–10% contingency for permit and inspection costs.
- If in a historic district, have a façade photo and proposed mock-up ready—pre-submission consultations speed approval.
- Coordinate with downtown business associations to share lift rentals or extend sidewalk closures, reducing cost.
Case examples and community feedback
Real-world examples show LED retrofits reduce energy cost and maintenance; coordinated permitting avoids late-season failures.
Example 1 — Small bakery, mid-size downtown: By converting to commercial LED rope lights and adding smart timers, the bakery cut holiday lighting electricity by ~70% and reduced weekly maintenance calls from four to one. The owner documented a full payback on fixtures in 18 months.
Example 2 — Retail strip with historic façade: Early submission to the historic review board and using concealed mounting hardware reduced review time and avoided a required redesign, saving two weeks of delay.
🎉 "Switching to LED and filing permits early gave us peace of mind—no surprise takedowns and far fewer maintenance calls during peak season." — Local store owner, Main Street Business Alliance
Metrics to track and measure ROI
- Monthly kWh used by holiday lighting (meter or submeter).
- Number of maintenance incidents and response time.
- Permit and inspection costs vs. avoided fines or rework.
- Customer footfall lift during the campaign (sales data correlated month-over-month).
Frequently asked questions (FAQ)
Do I always need a permit to hang holiday lights on my storefront?
Not always—but many downtown areas require a permit when you alter electrical systems, attach fixtures over public sidewalks, or work within a historic district. Always check your city’s building and public works websites before installing.
What insurance should contractors provide when installing my lights?
Require a Certificate of Insurance showing general liability (commonly $1M per occurrence), workers' compensation, and naming your business (and the city, if required) as additional insured. Confirm policy effective dates cover the entire project.
Are LED lights significantly better for storefronts?
Yes. LEDs use far less energy, produce less heat (reducing fire risk), and last longer, lowering replacement and labor costs. Energy.gov provides detailed comparisons and savings estimates.
How do I handle mid-season damage (storms, vandalism)?
Have a documented emergency response plan with your contractor specifying response times, temporary repairs, and permit notifications for rework. Keep spare parts and an inventory of fixture types on-site or nearby.
Can I use extension cords and tapes to secure lights to the façade?
No. Use code-approved fasteners and weatherproof connectors. Staples or improvised tapes can damage cords and create fire hazards; they may also violate permit conditions and void warranties.
Who is responsible for pull-down and storage after the season?
Define this in the contract. Many businesses include takedown, inventory, inspection, and storage cleaning as part of the contractor’s scope, usually as a separate line item or seasonal package.
References and resources:
- U.S. Department of Energy — Outdoor Lighting and LEDs: energy.gov
- U.S. Small Business Administration — Insurance basics for small businesses: sba.gov
- OSHA — Electrical safety and ladder use: osha.gov
Next steps: create a one-page project brief with scope, desired fixtures, target on-site dates, and a contact at your local building department. Use the checklists above to brief contractors and accelerate permitting. If you want, I can draft a permit application checklist or a sample contractor clause tailored to your city—tell me your city and rough scope and I'll customize it.
Related Articles:
- The Complete Christmas Lights Buying Guide
- Which Christmas Lights Are Best?
- When Is the Best Time to Hang Christmas Lights?
- How to Choose and Use Christmas Light Clips?
- Fairy Lights: Guide to Creating Magical Spaces
- Solar String Lights: Everything You Need to Know
- How to Store Holiday Decorations Quickly and Efficiently














 />
/>
 />
/>
 />
/>
 />
/>
 />
/>