
Under $100: Create a Professional-Looking LED Holiday Display on a Tight Budget
Table of Contents
- Why a professional LED holiday display is possible under
- Plan first: define scope, location, and visual goals
- Essential components and reliable places to buy them
- Design templates: small layouts that read as professional
- Assembly and installation: step-by-step with safety-first tips
- Power, runtime, and operating cost: quick calculations and a comparison table
- Weatherproofing, safety codes, and common limitations
- Upgrades and smart options that scale the display beyond
- Quick checklist before you power up
- FAQs
Why a professional LED holiday display is possible under $100
✨ Achieving a stunning, professional look on a budget is possible with smart, affordable LED technology from Lumaz.
Plan first: define scope, location, and visual goals
Start by choosing a focused area (porch, entryway, a single tree) and a visual goal (warm traditional, modern cool-white, or colorful accents).
- Pick one focal point: front door, a large bush, or a porch railing—covering everything spreads the budget too thin.
- Decide style: single-color warm white looks professional and uses fewer components than animated RGB setups.
- Measure run-lengths: measure gutters, railing length, or tree circumference so you buy the right footage.
Planning saves money: a focused layout with high-quality placement will look more professional than many cheap, scattered lights.
Essential components and reliable places to buy them
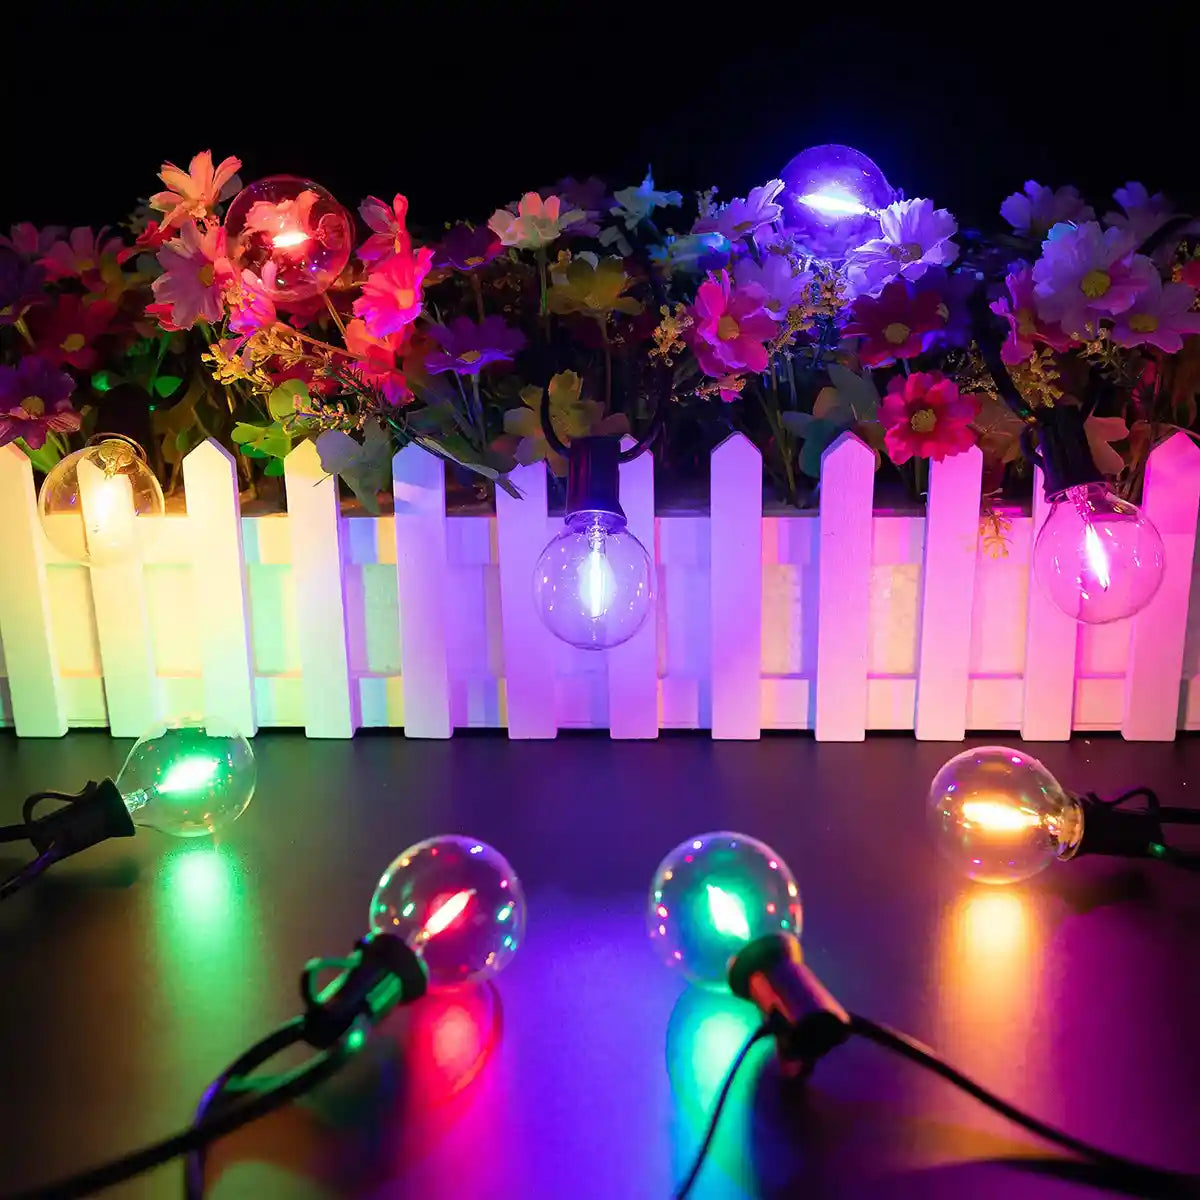
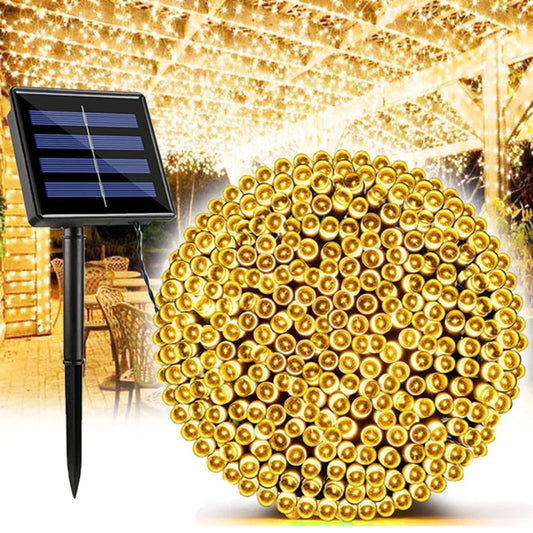
Multicolor G40 Outdoor String Lights, 110V Led String Light Waterproof Connectable
This list gives the minimum parts for a tidy, low-cost LED holiday display and where to find them affordably.
- LED string lights (outdoor-rated, warm white or RGB) — 1–3 strings depending on area.
- Outdoor-rated smart plug or mechanical timer (for automated on/off).
- Mounting hardware: plastic roof clips, zip ties, garden stakes, or adhesive hooks.
- Weatherproof extension cord or outdoor-rated power strip with GFCI protection.
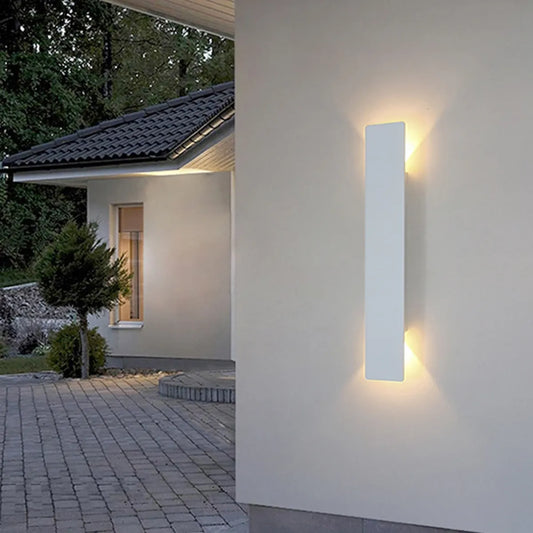
- Optional: small LED spotlights for accenting trees or house features.
Where to buy:
- Big-box stores (seasonal markdowns) — good for last-minute deals.
- Online marketplaces (compare seller ratings and UL/outdoor listings).
- Discount retailers and local dollar stores (for clips, ties, and inexpensive decor).
Example budget mix (realistic, US pricing):
- 2× 50 ft LED warm-white mini strings — $12 each = $24
- 1× outdoor smart plug/timer — $15
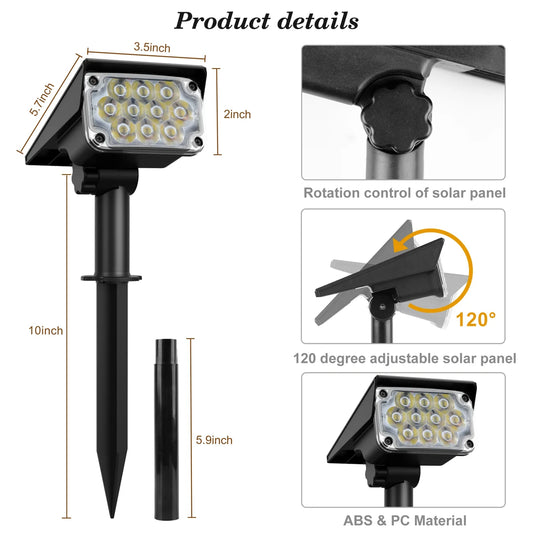
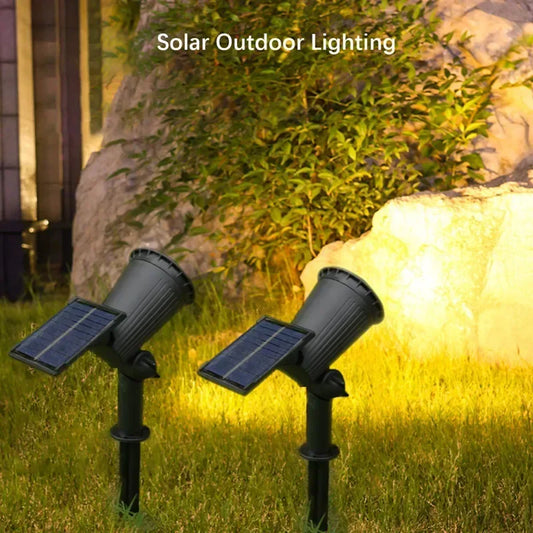
- 1× set of LED stake spotlights (2-pack) — $20
- Mounting clips & zip ties — $6
- Outdoor extension cord — $10
Total example cost ≈ $75 — room to add extra string(s) or higher-quality fixtures while staying under $100.
Design templates: small layouts that read as professional
Use simple, repeatable design patterns that emphasize symmetry and layers for a high-end look.
- Porch Perimeter: run one string along the roofline/gutter and a second around the porch railing for layered light.
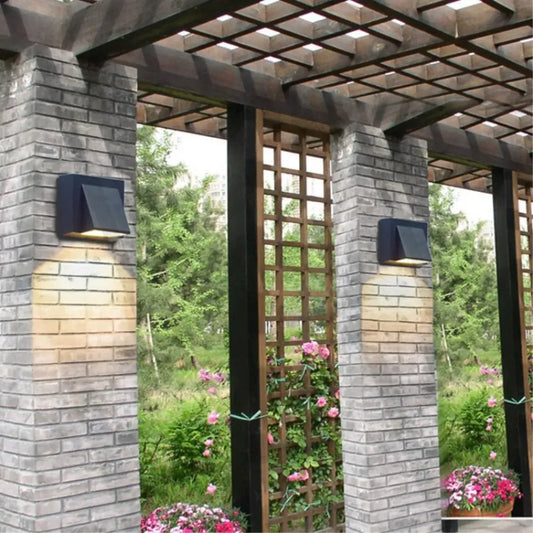
- Tree Accent: wrap trunk tightly and place two stake spotlights to wash canopy—keeps the effect concentrated and striking.
- Pathway Guiding: stake mini-strings or stake lights along the walkway to create guided light lines.
Quick execution steps (3-step template):
- Map and mark where lights will run; test layout on the ground before installation.
- Install clips every 12–18 inches (or per manufacturer) for a neat line.
- Balance intensity: use spotlights sparingly to highlight features—avoid light clutter.
Assembly and installation: step-by-step with safety-first tips

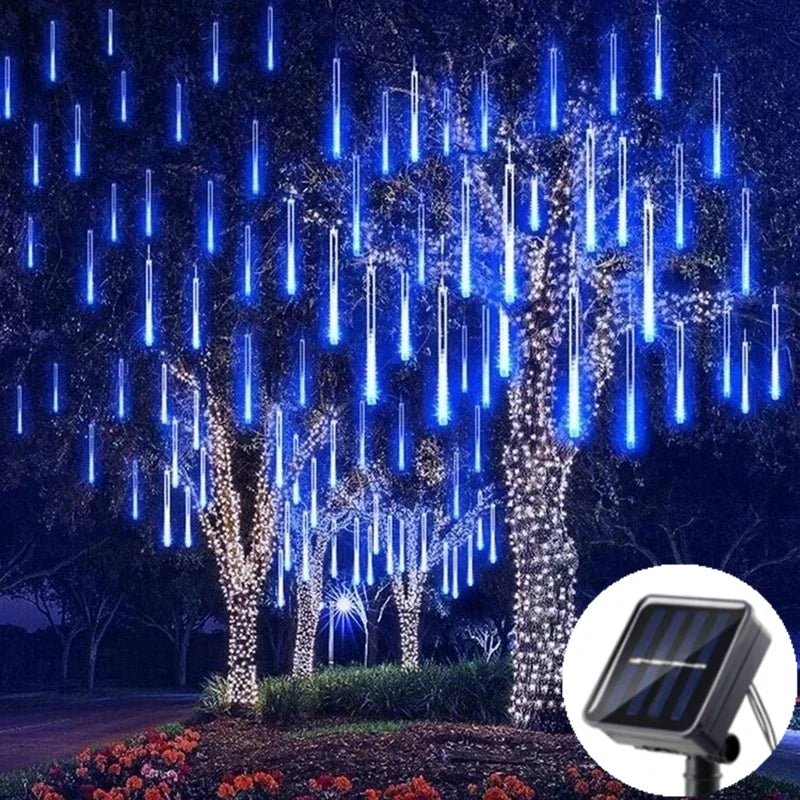
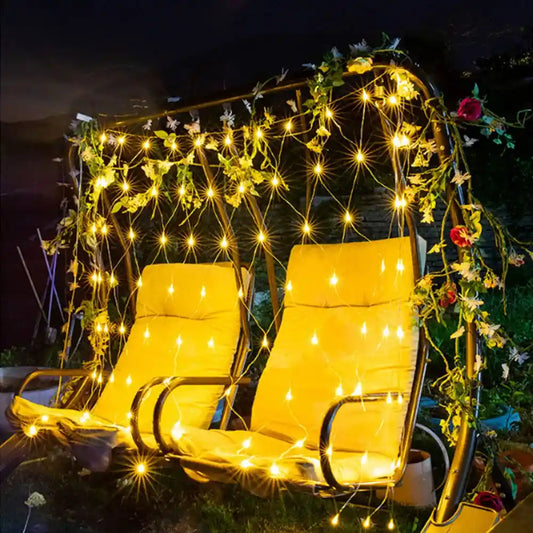
LED Solar String Light Outdoor Fairy String Lights Waterproof
A systematic install reduces mistakes. Follow these steps and prioritize outdoor ratings and circuit protection.
- Unbox and test all lights while indoors. Check for dead LEDs or shorted strands.
- Confirm outdoor-rating (look for “Outdoor” and UL or ETL markings) and manufacturer’s max run instructions.
- Install mounting clips along the planned run; secure strings to the clips, leaving slack at corners.
- Plug into a GFCI-protected outdoor outlet or use a GFCI outdoor extension cord.
- Set timer or smart-plug schedule to automate on/off times and avoid leaving lights on during daylight.
Key safety reminders:
- Never overload a single outlet—check the wattage on packaging and sum the load.
- Keep connectors and plugs elevated and away from pooled water.
- Turn off power before adjusting or repairing lights outdoors.
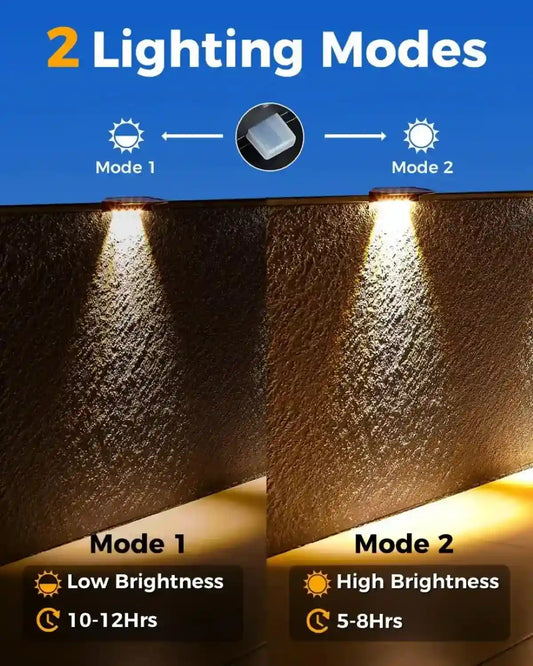
Power, runtime, and operating cost: quick calculations and a comparison table
LEDs are energy-efficient; estimate runtime costs by checking wattage, hours used, and local electricity rates.
Use this simple formula: (Total watts ÷ 1000) × hours × local $/kWh = cost.
| Light type | Typical purchase cost | Approx. power (W) | Good use | Estimated cost for 100 hours* (@ $0.16/kWh) |
|---|---|---|---|---|
| LED mini string (50 ft) | $8–$15 | 6 W | Roofline, railings | $0.10 |
| LED C9/C7 replacement string (25–50 ft) | $10–$20 | 12–20 W | Bold outlines & color accents | $0.19–$0.32 |
| LED strip (5 m) | $10–$25 | 10–20 W | Under-rail lighting, soffits | $0.16–$0.32 |
| LED stake spotlight (2-pack) | $15–$30 | 6–12 W (each) | Accent trees, façades | $0.10–$0.19 (per light) |
*Estimates use a $0.16/kWh average U.S. residential price; your bill may vary—check local rates at the U.S. Energy Information Administration (EIA). For LED efficiency guidance, see the U.S. Department of Energy’s LED lighting page.
Sources: U.S. Energy Information Administration (electricity price guidance) and U.S. Department of Energy (LED efficiency) — see EIA and energy.gov LED Lighting.
Weatherproofing, safety codes, and common limitations
Outdoor-rated equipment and basic electrical safety reduce fire risk and extend display life; follow product labels and local codes.
- Use only lights and cords labeled for outdoor use. Indoor-only products should never be used outdoors.
- Avoid running cords through doorways or windows where they can be pinched—this can damage insulation.
- For permanent or semi-permanent displays, check local electrical codes or HOA rules; some locations require permits for permanent fixtures.
Regulatory resources and safety tips:
- Consumer Product Safety Commission: holiday lighting safety guidelines (bulb ratings, connector care) — https://www.cpsc.gov/
- Manufacturer instructions and UL/ETL listings: follow recommended maximum strand lengths and connectors.
Limitations to accept on a $100 budget:
- You’ll be limited in coverage area—focus on high-impact zones rather than whole-house coverage.
- High-end pixel-addressable displays (animated RGB) generally exceed $100; consider these upgrades later.
Upgrades and smart options that scale the display beyond $100
When you have more budget, prioritize low-cost upgrades that multiply impact: a single controller, smarter staging, or better optics.
- Smart plug + app control: adds convenience for scheduling and remote control (~$15–$30).
- Small DMX/WS2811 controller for pixel effects (for advanced users) — invest once to enable animated scenes.
- Higher-CRI spotlights or flood lamps to better reproduce color on façades and foliage.
Scaling strategy:
- Year 1 (under $100): Focus on focal points and clean lines.
- Year 2 ($100–$250): Add spotlights, better controllers, or an extra string for symmetry.
- Year 3 (>$250): Move to addressable LEDs or full perimeter lighting if desired.
🌟 “I built a porch-and-tree setup for about $85. Neighbors asked if we hired a designer—small details make it look expensive.” — community homeowner
Quick checklist before you power up
Use this pre-launch checklist to avoid common mistakes and boost display longevity.
- Test all lights indoors and note any dead LEDs.
- Confirm outdoor ratings and GFCI protection on outlets.
- Secure all clips and cords; trim excess length to prevent tripping hazards.
- Set timers or schedules and check after the first night to confirm visual balance.
FAQs
Can I safely combine multiple LED strings on one outdoor outlet?
Yes if the combined wattage stays below the outlet/circuit capacity and all strings are rated for outdoor use. Check the wattage printed on each strand and sum them. When in doubt, split onto two circuits or use a higher-rated outdoor power source with GFCI protection.
Which color temperature looks most “professional” for a holiday display?
Warm white (~2700–3000 K) often looks most professional and welcoming for holiday displays. Cool white (4000 K+) reads as modern but can feel harsher. Consistent color temperature across fixtures is more important than the exact Kelvin value.
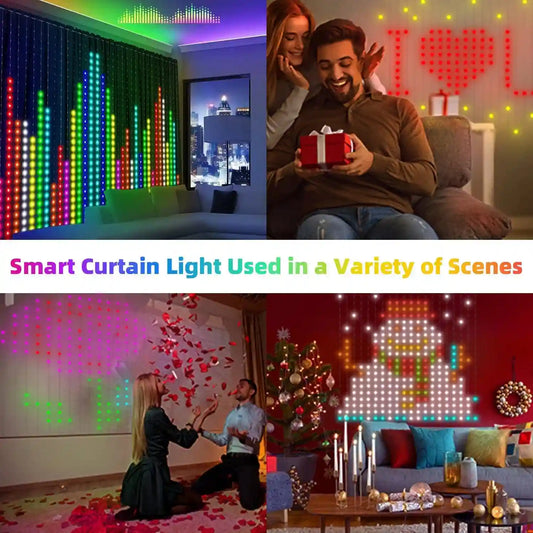
Are RGB or animated lights worth it on a budget?
Animated RGB lights create a big “wow” but usually cost more and require controllers. If you want motion on a tight budget, consider a single RGB spotlight or one addressable strip to accent a focal point instead of full-house animation.
How do I prevent theft or vandalism of inexpensive lights?
Use tamper-resistant clips, place fragile or valuable elements closer to the house (less accessible), and consider motion-sensor floodlighting or a camera for higher-risk areas. Anchoring with zip ties and outdoor staples reduces easy removal.
Can I leave LEDs on overnight every night?
Yes—LEDs use low power and can run long hours. Still, scheduling them to turn off during daylight or late-night hours reduces wear and energy cost. Use timers or smart plugs for automated control.
Related Articles:
- 8 Modern Outdoor Lighting Ideas for Your Home
- Creative Uses for Solar Rope Lights in Garden & Patio
- Choosing the Best Battery-Operated Christmas Lights
- The Complete Christmas Lights Buying Guide
- Which Christmas Lights Are Best?
- When Is the Best Time to Hang Christmas Lights?
- How to Choose and Use Christmas Light Clips?
- Fairy Lights: Guide to Creating Magical Spaces
- Solar String Lights: Everything You Need to Know
- How to Store Holiday Decorations Quickly and Efficiently


 />
/>
 />
/>
 />
/>
 />
/>
 />
/>