
Turn Holiday LEDs into Permanent Landscape Lighting: A Step‑by‑Step Retrofit Guide
Table of Contents
- Why convert holiday LEDs into permanent landscape lighting?
- Assessing your holiday LED strings for suitability
- Electrical basics: voltage, transformers, and safety requirements
- Materials, connectors, and tools you’ll need
- Step-by-step retrofit process: from inspection to commissioning
- Weatherproofing, mounting, and aesthetics for permanent use
- Troubleshooting: flicker, dimming, and reliability issues
- Cost, energy, and performance comparison
- Maintenance, performance metrics, and long-term safety
- When not to retrofit: limitations, code, and when to hire a pro
- Frequently Asked Questions (FAQ)
Why convert holiday LEDs into permanent landscape lighting?
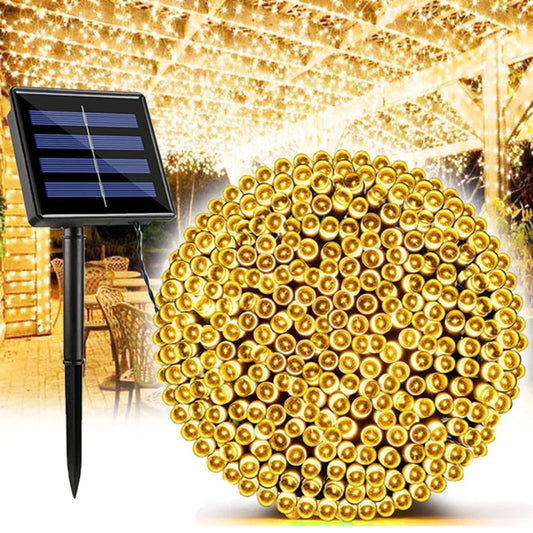
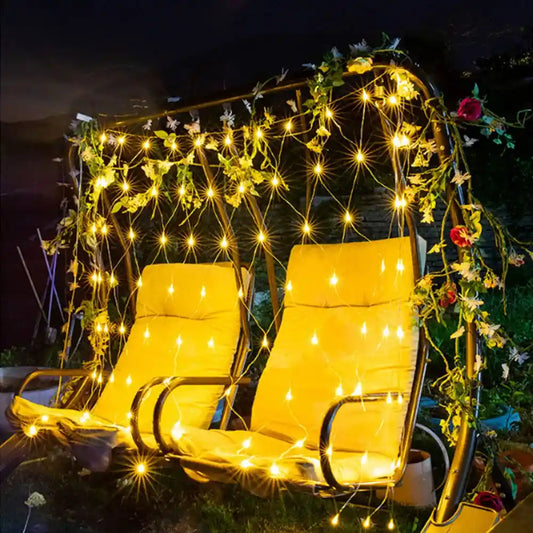
Converting holiday LED strings into permanent landscape lighting saves money and reduces waste while delivering flexible, low-energy illumination for pathways and beds. It’s a cost-effective retrofit when strings meet electrical and durability requirements.
Benefits at a glance:
- Lower upfront cost than new fixtures if existing LEDs are suitable.
- Reduced energy use compared with incandescent holiday bulbs; many LEDs are efficient.
- Environmental benefit by repurposing lights and avoiding seasonal disposal.
Before you start, note: not all holiday LED strings are designed for continuous outdoor use. This guide shows how to evaluate suitability, retrofit safely, and meet performance and code expectations.
Assessing your holiday LED strings for suitability
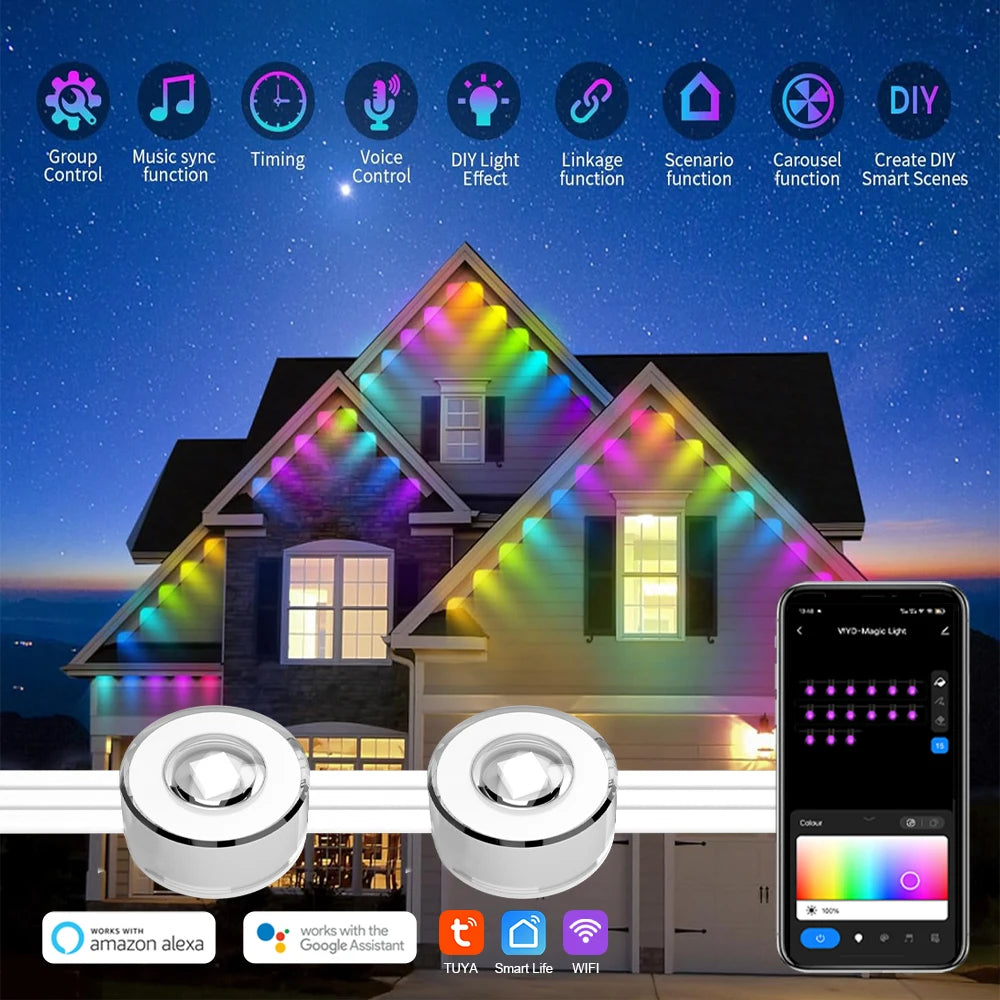
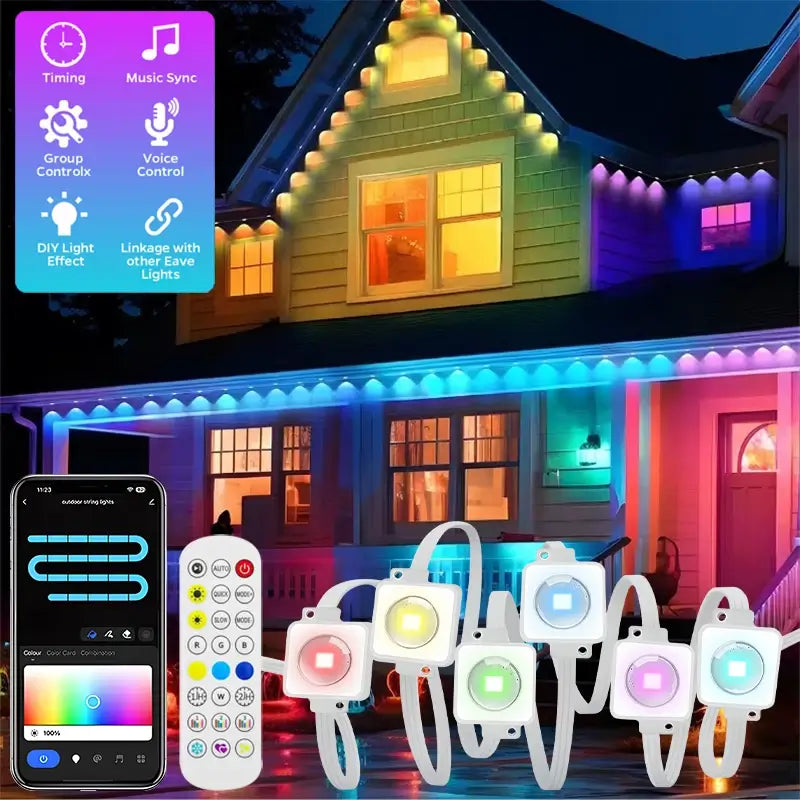
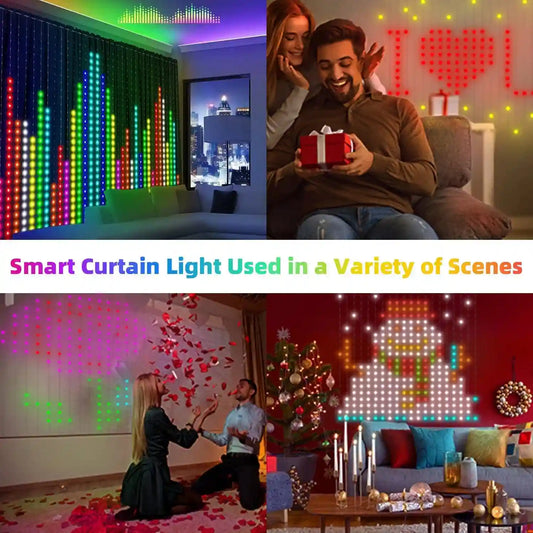
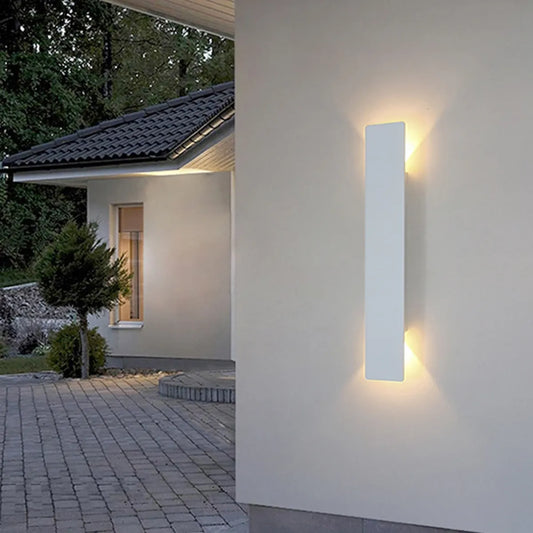
10/20/30M Smart WIFI RGBIC Eaves Lights Permanent Outdoor Strings Lights
Quick checklist to decide if your holiday LEDs are retrofit-ready: verify voltage, wiring method, IP/weather rating, and built-in driver type.
What to inspect:
- Voltage and driver: Are the strings mains (120V) or low-voltage (12V/24V)? Low-voltage strings are usually easier to integrate with landscape transformers.
- Parallel vs. series wiring: Parallel strings retain lighting if single LEDs fail; series strings may be less reliable for continuous use.
- Weatherproofing: Look for IP65+ or manufacturer statements for continuous outdoor use; holiday sets often lack adequate sealing.
- Wire gauge and insulation: Thin conductors and cheap PVC jacketing degrade faster outdoors—thicker, UV-resistant cable is preferable.
- Mounting style and lenses: Are lenses removable/tough enough for focused landscaping tasks?
If several of these items fail, consider dedicated landscape fixtures instead (see “When not to retrofit” below).
Electrical basics: voltage, transformers, and safety requirements
Understand the electrical foundation—low-voltage systems, transformers, grounding, and outdoor-protection rules are essential for a safe retrofit.
Key rules and safety notes:
- Most landscape lighting runs on 12V AC or DC via a UL-listed transformer. Match the LED string’s voltage to the transformer output.
- Outdoor outlets and transformers must follow electrical code: use GFCI protection and weatherproof enclosures. The U.S. Consumer Product Safety Commission recommends careful outdoor equipment use—see CPSC holiday safety guidelines.
- Wire gauge must prevent excessive voltage drop. Longer runs need thicker cable; otherwise lights may dim or flicker.
- When in doubt about local code (permits, burial depth, bonding), consult a licensed electrician or local building authority.
For overarching LED performance and efficiency guidance, the Department of Energy and NREL provide reliable resources on solid-state lighting: energy.gov/LED lighting and NREL solid-state lighting.
Materials, connectors, and tools you’ll need
Collect durable components and the right tools to convert holiday strings into dependable landscape lighting.
Essential materials:
- UL-listed outdoor transformer (match voltage and amp/VA capacity).
- Landscape-rated low-voltage cable (12–16 AWG copper, UV-resistant jacket).
- Weatherproof junction boxes and silicone or gel-filled wire connectors.
- Mounting stakes, path-light housings, or recessed rings depending on desired effect.
- Inline resistor or constant current driver when necessary (for certain LEDs).
Useful tools:
- Wire stripper/crimper, heat-shrink tubing, multimeter (voltage/current), and basic hand tools.
- Cable staples/fasteners rated for outdoor use, silicone sealant, and a labeling system.
Step-by-step retrofit process: from inspection to commissioning
This actionable sequence converts suitable holiday LED strings into permanent landscape lighting with emphasis on safety and longevity.
- Test each string indoors: Verify all LEDs light and measure the string’s operational voltage and current with a multimeter.
- Calculate load and transformer size: Add up wattage (or estimate using current × voltage) for all strings; choose a transformer with at least 20% reserve VA capacity.
- Plan cable runs: Map routes to minimize run length and avoid sharp bends. Use thicker gauge for runs over 25–50 feet (see wire gauge table below).
- Create watertight splice points: Cut the original plugs off if needed, and splice to landscape cable using gel-filled connectors and heat-shrink. Place splices inside weatherproof junction boxes when possible.
- Mount or house LEDs: Fit strings into proper housings or stakes to protect LEDs and control beam angles. Don’t rely on original holiday clips for permanent mounting.
- Install transformer with GFCI/timer: Mount transformer in a sheltered, ventilated area; engage a timer or photocell for automatic control.
- Verify voltage at the far end: Power the system and measure voltage and light output at the last fixture to detect voltage drop.
- Seal and landscape: Bury cable to proper depth, seal junction boxes, and ensure no trip hazards or exposed wiring.
- Label and document: Note circuit capacity, install date, and component specs for future maintenance.
💬 "We reused last year's LED set and saved $400 on our front yard lighting—after upgrading cables and using a proper transformer, the results were solid and surprisingly bright." — Neighborhood DIYer
Weatherproofing, mounting, and aesthetics for permanent use
Permanent outdoor lighting demands better sealing, robust mounting, and design choices that complement landscape features and resist the elements.
Weatherproofing and mounting tips:
- Use IP65+ rated housings for LED clusters; silicone every exposed splice and junction.
- Choose ground stakes with integrated strain relief; avoid fastening that pinches cable insulation.
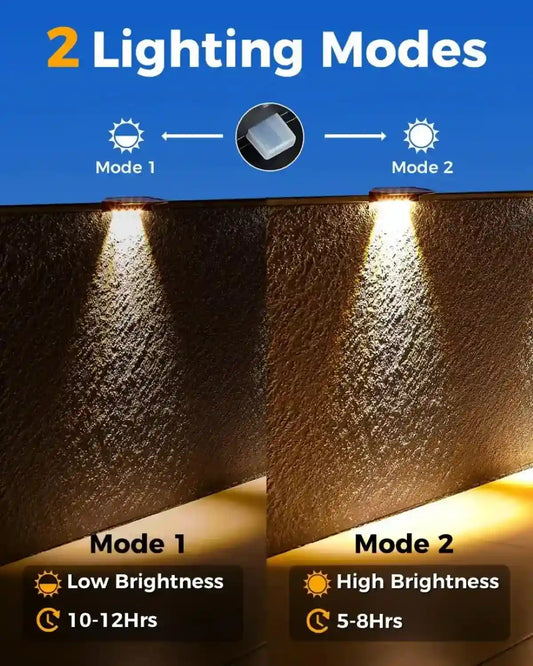
- Opt for warm color temperature (2700–3000K) for gardens and pathways to reduce glare and preserve night vision.
- Diffuse or shield lights to avoid light trespass; add louvers or shields where neighbors are nearby.
Design checklist (short):
- Establish focal points (trees, paths, entries).
- Use layering: path, accent, and ambient lights.
- Balance brightness: aim for 5–15 foot-candles on high-traffic areas and 1–3 foot-candles in planting beds.
Troubleshooting: flicker, dimming, and reliability issues
Identify likely causes and fixes for common retrofit problems like flicker, early failures, and voltage drop.
Common problems and solutions:
- Flicker: Often caused by incompatible drivers or a transformer that’s not constant-voltage; replace with a compatible driver or use a DC-capable transformer.
- Dimming toward the end of the run: Caused by voltage drop—use thicker cable, reduce run length, or add a local feed.
- Early LED failure: Usually poor heat dissipation or moisture ingress; improve housings, seal splices, and add ventilation where appropriate.
- Overloaded transformer: If lights are dim or the transformer trips, verify cumulative wattage and switch to higher VA unit.
Cost, energy, and performance comparison
Compare typical holiday LED strings, converted systems, and purpose-built landscape fixtures on cost, durability, and light quality.
| Metric | Holiday LED String (stock) | Retrofit Converted Setup | Purpose-Built Landscape Fixture |
|---|---|---|---|
| Typical initial cost per point | $0.50–$2 per LED | $1–$5 per LED (with connectors & housings) | $10–$60 per fixture |
| Typical lifespan (hours) | 5,000–20,000 (variable) | 10,000–25,000 (with proper cooling) | 25,000–50,000 (good heat sinking) |
| Color temp options | 2700–6000K (limited CRI) | 2700–4000K (best to choose warmer) | 2700–4000K (higher CRI often available) |
| Outdoor rating | Often not rated for permanent use | Depends on housing and sealing | Designed/IP-rated for permanent outdoor use |
| Energy per lumen | Moderate (varies widely) | Improved with proper drivers | Optimized and highest efficiency |
Use this table to weigh short-term savings against long-term reliability. For deep-dive LED performance and lifetime expectations, see the Department of Energy’s guidance: energy.gov/led-lighting.
💡 Why choose Lumaz? Our advanced LED technology delivers superior energy efficiency and lasting performance, making smart lighting an affordable reality. Lumaz
Maintenance, performance metrics, and long-term safety
Regular checks and simple metrics help ensure your retrofit remains safe, efficient, and effective over years of use.
Recommended maintenance routine:
- Annually: Inspect cable jackets, junction boxes, and seals for cracks or moisture. Check GFCI operation.
- Every 2–3 years: Measure voltage at the farthest point and compare to initial commissioning to detect degradation.
- Replace weak connectors and upgrade housings if corrosion or moisture is present.
Useful performance metrics to track:
- Lumens delivered at the target area (subjective but can be measured with a light meter).
- Voltage at the last lamp (should be within 10% of nominal).
- Transformer load percentage—aim to stay below 80% of rated VA.
When not to retrofit: limitations, code, and when to hire a pro
Some situations call for purpose-built fixtures or licensed professionals rather than DIY retrofits: extensive wiring, code constraints, or low reliability of your strings.
Red flags that mean “don’t retrofit”:
- Strings lack any outdoor rating or show signs of water ingress.
- They use proprietary, non-serviceable drivers or are mains-voltage strings you’re not comfortable rewiring.
- Local code requires hardwired fixtures, permits, or utility-level modifications.
- Large installations where voltage drop and load balancing require professional design.
If you encounter these, hire a licensed landscape electrician. They can design proper circuits, ensure NEC compliance, and reduce liability risk.
Frequently Asked Questions (FAQ)
Answers to common follow-up questions people ask when considering this retrofit.
1. Can I use indoor-rated holiday LEDs outside permanently?
No—indoor-rated lights lack UV-resistant jacketing and sealed connectors, so they will degrade quickly and can allow moisture into electronics, creating fire and shock risks.
2. How do I calculate transformer size for converted strings?
Sum the wattage of all strings (or multiply measured current × voltage). Add a 20–25% safety margin. For unknown wattage, measure current with a clamp meter or consult an electrician.
3. Are smart timers and Wi‑Fi controllers compatible with retrofitted LED strings?
Often yes, if the controller and transformer are compatible with the strings’ driver type. Use controllers rated for the transformer's load and avoid PWM dimmers that can cause flicker with certain LEDs.
4. Will converting holiday LEDs save energy compared to new fixtures?
Sometimes. Many holiday LEDs are efficient, but purpose-built fixtures typically offer better optics, heat management, and efficiency per lumen. Consider lifecycle cost, not just initial energy use.
5. What wire gauge should I use for a 12V landscape run of 50 feet?
For a typical 20–60W run at 12V, 12 AWG is often recommended for 50 feet to limit voltage drop; heavier loads or longer runs should use 10 AWG. Use a voltage-drop calculator for precision and follow local code.
6. Do I need permits to install retrofitted landscape lighting?
Permit requirements vary. Small low-voltage, plug-in systems often don't require permits, but hardwired installations or significant trenching might. Check with your local building department.
Converting holiday LEDs into permanent landscape lighting can be a smart, sustainable choice when done correctly. Prioritize safety, use proper transformers and weatherproofing, and don’t hesitate to consult professionals for large or code-sensitive projects. For safety guidance on holiday and outdoor electrical use, see the U.S. Consumer Product Safety Commission: CPSC Holiday Safety.
Related Articles:
- The Complete Christmas Lights Buying Guide
- Which Christmas Lights Are Best?
- When Is the Best Time to Hang Christmas Lights?
- How to Choose and Use Christmas Light Clips?
- Fairy Lights: Guide to Creating Magical Spaces
- Solar String Lights: Everything You Need to Know
- How to Store Holiday Decorations Quickly and Efficiently


 />
/>
 />
/>
 />
/>
 />
/>
 />
/>