Under Cabinet Lighting Without an Outlet: Rechargeable, Plug-In or Hardwired?
No Outlet Under the Cabinets? Start With the Power Route
A missing under-cabinet outlet does not automatically mean you need battery lights. You have three practical routes: use rechargeable lights with no cord, plug a low-voltage system into a nearby outlet and conceal the cable, or add permanent power for a cleaner whole-kitchen installation.
Choose rechargeable lights when
- You need to light one or two separate zones without opening walls or cabinets.
- The lights will be used for short task sessions, pantry visits, or evening access.
- Removable installation matters more than synchronized, all-day operation.
Look for continuous power when
- You want several cabinet sections to turn on together and stay bright for long sessions.
- You do not want to remove fixtures or manage a charging routine.
- The kitchen is being remodeled or an electrician can add a concealed power point.
The key distinction: “no outlet under the cabinet” may still leave a usable outlet above a microwave, inside a neighboring cabinet, or on the backsplash. “No reachable outlet anywhere” usually narrows the choice to rechargeable lighting or new electrical work.
Compare the Three Routes Before Choosing a Light
| Power route | Best fit | What stays visible | Ongoing work | Main trade-off |
|---|---|---|---|---|
| Rechargeable lights | One or two dark zones, finished cabinets, rentals, or short sessions | No cord; only the fixture and its mount | Remove or reach each light for charging | Easy installation in exchange for battery upkeep |
| Nearby outlet with a concealed cord | A reachable outlet exists and a cable can pass through or behind cabinets | Ideally only a short cable entry point; the adapter still needs an accessible home | No charging; keep the adapter and connections accessible | Continuous power without wall wiring, but cable routing determines how finished it looks |
| New outlet or hardwired feed | Whole-kitchen task lighting, long daily use, remodeling, or unified control | Potentially no visible cord when planned well | Little routine power maintenance after installation | Best permanent result, with the most installation work and highest upfront commitment |
Fast decision: choose rechargeable lighting when avoiding modification is the non-negotiable constraint. Choose concealed plug-in lighting when a nearby outlet and a clean cable route already exist. Plan new power when the lights will function as permanent kitchen task lighting rather than an occasional local upgrade.
First Confirm What “No Outlet” Means in Your Kitchen
- Check above the microwave and inside adjacent cabinets. A hidden outlet may already serve an appliance and may reveal a practical route for a plug-in lighting kit. Do not overload or alter an existing circuit; this step is only about locating possible power.
- Trace a cable route before shopping. Look for a path along the cabinet back, behind a face frame, through adjoining cabinet sides, or into an upper cabinet where the adapter can remain ventilated and reachable.
- Mark the breaks in the cabinet run. A hood, window, sink gap, corner, or tall cabinet may turn one lighting idea into several independent sections.
- Decide whether small holes or clips are acceptable. A concealed plug-in route may avoid opening a wall but still require clips or carefully placed pass-through holes.
- Define the use pattern. Ten-minute coffee and cleanup sessions place a different burden on a battery than several hours of evening task lighting across the whole room.
Route 1: Rechargeable Lights for a Truly Cord-Free Installation
Rechargeable fixtures are the simplest answer when there is no reachable outlet, no acceptable cable path, or no permission to modify the cabinets. They work best when the illuminated area is limited and the charging routine can be designed before mounting.

- Available in 10cm to 50cm lengths with black or silver finishes.
- Offers 3000K, 4000K, and 6000K light, plus stepless dimming.
- Always-on, night-motion, and all-day-motion modes support different kitchen routines.
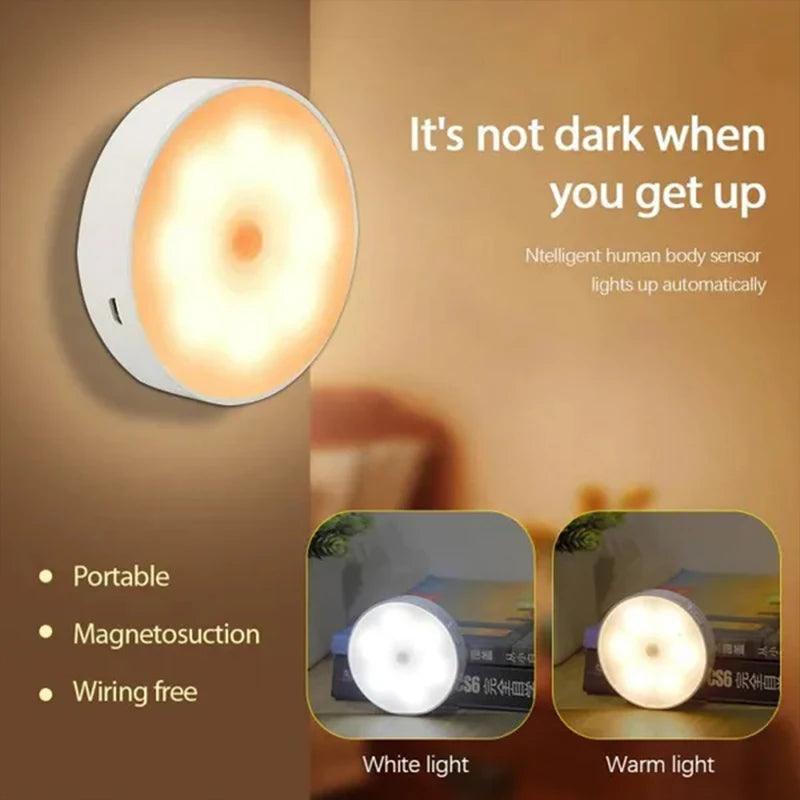
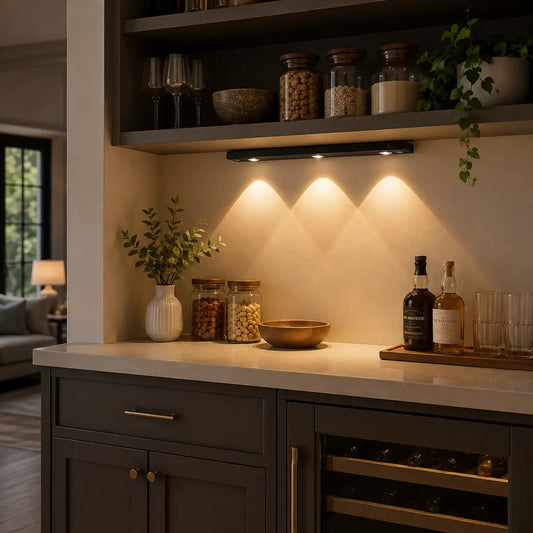
- Compact 8.3cm format for a short shelf, cabinet interior, or isolated dark corner.
- PIR sensing covers a published 120-degree field and switches off after 25 seconds.
- Magnetic removal and USB charging suit brief, automatic use better than long task sessions.
Make the charging routine part of the installation
- Keep every charging port reachable or make sure the light can slide off its magnetic mount after appliances return to the counter.
- Use always-on mode for intentional food preparation and motion mode for brief access. Do not assume one sensor mode fits both jobs.
- Create one charging location for the household instead of scattering cables across the kitchen.
- Observe the real recharge interval during the first week. Brightness, session length, sensor activity, and battery capacity all affect it, so a universal runtime promise would be misleading.
Boundary with the rechargeable buying guide: this page helps you decide whether rechargeable power is the right route at all. If you have already chosen that route, compare more bar and puck options in Best Rechargeable Under Cabinet Lighting.
Route 2: Use a Nearby Outlet and Hide the Low-Voltage Cable
A plug-in kit can give you continuous power without adding a new outlet directly below every cabinet. This route is practical when a backsplash, appliance, or inside-cabinet outlet is reachable and the low-voltage cable can travel out of normal sight.
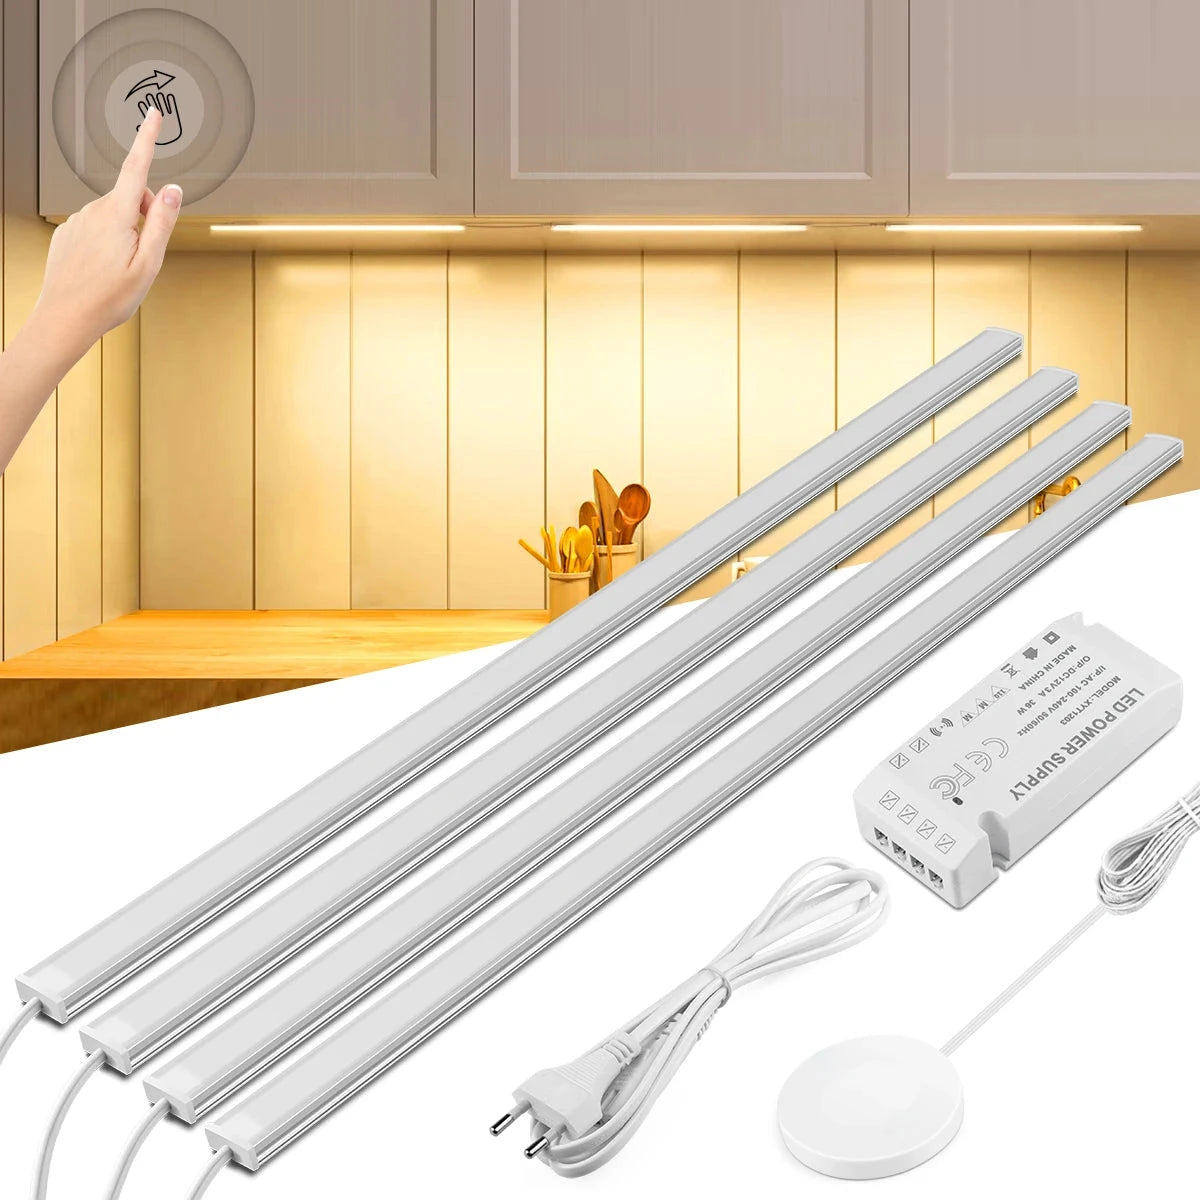
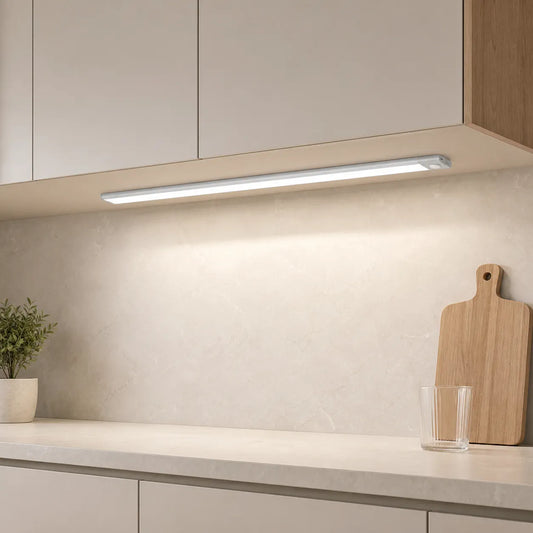
- US-plug kit options include 30cm, 40cm, and 50cm bars.
- The 7mm profile helps keep the fixture behind a cabinet lip.
- Hand-sweep and stepless touch dimming provide local control without daily charging.
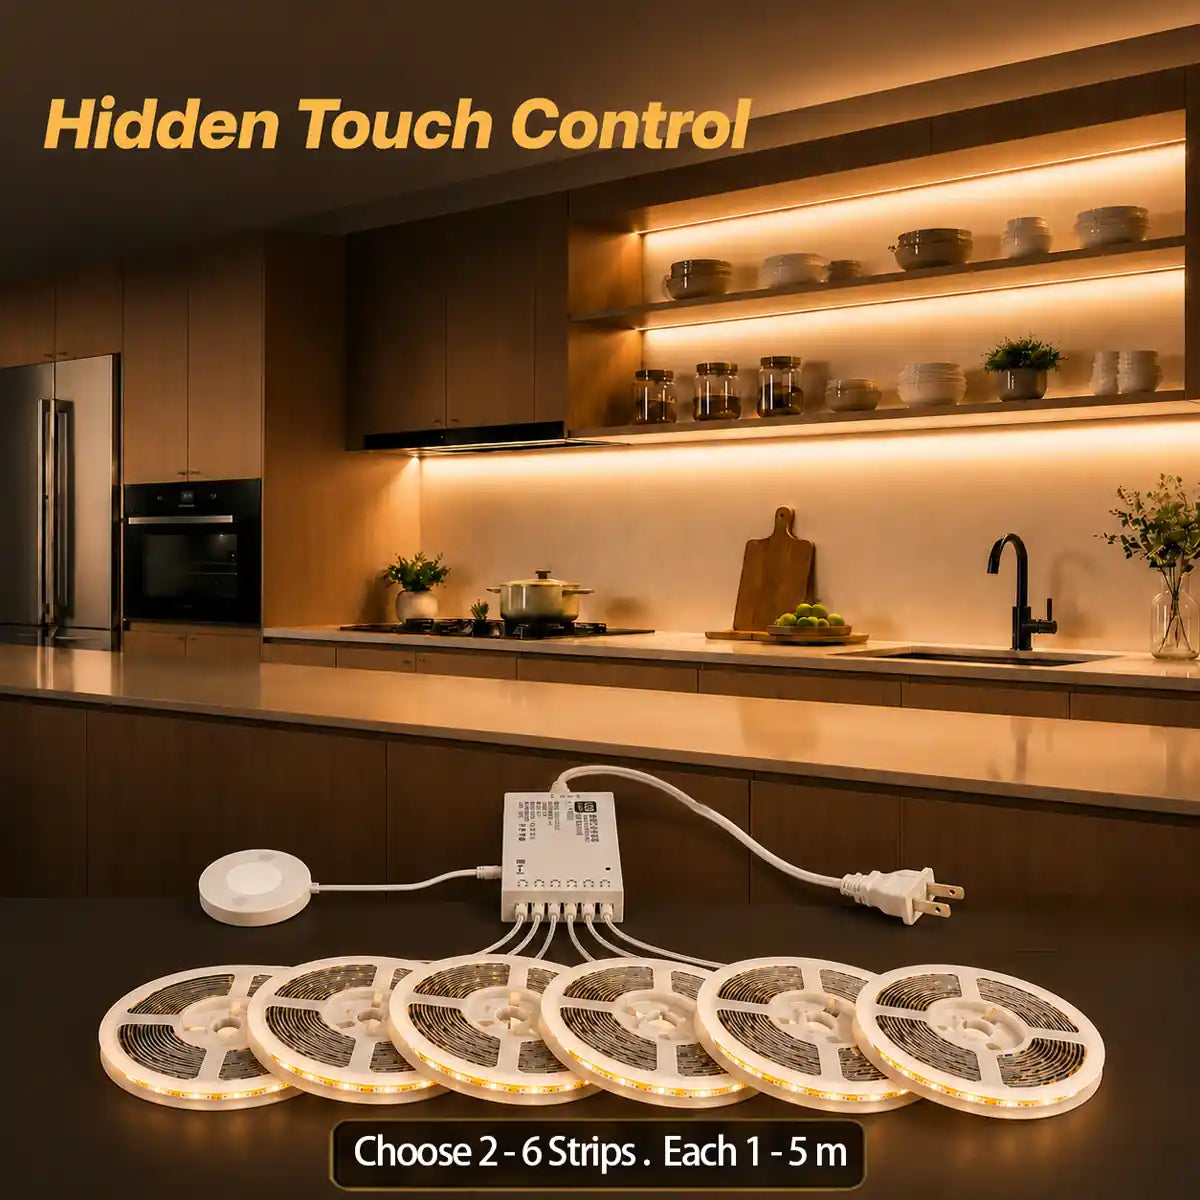
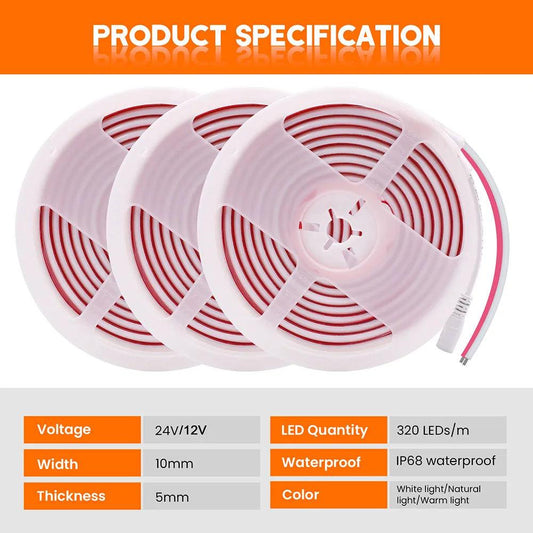
- Complete plug-in kit with COB strip, touch sensor dimmer, and power adapter.
- Available in 1m to 5m lengths and cuttable every 2.5cm.
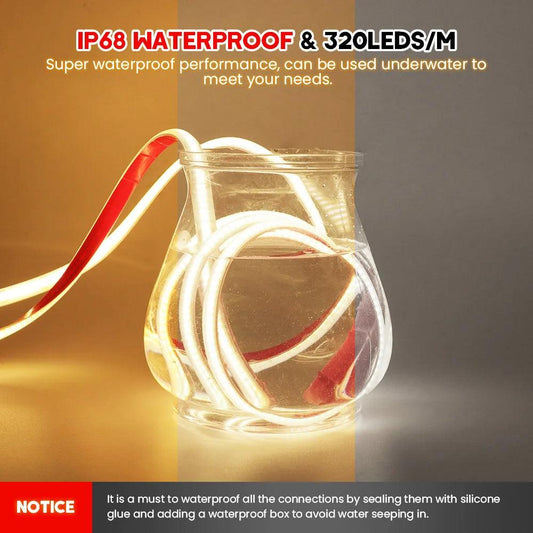
- Warm, neutral, or white light options and 320 LEDs/m create a smoother light line than widely spaced points.
What makes a concealed plug-in route work
- Place the adapter first. Choose an accessible, ventilated location inside or above a cabinet rather than sealing it behind a finished surface.
- Keep the visible transition short. A cable that rises immediately behind an appliance or through a discreet cabinet-side opening is easier to conceal than one crossing the backsplash.
- Cross dark gaps with cable, not light. Between cabinet groups, route a non-luminous connection where it can remain protected and inconspicuous instead of stretching illuminated strip across a hood or window.
- Dry-fit the full system. Confirm adapter reach, connector direction, sensor location, cabinet-door clearance, and the final light position before attaching clips or adhesive.
Do not create an unsafe shortcut: keep plug connections and adapters accessible, follow the product instructions, and do not run ordinary cords where they can be pinched, exposed to heat, or repeatedly wetted. If the route requires changing building wiring, move to the new-power plan and use a qualified electrician.
Route 3: Add Power for Permanent Whole-Kitchen Lighting
Adding an outlet or hardwired feed is the strongest long-term route when under-cabinet lighting will be used every day across several cabinet sections. It removes charging from the routine and can produce the cleanest appearance, but the lighting layout and control plan should be decided before electrical work begins.
This route earns its cost when
- You are already remodeling, replacing a backsplash, or opening walls.
- Several runs should switch and dim together.
- The lighting will support regular food preparation rather than occasional access.
It may be more than you need when
- Only one short counter, pantry shelf, or coffee station is dark.
- The cabinets and backsplash are finished and disruption matters more than charging.
- The home is rented or alterations are not approved.
Give the electrician a lighting plan, not just an outlet location
- Mark each uninterrupted cabinet group and any gap that needs a separate feed or a concealed low-voltage crossing.
- Choose whether the driver or adapter will sit above, inside, or below a cabinet and keep service access in the plan.
- Decide whether the system needs one wall switch, local touch control, dimming, motion sensing, or separate zones.
- Confirm the final fixture voltage and compatibility before the power location is fixed.
Use the under-cabinet outlets and power-access guide to compare outlet formats and placement ideas before electrical work is scheduled. Electrical additions and hardwired connections must follow local requirements and should be handled by a qualified electrician.
Check the Light Layout Before Committing to the Power Route
The cleanest power solution can still disappoint if the light lands on the backsplash instead of the work surface. Test the source position and coverage before installing the final mount or ordering several identical fixtures.
- Map active zones. Prioritize the prep area, sink edge, cooktop landing space, coffee station, and frequently opened storage. Not every cabinet needs the same amount of light.
- Measure each section separately. Stop at corners, hoods, windows, tall cabinets, and changes in cabinet depth.
- Test near the front edge first. This often sends more light toward the working edge of the countertop. Move inward if the LEDs are visible or reflected by a glossy surface.
- Check the normal viewing angle. Sit at an island, stand at the sink, and look from adjoining rooms to see whether a fixture or bright diode line is exposed.
- Confirm maintenance access. Rechargeable lights must detach; plug-in adapters and connectors must remain reachable; permanent systems need an accessible service plan.
Questions About Lighting Cabinets Without an Outlet
Can I install under-cabinet lights without any outlet?
Yes. Rechargeable light bars and puck lights need no nearby outlet during use. The important practical question is how often the light will run and whether each fixture can be reached or removed easily for charging.
Are rechargeable lights bright enough for a kitchen counter?
They can work well for a limited prep zone or short daily tasks when the fixture is positioned near the working edge and sized to the cabinet section. A whole kitchen used for long sessions is usually better served by continuous plug-in or permanent power.
Can I use a backsplash outlet without leaving a cord hanging down?
Sometimes. The result depends on whether the cord can rise immediately behind an appliance, pass discreetly into a cabinet, or follow a protected cabinet edge. If the cord must cross an exposed work area, rechargeable lighting or a professionally added power point will usually look cleaner.
Should I add one outlet for every cabinet section?
Not necessarily. A planned low-voltage system may serve several sections from one accessible driver or power point, but hoods, windows, corners, and tall cabinets can divide the layout. Final outlet and feed locations should follow the selected lighting system and the electrician's plan.
Is “wireless” the same as rechargeable?
Not always. In shopping language, wireless may describe battery power, wireless controls, or both. Check the actual power source: a light with a remote or app may still need a cord, adapter, or hardwired feed.
Continue with the Right Lumaz Path
Collection hub
Compare Lumaz Under Cabinet Lighting
Use the collection after choosing a power route to compare current light bars, puck lights, strips, controls, and installation formats.
Next decision · Power access
Plan Under-Cabinet Outlets and Power Access
Continue here when permanent power is the preferred route and outlet type, placement, or coordination with an electrician is the next decision.
Related alternative · Rechargeable products
Compare Rechargeable Bars and Pucks
Use the buying guide when you have already chosen a cord-free route and need to compare sensor behavior, size, light color, mounting, and charging access.