
How to Design a Garden Lighting Layout for Safety and Ambiance
Table of Contents
- Principles of Garden Lighting for Safety and Ambiance
- Assessing Your Garden: Site Analysis and Goals
- Key Light Types and Where to Use Them
- Designing a Layout: Lighting Zones, Layers, and Spacing
- Fixture Selection, Power Options, and Controls
- Implementation Steps and Installation Checklist
- Measuring Success: Metrics, Tools, and Maintenance
- Budgeting, Codes, Limitations, and Sustainability
- Evidence, Research, and Credible Resources
- Frequently Asked Questions
Principles of Garden Lighting for Safety and Ambiance
Good garden lighting balances safety, wayfinding, and atmosphere while minimizing glare and energy use. Start by prioritizing sight lines, contrast, and warm color to support both function and mood.
Effective outdoor lighting design is grounded in three principles: visibility (safety), hierarchy (which features to highlight), and comfort (avoiding glare and light trespass). Follow these basics and every other decision — fixture type, placement, color temperature, and control — will serve clear objectives.
Assessing Your Garden: Site Analysis and Goals
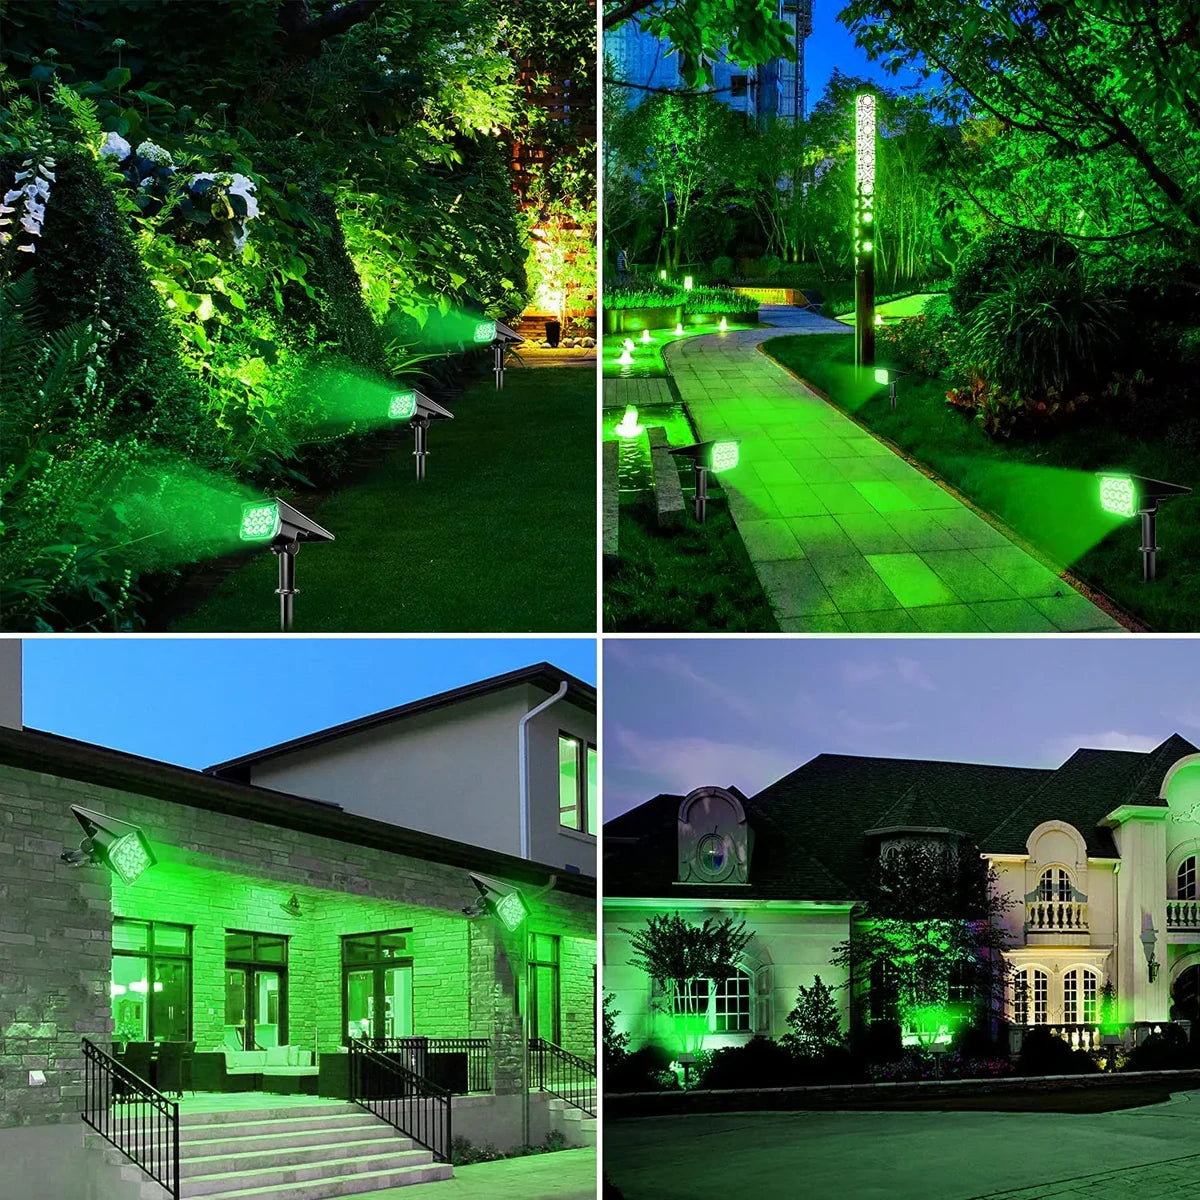
Super Bright Outdoor Solar Spotlight Waterproof Adjustable Color Temperature Garden Light
Survey the property with specific goals: safety routes, focal points, and dark-sky concerns. Document measurements and problem areas to create a practical plan.
Before buying fixtures, map the site. A quick assessment saves money and prevents mistakes.
- Walk the property at night and daytime to note hazards (steps, uneven paths, low branches).
- Identify focal points: specimen trees, sculptures, water features, or patios.
- Measure distances: path lengths, tree heights, and setback from neighbors to avoid light trespass.
- List objectives: improve safety to the gate, highlight architecture, reduce energy use, or comply with local ordinances.
Tools for a Site Survey
Use simple tools: tape measure, smartphone camera for photos, a lux meter app (for rough readings), and a map or scaled sketch.
Key Light Types and Where to Use Them
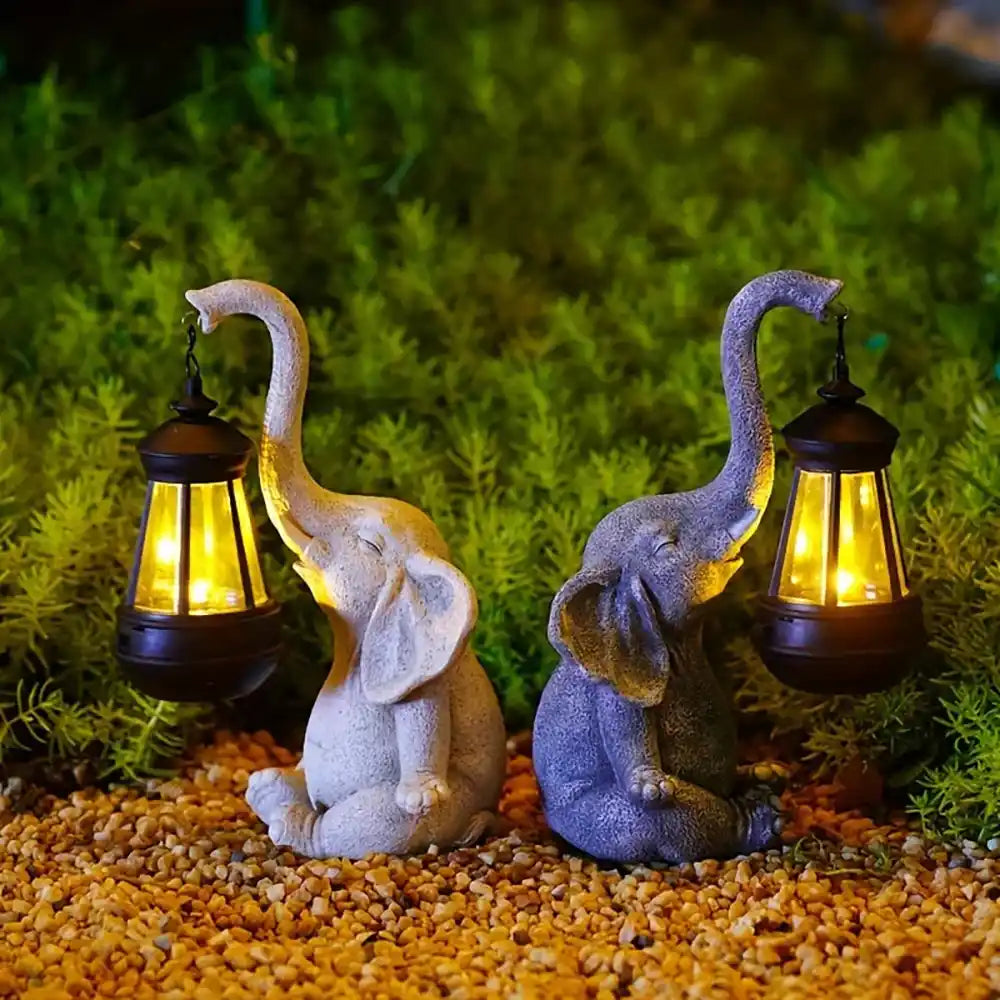
Outdoor Garden Elephant Statue With Waterproof Solar Lantern Light
Choose lighting types by function: path lights for wayfinding, spot/ups for accents, step lights for vertical hazards, and area lights for larger spaces.
Each fixture has a distinct role. Match the light output and mounting to the task to avoid glare and wasted illumination.
| Fixture Type | Typical Lumens | Mounting/Placement | Best Use | Pros / Cons |
|---|---|---|---|---|
| Path Lights | 50–150 lm | Low posts, 18–24" from path edge | Wayfinding, subtle edging | Easy to install; can cause glare if too bright |
| Step Lights | 80–200 lm | Recessed in riser or wall-mounted | Stair safety | High safety value; requires precise spacing |
| Spot/Accent | 200–1200 lm | Ground-mounted or pole-mounted | Highlight trees, sculptures | Creates drama; can create harsh shadows if mis-aimed |
| Area/Flood | 400–2000+ lm | Mounted at height, shielded | Patios, driveways, security | Good coverage; higher energy use if left on |
| Deck/Post Lights | 50–300 lm | Mounted on railings or posts | Perimeter ambiance, safety | Integrated look; limited reach |
💡 The right light transforms your space. Lumaz LED lights offer versatile, energy-efficient solutions for every garden zone.
Designing a Layout: Lighting Zones, Layers, and Spacing
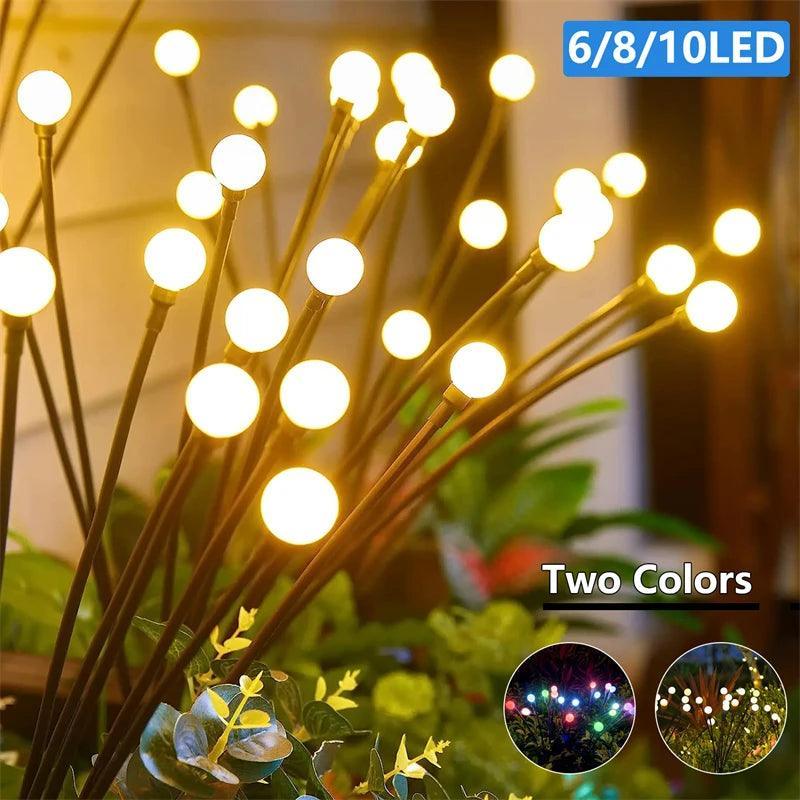
LED Firefly Outdoor Solar Light For Garden Landscape Lighting, IP65 Waterproof
Create lighting zones and layers—ambient, task, and accent—to guide movement and craft ambiance. Proper spacing prevents dark spots and over-illumination.
Apply layering: ambient (general), task (steps, grill), and accent (plant or object). Establish zones so controls can be grouped logically.
Recommended Spacing and Levels
- Path lighting: fixtures spaced roughly 6–10 feet apart for low-height lights; increase spacing with higher mounting.
- Steps: one fixture per two to three steps or continuous strip lighting for uniformity.
- Tree uplighting: place spot 1–2 times the tree’s trunk diameter from trunk; adjust to avoid silhouetting when backlit.
Light Level Guidelines (typical)
- Pathways: 1–5 foot-candles (10–50 lux)
- Steps: 5–10 foot-candles (50–100 lux)
- Patios/Seating: 5–20 foot-candles (50–200 lux), depending on activities
Foot-candles (fc) and lux are practical metrics; aim for minimums above to ensure safe visibility while avoiding over-lighting.
Fixture Selection, Power Options, and Controls
Select LED fixtures with appropriate color temperature, beam angle, and IP rating; pair with low-voltage or solar power and smart controls to maximize efficiency.
Decisions about power and controls affect installation complexity, energy costs, and long-term maintenance.
Color Temperature and CRI
- Choose warm white (2700–3000K) for residential ambiance and better color rendering of plants.
- Avoid high correlated color temperatures (>4000K) near residential areas to reduce skyglow and blue light impact.
- CRI 80+ is good; 90+ if color accuracy is important (e.g., plant colors, artwork).
Power Options
- Low-voltage (12V): Common for landscapes; safer for DIY wiring and flexible layouts.
- Line-voltage (120V): Useful for high-output fixtures; should be installed by a licensed electrician.
- Solar: Simple install and off-grid, but performance varies with location and winter months.
- Hardwired smart systems: Allow zoning, dimming, scheduling, and integration with home automation.
Controls and Automation
Use a mix of sensors and timers:
- Photo sensors for dusk-to-dawn convenience.
- Motion sensors for security-focused area lights (set to a reasonable sensitivity to avoid nuisance activations).
- Smart controllers and apps for scene setting and energy monitoring.
Implementation Steps and Installation Checklist
Follow a staged installation: plan, prototype, wire, test, and adjust. Systematic steps reduce rework and ensure safety.
Use this checklist to move from concept to live lighting.
- Finalize layout on paper or digital plan, marking fixture types and cable runs.
- Prototype by placing temporary fixtures or lanterns and test at night to check sight lines and shadows.
- Choose fixtures rated for outdoor use (IP65+ for wet locations) and appropriate voltage.
- Install power source and run cables. For mains circuits hire a licensed electrician to meet code.
- Install fixtures, aim beams, and install shields or louvers to control glare.
- Program controls: schedules, motion zones, dimming scenes.
- Document the installation with photos and a maintenance log (bulb types, replacement dates, fuse sizes).
🌿 "We installed low-voltage LEDs and smart controls last spring—our back patio is safer and we cut evening energy use by half." — Local community gardener
Measuring Success: Metrics, Tools, and Maintenance
Use measurable metrics—lumens, foot-candles, energy consumption, and glare—to evaluate performance. Regular maintenance keeps the system reliable and safe.
Quantify outcomes and track them. A few simple measurements reveal whether the design meets safety and ambiance goals.
Key Metrics to Track
- Illuminance: foot-candles or lux at critical points (steps, main path).
- Uniformity ratio: maximum/minimum lux on a surface (lower is better for even lighting).
- System energy (kWh/month) to compare pre- and post-installation energy use.
- Light trespass complaints or neighbor feedback as qualitative metrics.
Tools
- Handheld lux meter for accurate readings.
- Smartphone apps (supplementary) for quick checks.
- Infrared thermometer to detect overheating drivers or fixtures.
Maintenance Schedule (recommended)
- Monthly: clean lenses and inspect for damage.
- Quarterly: check aiming and tighten mounts.
- Annually: test transformers, replace aging drivers, and verify control schedules.
Budgeting, Codes, Limitations, and Sustainability
Budget realistically for fixtures, installation, and controls; consider local codes, dark-sky principles, and the limits of solar/LED systems.
Plan for total cost-of-ownership, not just fixture price. Factor installation labor, controllers, and ongoing energy costs.
Typical Budget Range
- Basic path and step lighting (DIY, low-voltage): $500–$2,000
- Mid-range system with smart controls and accent lighting: $2,000–$7,000
- High-end design with professional installation and mains fixtures: $7,000+
Codes and Safety
- Follow local electrical codes for outdoor wiring; hire a licensed electrician for mains work.
- Use GFCI-protected circuits for outdoor fixtures in wet locations.
- Check municipal ordinances for light trespass, glare, and security lighting standards.
Environmental Considerations
- Prefer warm LEDs (2700–3000K) and fully shielded fixtures to reduce skyglow and protect nocturnal wildlife.
- Use motion sensors or dimmers to cut energy use when spaces are unoccupied.
- Consider Dark Sky design principles to minimize ecological impact; see the International Dark-Sky Association for guidance.
Evidence, Research, and Credible Resources
Industry and government guidance show LEDs and controls deliver large efficiency gains, while warm color temps reduce ecological harm. Use trusted sources when designing.
A useful government overview explains the energy advantages of efficient lighting: U.S. Department of Energy – Lighting Choices. For practical landscape recommendations from an academic extension service, see Penn State Extension’s resource on landscape lighting: Penn State Extension – Landscape Lighting.
Design choices should balance human needs and environmental stewardship. Research and extension guidance support warm, shielded LEDs and smart controls for the best outcomes.
Frequently Asked Questions
1. What color temperature is best for garden ambiance?
Warm white (2700–3000K) is ideal for residential gardens—creates cozy ambiance, preserves plant color, and reduces blue light impact on wildlife.
2. Are solar garden lights reliable enough for primary safety lighting?
Solar lights are fine for supplemental ambiance but are less reliable for primary safety lighting, especially in shaded areas or during winter. For critical paths and steps, use low-voltage or mains-powered fixtures.
3. How do I avoid bothering neighbors with my garden lights?
Use fully shielded fixtures, aim lights downward, limit brightness near property lines, and select warm color temperatures. Consult local ordinances and ask neighbors for feedback during prototype testing.
4. Can I do outdoor lighting myself or should I hire a pro?
You can install low-voltage and solar systems yourself if comfortable with basic wiring and digging. For line-voltage wiring, complex control systems, or work requiring permits, hire a licensed electrician and/or landscape lighting contractor.
5. How long do LED landscape fixtures last and what maintenance do they need?
Quality LEDs can last 50,000 hours or more. Maintenance includes cleaning lenses, verifying seals, checking connections annually, and replacing drivers or bulbs when performance declines.
6. What’s the quickest way to see if my layout works before installing?
Place temporary lights (work lamps, lanterns, or string lights) in the proposed spots and view them at night. This prototype lets you test sightlines, beam angles, and ambiance before committing to wiring.
Designing garden lighting that balances safety and ambiance requires planning, the right fixtures, and thoughtful controls. Start with a clear site survey, choose warm, shielded LEDs, and iterate with prototypes. That approach delivers inviting nightscapes that are safe, efficient, and neighbor-friendly.
Related Articles:
- Creative Uses for Solar Rope Lights in Garden & Patio
- Enhance Home Security with Motion Sensor Lights
- Set an Outdoor Lighting Timer: Step-by-Step
- Outdoor Lighting Buying Guide: Choose Fixtures
- Top 5 Solar Pathway Lights to Illuminate Garden 2025
- 5 Tips for Choosing the Best Outdoor Light Bulbs
- 8 Modern Outdoor Lighting Ideas for Homes


 />
/>
 />
/>
 />
/>
 />
/>
 />
/>