
Outdoor Lighting Placement: Security vs. Ambiance — Dos and Don'ts
Table of Contents
- Why outdoor lighting placement matters: security vs. ambiance
- Core differences: what security lighting does vs. ambient lighting
- Key principles for security lighting placement
- Key principles for ambiance and landscape lighting placement
- Balancing both goals: zoning, layering, and control strategies
- Technical specifications: lumens, color temperature, beam angle, and mounting height
- Tools, sensors, and software for precise placement and control
- Common mistakes and "don'ts" when placing outdoor lighting
- Step-by-step implementation checklist: from planning to commissioning
- Metrics, limitations, and when to call a pro
- Short case study: modest retrofit that improved both security and ambiance
- Regulatory & environmental guidance to avoid light pollution
- Final recommendations: dos and don'ts summary
- Frequently asked questions (FAQ)
Why outdoor lighting placement matters: security vs. ambiance
Proper placement determines whether lighting deters intruders, prevents accidents, or creates mood. Misplaced fixtures waste energy, cause glare, and harm neighbors or the night sky.
Core differences: what security lighting does vs. ambient lighting
Security lighting emphasizes visibility and deterrence; ambient lighting prioritizes comfort, aesthetics, and navigation. Each has different fixture types, brightness, and placement rules.
- Security lighting: higher lumen output, broader coverage, motion activation, higher mounting points.
- Ambient/landscape lighting: lower output, directional or accent beams, warm color temperatures, layered scenes.
Understanding these differences helps you choose placement strategies that meet both safety goals and design intent without conflicts like glare or light trespass.
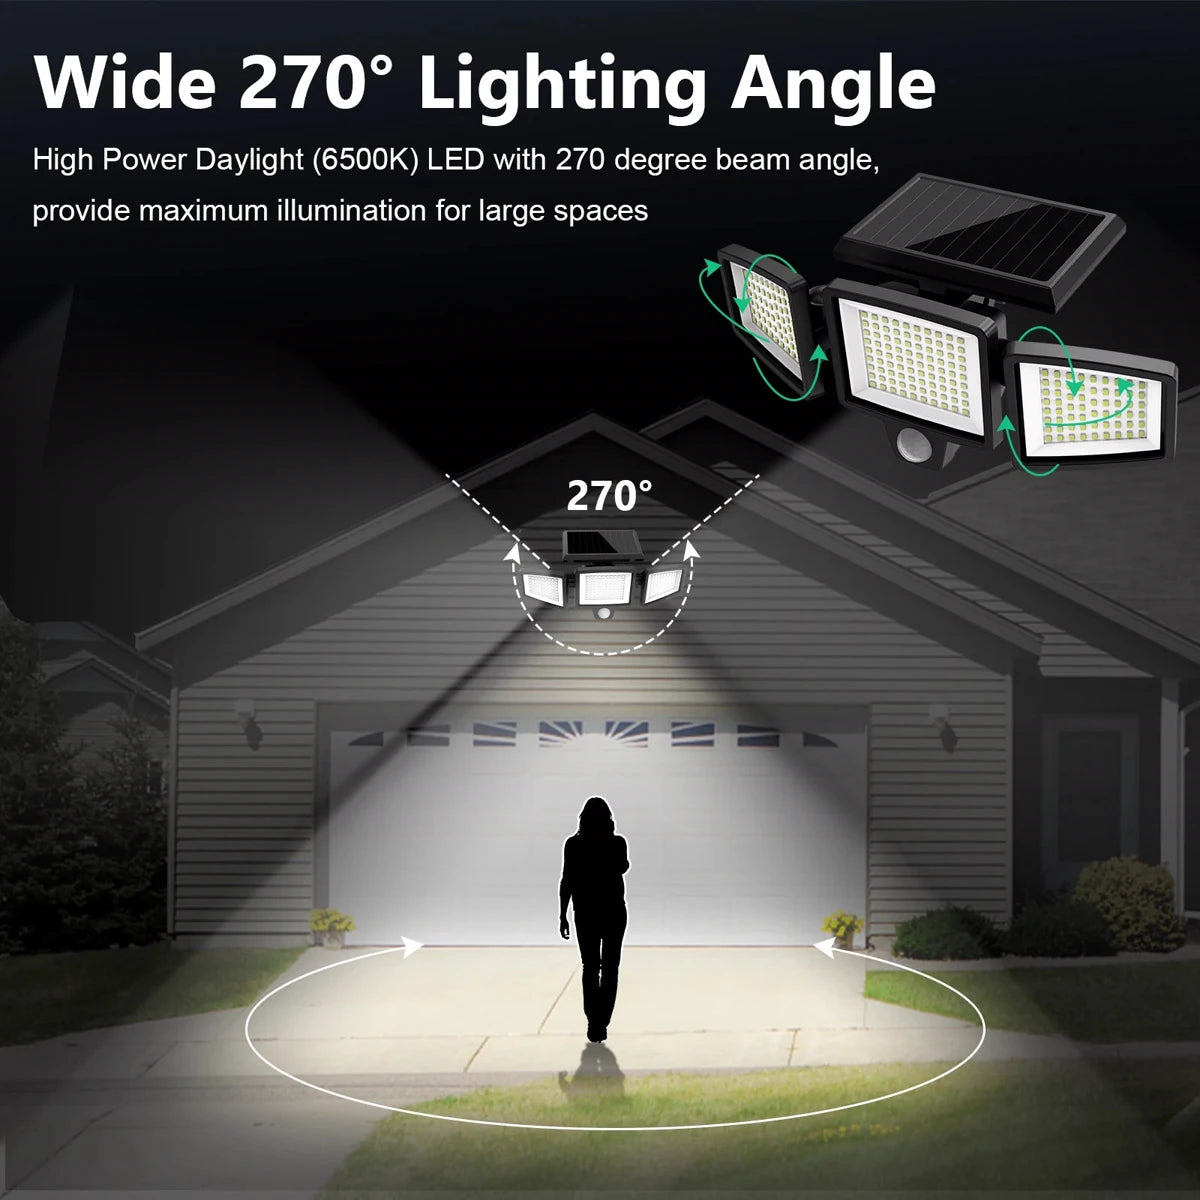
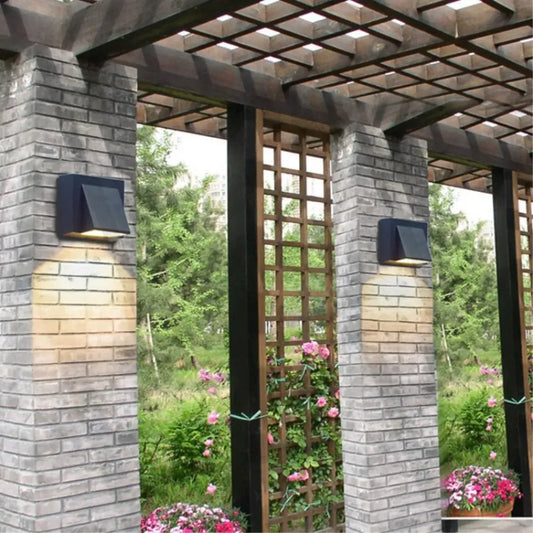
Key principles for security lighting placement

Outdoor Solar Motion Sensor Flood Lights 4-Head 3000 Lumens 270° Lighting Range
Place security fixtures to maximize sightlines, minimize shadows, and protect entry points while avoiding overlighting public spaces.
- Prioritize doors, garage entries, main walkways, and blind corners with evenly distributed coverage.
- Use motion sensors or hybrid controls so lights are high when needed but not constantly on.
- Mount flood or area lights high enough (typically 8–12 ft) to reduce glare and increase detection distance.
- Avoid lighting that directly illuminates neighbors’ windows or public sidewalks to prevent light trespass and complaints.
Recommended practice: place fixtures to create overlapping light patterns that reduce dark spots and eliminate deep shadows where a person could hide.
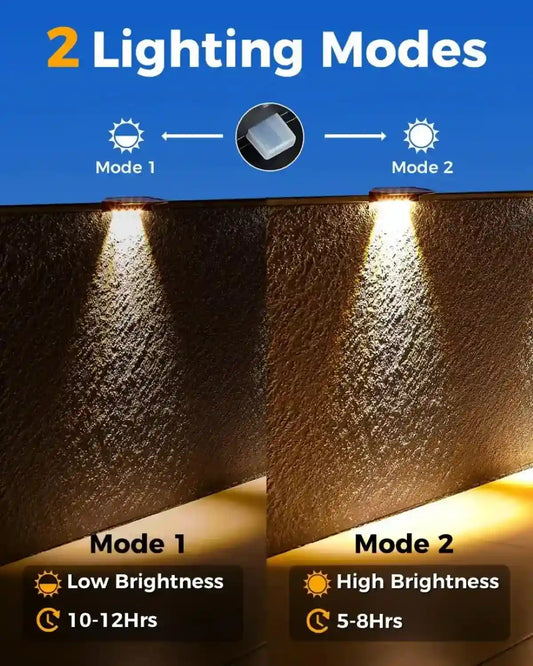
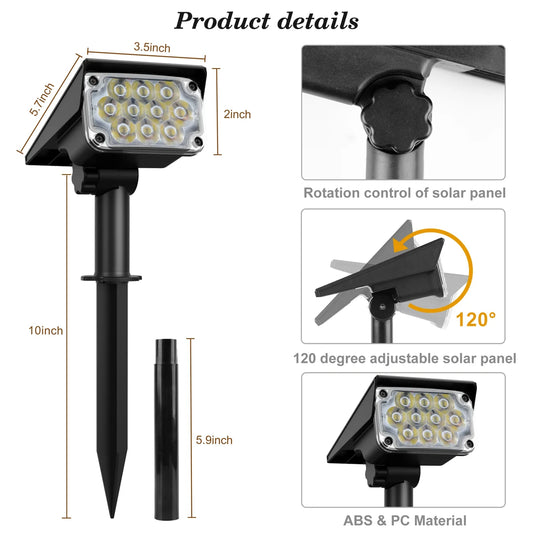
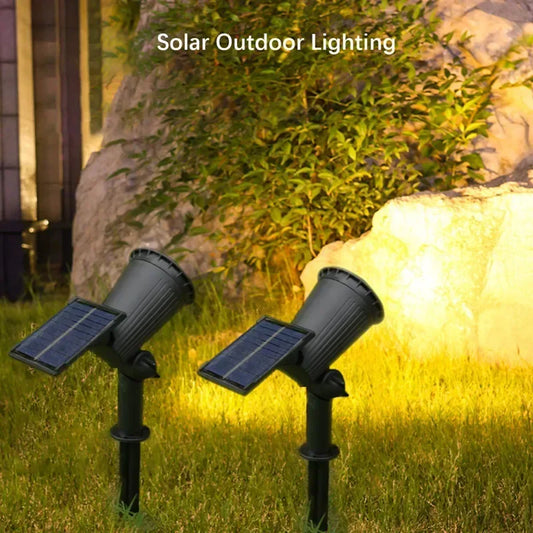
Key principles for ambiance and landscape lighting placement
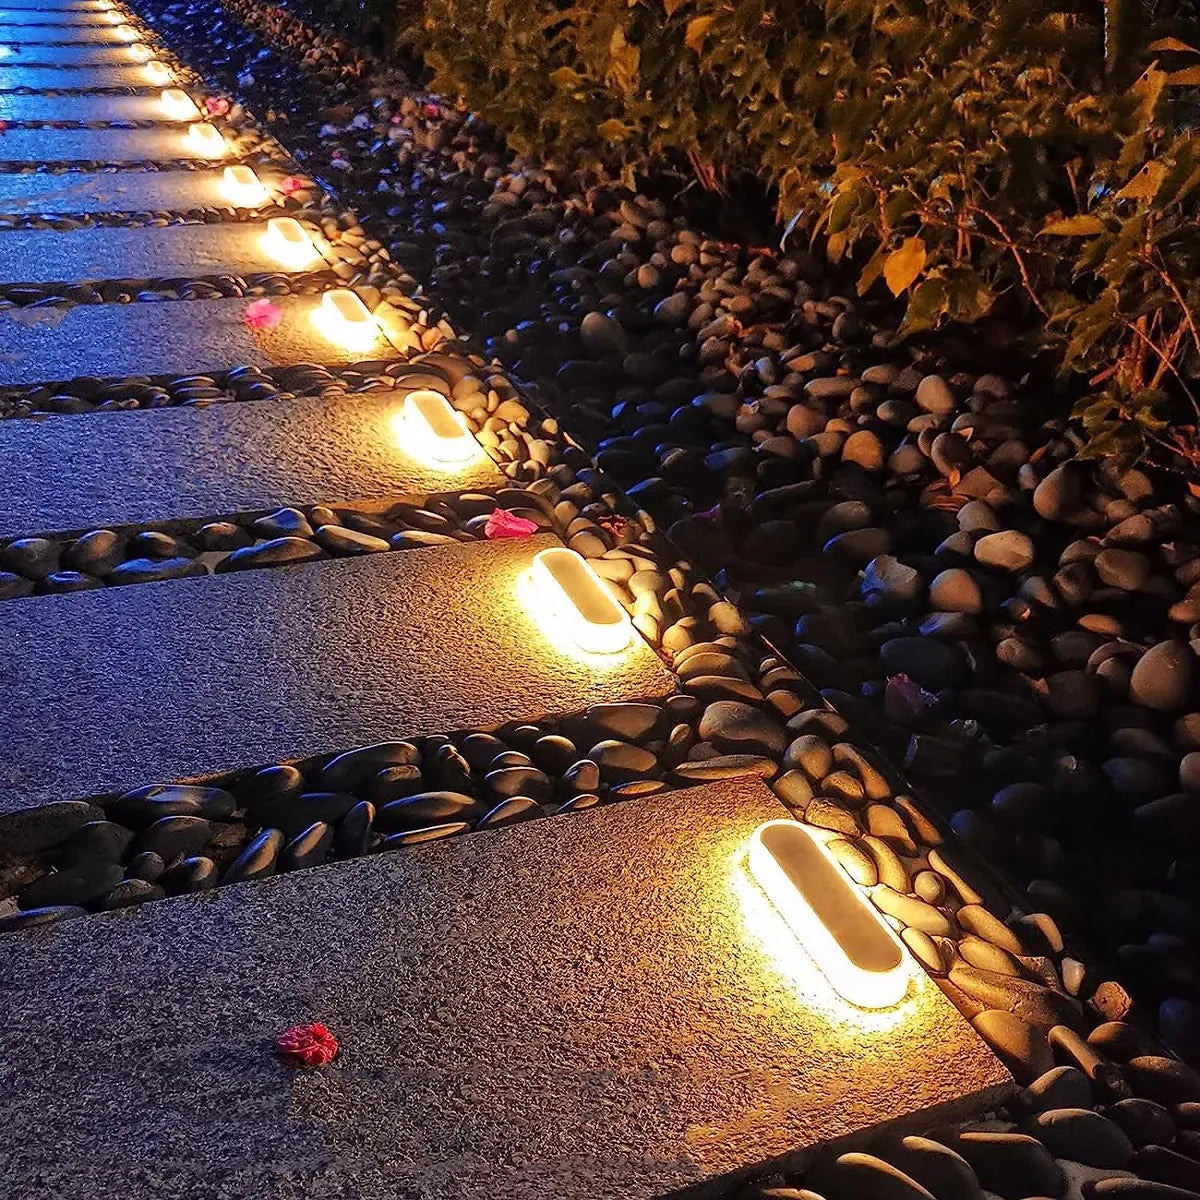
Solar Deck Lights Outdoor Step Lights Waterproof IP68 Stick on Step Stairs Driveway
Ambient lighting should be layered—path, task, accent—placed to enhance features without creating harsh contrasts or glare.
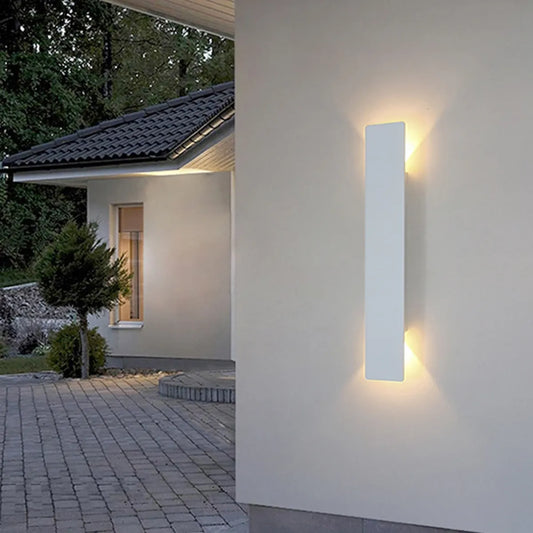
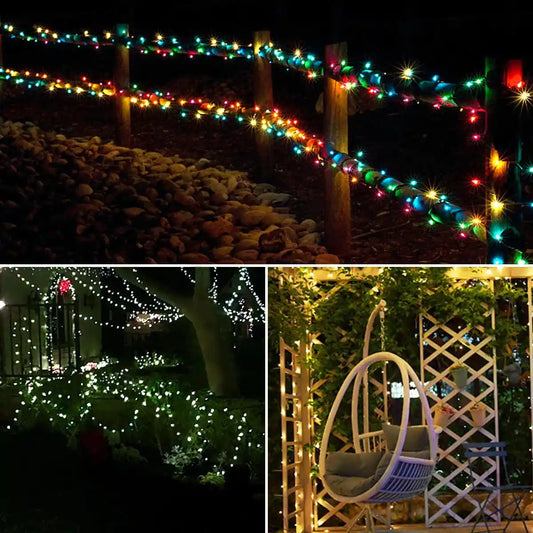
- Layer your design: path lights for navigation, step/rail lights for safety, spotlights for trees or architecture, and string or wall lights for gathering areas.
- Keep fixtures low for pathways (12–24 in above ground) and use shields/hoods to direct light downwards.
- Opt for warm color temperatures (2700K–3000K) for human-friendly, inviting spaces.
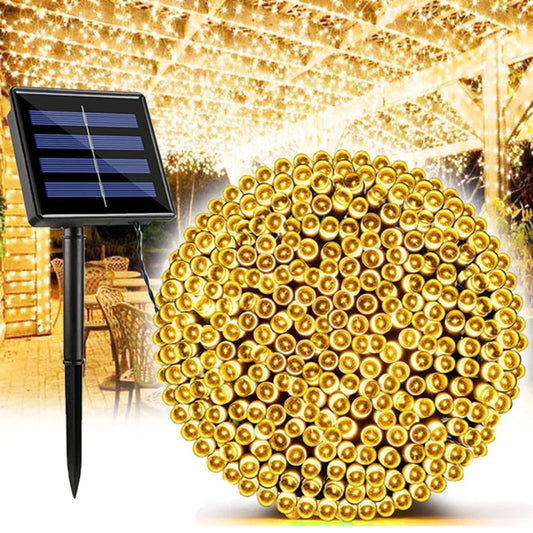
- Use dimmers, timers, or smart zones so ambiance levels are adjustable for different activities.
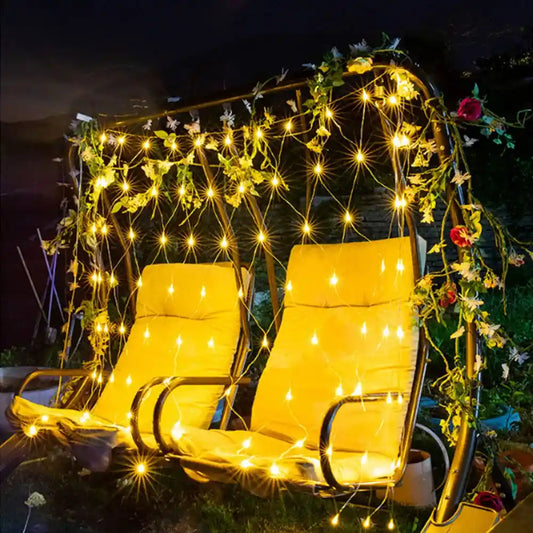
Placement should support sightlines and seating arrangements so light enhances comfort rather than creating hot spots or shadows.
Balancing both goals: zoning, layering, and control strategies
Combine security and ambiance by creating zones and using controls so each area receives the right light at the right time.
- Map zones: entry/security, circulation (paths/driveway), activity (patio/pool), and accent (landscape).
- Assign fixture types and control strategies per zone (motion-only for perimeter; dimmable scene control for patios).
- Introduce transition lighting from brighter security zones to softer ambient spaces to reduce abrupt contrasts.
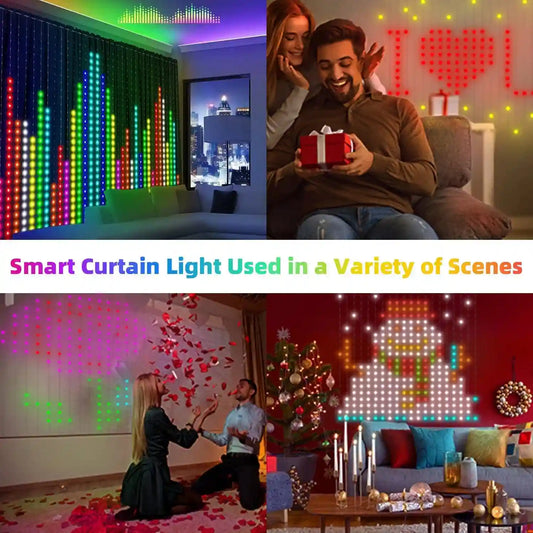
Smart controls (app-based scenes, geofencing, and adaptive dimming) let you prioritize security when you’re away and ambiance when you’re home.
Technical specifications: lumens, color temperature, beam angle, and mounting height
Choose lumen output, CCT, beam angle, and mounting height based on the task and desired visual effect; wrong combinations cause glare or under-illumination.
| Specification | Security Lighting (typical) | Ambiance/Landscape Lighting (typical) |
|---|---|---|
| Lumens per fixture | 700–2,000 lm (floods); 300–800 lm (wallpacks) | 50–600 lm (path, spot, accent) |
| Color temperature (CCT) | 3,000–4,000 K (neutral to cool) | 2,700–3,000 K (warm) |
| Beam angle | Flood: 40–120° for area coverage | Spot: 10–40° for tree/feature; Narrow flood 30–60° for accents |
| Mounting height | 8–12 ft for yard/floods; higher for larger areas | 12–24 in for path lights; 6–8 ft for wall sconces and step lights |
| Control strategy | Motion + timed override; photocell backup | Dimmable circuits, timers, smart scenes |
Note: recommended ranges are starting points; consult photometric plans for large or complex sites.
🔦 Don't guess with specs. Lumaz LEDs deliver precise lumens, perfect color temps, and smart beam control for flawless, energy-efficient results.
Tools, sensors, and software for precise placement and control
Use motion sensors, photocells, smart lighting hubs, and simple photometric tools to design effective placement and reduce energy waste.
- Motion sensors: PIR and microwave sensors for localized activation; select sensors with adjustable range and sensitivity.
- Photocells: prevent fixtures from turning on during daylight; use where dusk-to-dawn operation is desired.
- Smart controls: Zigbee/Z-Wave or Wi‑Fi controllers allow scheduling, geofencing, and occupancy-based scenes.
- Photometric planning tools: use free apps or manufacturer photometric files (.ies) to model coverage and lux levels before installation.
Energy efficiency guidance: the U.S. Department of Energy offers straightforward advice on outdoor LED selection and controls to save energy while maintaining performance (see the DOE’s Outdoor Lighting Basics).
Relevant sources:
- U.S. Department of Energy — LED lighting basics
- Lighting Research Center, Rensselaer Polytechnic Institute — research and design guidance
- U.S. EPA — information on light pollution and environmental impacts
Common mistakes and "don'ts" when placing outdoor lighting
Avoid glare, overlighting, poor mounting height, and lack of control—these mistakes undermine both security and ambiance.
- Don't mount security floods at eye level. Mounting too low increases glare and reduces reaction time.
- Don't flood neighbors' yards or public sidewalks—use shields and aim fixtures downward to reduce light trespass.
- Don't use excessive color temperature—very cool whites (≥5000K) harm night vision and wildlife; favor 2700–4000K depending on purpose.
- Don't rely on a single bright fixture to light large areas—the result is harsh contrasts and deep shadows.
🌟 "After swapping our single 2000-lumen flood for two properly angled 800-lumen fixtures with motion sensors, the yard feels safer and our neighbors stopped complaining." — Local homeowner review
Real-world evidence: multiple research programs show that thoughtful fixture direction, appropriate lumen levels, and controls maximize safety benefits while reducing energy use and complaints (see the Lighting Research Center for studies and guidance).
Step-by-step implementation checklist: from planning to commissioning
Follow an actionable plan that moves from site analysis to commissioning to ensure correct placement and performance.
- Survey the site: mark entry points, sightlines, landscape features, and neighbor boundaries.
- Define zones and objectives: security, navigation, activity, and accent.
- Select fixtures by task: lumen range, beam angle, CCT, mounting style, and BUG (Backlight-Uplight-Glare) rating.
- Create a simple lighting plan: draw fixture locations, aiming angles, and control groups; request .ies files from manufacturers to model coverage if needed.
- Install with proper mounting height, aiming, and shielding; prioritize downward light and sharp cutoffs to meet dark-sky considerations.
- Configure controls: motion sensitivity, timers, dusk-to-dawn thresholds, and smartphone scenes where available.
- Commission: measure illuminance (lux or foot-candles) across critical paths and areaways; adjust aiming and dim levels to remove hotspots and shadows.
- Document settings and maintenance schedule: bulb lifetimes, sensor cleaning, and seasonal adjustments.
Tip: keep records of lumen output and replacement dates; LEDs degrade slowly and scheduled checks prevent unexpected dark spots.
Metrics, limitations, and when to call a pro
Measure success with illuminance, uniformity ratios, and occupant feedback; call a lighting designer for complex sites or code compliance.
- Key metrics: average illuminance (lux/foot-candles) on walkways, uniformity ratio (max/min), color rendering (CRI), and glare index (UGR/BUG rating).
- Limitations: homeowner installations may not achieve even photometric coverage for large properties; municipal codes can restrict lumen output and light trespass.
- When to hire a pro: commercial properties, multi-unit housing, historic facades, or when you must meet dark-sky or local code requirements.
Regulatory and environmental considerations: many communities encourage dark-sky friendly lighting to protect wildlife and reduce energy use—consult local ordinances and EPA guidance for mitigation strategies.
Short case study: modest retrofit that improved both security and ambiance
A mid-sized suburban home replaced four high-output floods with layered fixtures and smart controls to cut energy and increase perceived safety.
Approach:
- Replaced two 1800-lumen floods aimed at the yard with two 800-lumen fixtures mounted higher and shielded to remove glare.
- Added low-level path lights (100 lm each) and warm wall sconces at entries (300 lm each) tied to timers/dimming scenes.
- Installed motion sensors on perimeter lights and geofencing for arrival lighting on the patio.
Outcome:
- Energy use dropped ~45% due to LED replacements and reduced run-time.
- Neighbors reported fewer complaints about glare; occupants reported increased sense of safety and improved nighttime usability of the patio.
Note: site-specific results vary; conducting a simple post-install lux measurement ensures goals were met.
Regulatory & environmental guidance to avoid light pollution
Design to reduce skyglow and light trespass by using full-cutoff fixtures, appropriate CCTs, and motion/dimming controls.
- Use full-cutoff fixtures to prevent uplight and protect the night sky.
- Choose CCTs at 3000K or lower for residential settings to lessen ecological impacts.
- Adopt controls (scheduling and motion sensors) to minimize hours of operation.
For more detailed environmental guidance and research on impacts, consult the EPA and academic lighting research centers:
Final recommendations: dos and don'ts summary
Follow a few concise rules to get the best mix of security and ambiance with minimal negative impacts.
- Do map zones and layer lighting—don’t rely on a single bright source.
- Do use warm color temperatures for living spaces—don’t use ultra-cool white unless required for specific tasks.
- Do use motion sensors and dimmers—don’t leave high-output lights on continuously.
- Do shield and aim fixtures downward—don’t point lights toward neighbors, streets, or the sky.
Further resources and citations
Useful technical references and research:
- U.S. Department of Energy — LED lighting guidance and efficiency tips
- Lighting Research Center (Rensselaer Polytechnic Institute) — research, design guidance, and photometric tools
- U.S. EPA — environmental impacts of outdoor lighting and dark-sky considerations
Frequently asked questions (FAQ)
1. How bright should pathway lights be for safe navigation?
Target 50–150 lumens per path light with a uniform distribution. Measure for at least 0.5–1 lux (≈0.05–0.1 fc) minimum along the walking surface and avoid high contrast between lit and unlit sections.
2. Will brighter lights always deter crime?
Not always. Research shows properly designed lighting that reduces shadows and increases facial recognition at entry points is more effective than simply adding brightness. Controls and coverage matter more than raw lumens. For evidence and design practices see the Lighting Research Center’s findings.
3. What color temperature is best outside my home?
Use 2,700–3,000 K for ambient and seating areas to create warm, comfortable scenes; 3,000–4,000 K can be appropriate for security zones where sharper contrast is needed, but avoid 5,000 K+ in residential areas due to ecological and glare concerns.
4. How do I prevent my lights from bothering neighbors?
Choose full-cutoff fixtures, lower mounting heights where practical, use shields and aiming, and set timers or motion activation. Walk the property line at night to verify there’s no direct light into neighboring windows.
5. Can smart lighting help balance security and ambiance?
Yes. Smart controls let you create security-only night modes, arrival scenes, and dimmed ambiance—reducing energy use and avoiding constant bright lighting while preserving safety when needed.
6. When should I hire a lighting professional?
Hire a pro for complex layouts, historic façades, multi-unit properties, business premises, or when local codes or dark-sky ordinances apply. Professionals can produce photometric plans and ensure compliance with BUG/UGR and local regulations.


 />
/>
 />
/>
 />
/>
 />
/>
 />
/>