
Outdoor lighting essentials: choosing energy-efficient fixtures for safety and curb appeal
Table of Contents
- Why energy-efficient outdoor lighting matters
- Types of energy-efficient outdoor fixtures
- Key technical specifications to evaluate
- Designing outdoor lighting for safety and curb appeal
- Controls, sensors, and smart integration to save energy
- Installation, maintenance, and safety considerations
- Environmental and regulatory considerations
- Budgeting, incentives, and expected ROI
- Choosing fixtures: a step-by-step decision guide
- Case studies and real-world outcomes
- Frequently asked questions (FAQs)
Why energy-efficient outdoor lighting matters
 Energy-efficient outdoor lighting reduces electricity use, improves safety, and enhances curb appeal while lowering maintenance and environmental impact. Choosing the right fixtures saves money, meets local rules, and protects wildlife and night skies.
Outdoor lighting is more than looks: it’s a utility that runs every night. Using efficient fixtures and smart controls cuts operating costs by 50–80% compared with older technologies, reduces carbon emissions, and keeps properties safer and more inviting. The U.S. Department of Energy summarizes how LEDs and controls significantly reduce energy bills and maintenance needs (Energy.gov – Lighting Choices).
💡 Efficient outdoor lighting reduces energy bills and environmental impact. Lumaz LEDs deliver brilliant illumination while conserving power.
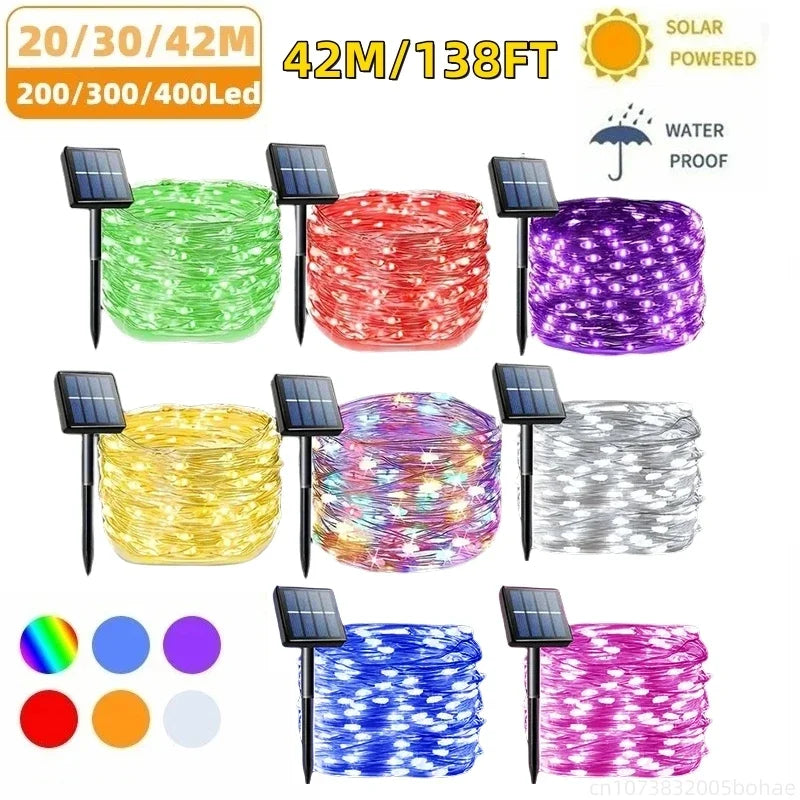
Types of energy-efficient outdoor fixtures
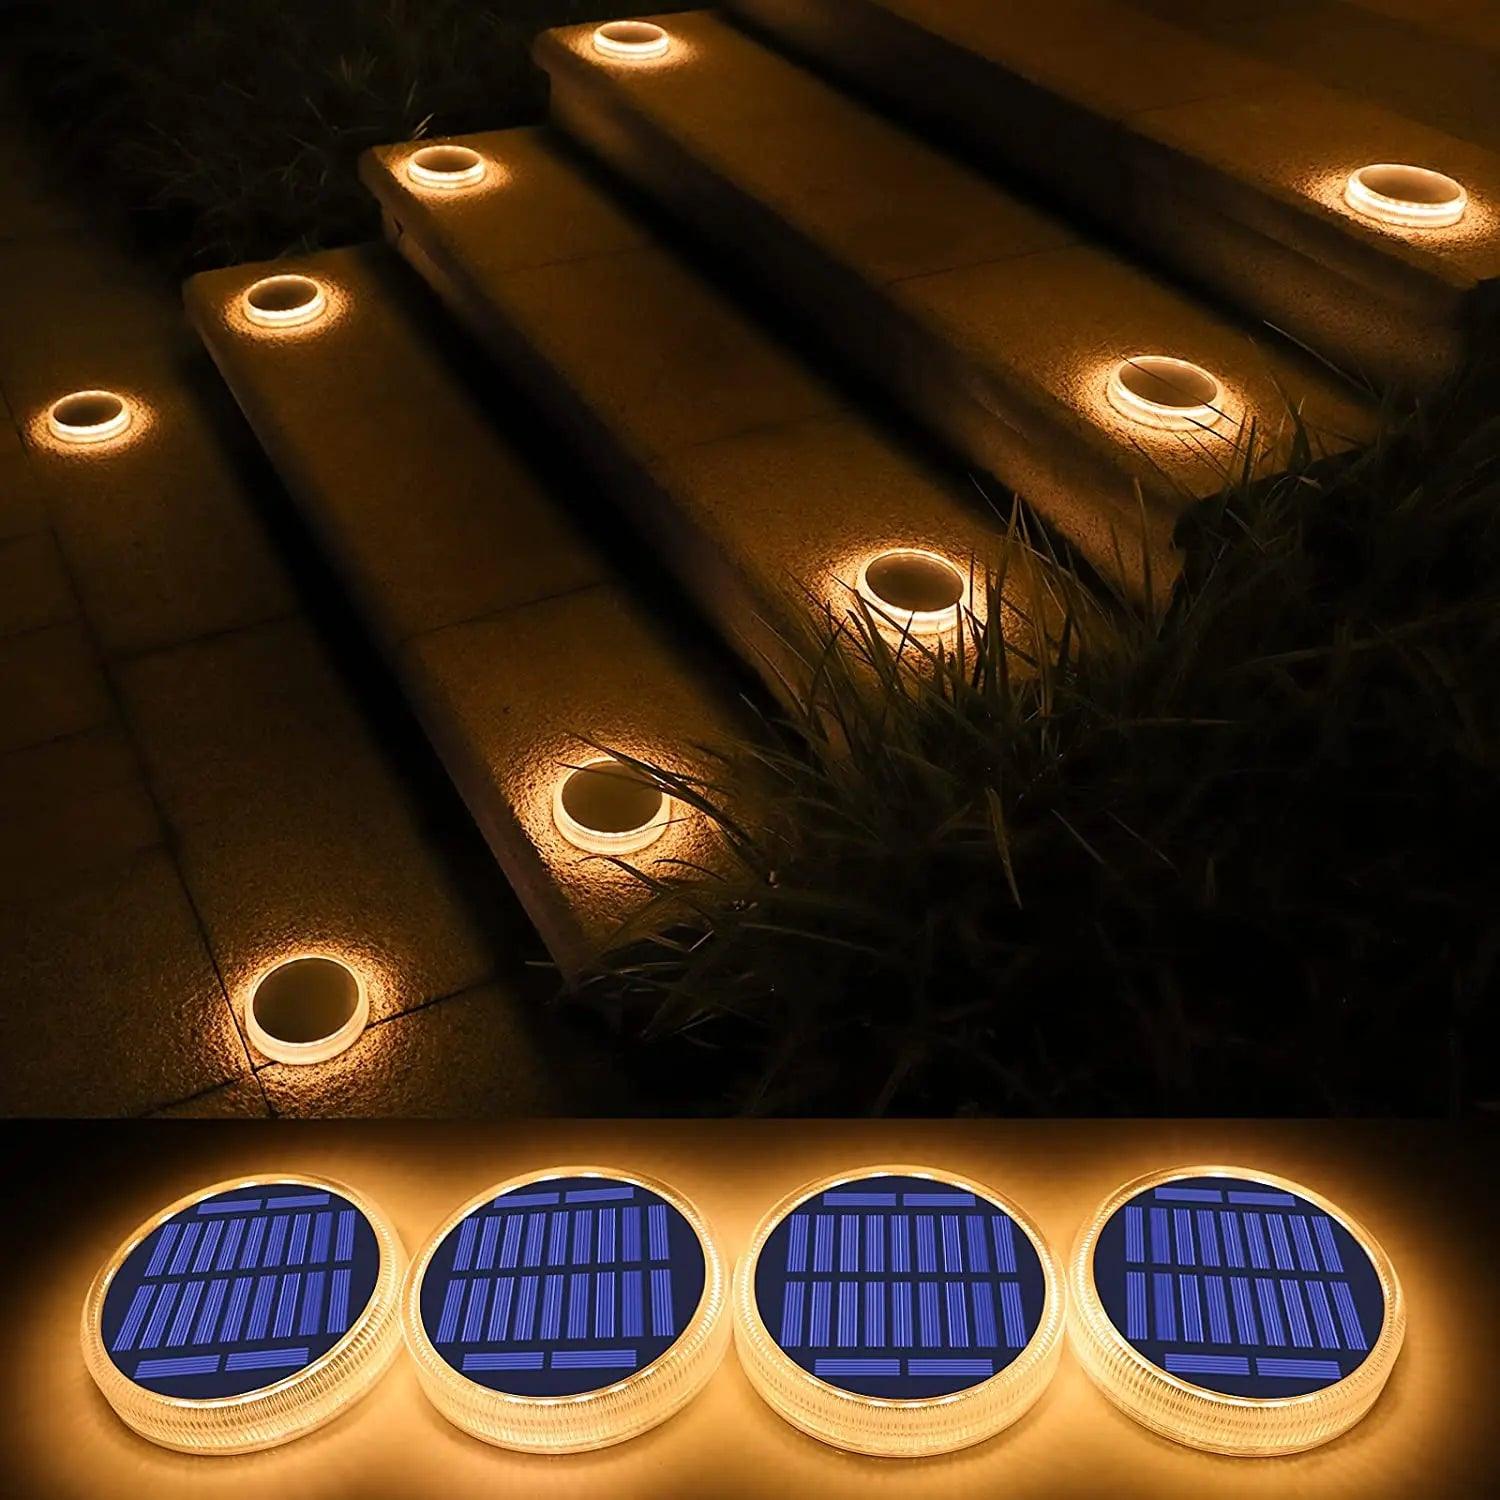
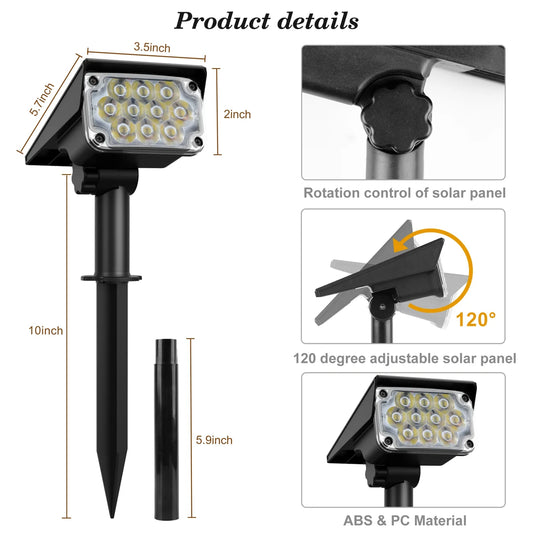
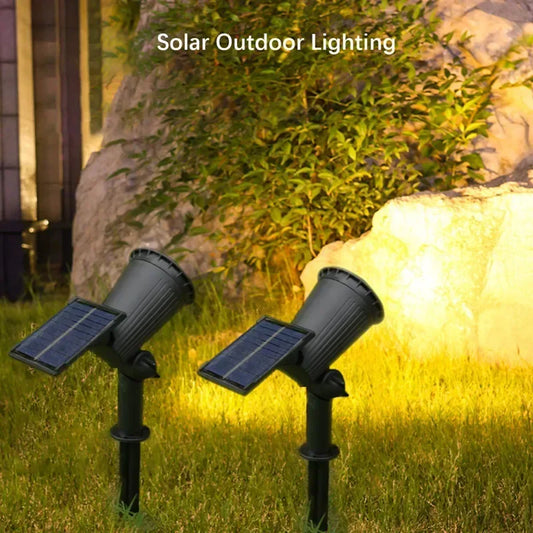
Waterproof LED Solar Deck Light - Warm Outdoor Ground Light
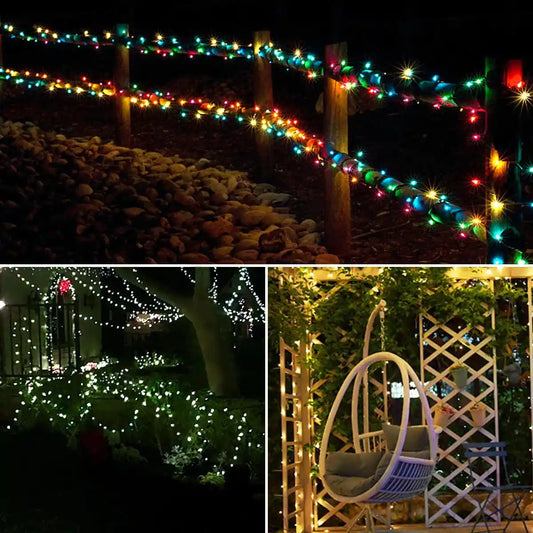
Choose from LEDs, solar-powered fixtures, and low-voltage systems—each has clear strengths and trade-offs for performance, cost, and siting.
Understanding fixture types helps you match technology to the task: pathway accents need different light and controls than driveway or security lights. Below is a side-by-side comparison of common options.
| Fixture Type | Typical Efficacy (lm/W) | Average Lifespan | Initial Cost | Best Use | Pros | Cons |
|---|---|---|---|---|---|---|
| LED (hardwired) | 80–150 lm/W | 25,000–50,000+ hours | Moderate–High | All-purpose: accents, security, path | Very efficient, long life, dimmable, controllable | Higher upfront cost; quality varies |
| Solar LED (integrated) | 20–80 lm/W (system) | 3–10 years (battery limits life) | Low–Moderate | Pathway, accent where wiring is hard | No wiring, low operating cost | Lower light output, weather/battery dependent |
| Low-voltage halogen | 10–20 lm/W | 2,000–5,000 hours | Low | Warm accent lighting (short term) | Warm color, low initial cost | Inefficient, frequent replacement, heat |
| CFL (rare outdoors) | 40–70 lm/W | 6,000–15,000 hours | Low | Occasional fixtures with proper enclosures | Moderate efficiency | Cold start issues, mercury content, being phased out |
Why LEDs dominate modern outdoor lighting
LED fixtures offer the best balance of long life, high efficacy, and controllability. According to the Department of Energy, LEDs can reduce outdoor lighting energy use substantially while delivering better light quality and controllable outputs (Energy.gov).
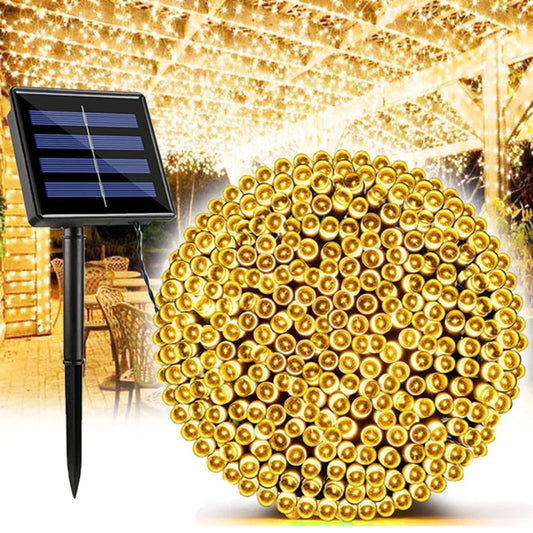
When solar fixtures make sense
- Ideal where running wire is impractical or costly.
- Best for low-to-moderate lighting tasks like pathway markers or seasonal accenting.
- Choose models with larger solar panels, quality Li-ion batteries, and automatic dimming for cloudy conditions.
Key technical specifications to evaluate
Focus on lumens, color temperature, CRI, IP rating, beam angle, and lumens per watt to select fixtures that meet safety, comfort, and efficiency goals.
Instead of “watts,” choose fixtures by lumens (light output) and lumens per watt (efficacy). That gives a clear picture of real performance.
Essential metrics and recommended targets
- Lumens — How bright the fixture is. Example targets: pathway 100–200 lm, steps 100–300 lm, driveway/security 500–1,000 lm.
- Lumens per Watt (lm/W) — Efficiency measure. Aim for LEDs ≥80 lm/W for good efficiency; high-performance fixtures reach 100–150 lm/W.
- Color Temperature (CCT) — Measured in Kelvin (K). 2700–3000K for warm residential ambiance; 3000–4000K for clearer security lighting. Avoid >4000K in residential areas to reduce blue light and glare.
- Color Rendering Index (CRI) — How accurately colors appear. Use CRI ≥80 for landscapes and ≥90 where color fidelity matters.
- IP Rating — Weather protection. Use IP65 or higher for exposed fixtures; IP44 is minimum for covered outdoor use.
- Beam angle and shielding — Narrow beams for accents (15°–30°), wide beams for area lighting (60°–120°). Choose full cutoff / shielded fixtures to reduce glare and light trespass.
- Voltage — Low-voltage (12V) systems are safe for DIY landscape lighting; line-voltage (120V) is common for area and security lights.
Use this short purchasing checklist when comparing fixtures:
- Specified lumens and lm/W
- Color temperature (K) and CRI
- IP rating and material corrosion resistance
- Warranty (3–10 years for quality LEDs)
- Compatibility with dimmers/sensors and smart systems
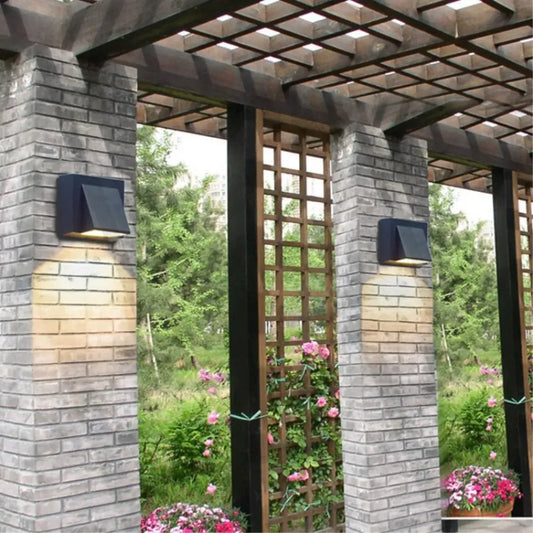
Designing outdoor lighting for safety and curb appeal
Plan lighting by tasks—visibility, orientation, safety, and accent—to balance illumination and aesthetics while minimizing energy waste.
A focused design improves safety without over-lighting. Match light levels to the activity and emphasize routes, hazards, and key architectural features.
Task-based placement and recommended lumen ranges
- Pathways: 100–200 lumens per fixture; spacing to avoid dark gaps.
- Steps and stairs: 100–300 lumens per step or riser lighting to prevent trips.
- Entrances and porches: 300–800 lumens for safe entry and facial recognition.
- Driveways: 500–1,000 lumens for navigation and vehicle safety.
- Accent on architecture or trees: 50–300 lumens with narrow beams and dimming.
- Security floodlights: 700–2,000 lumens depending on coverage and mounting height; use motion sensors and timers.
Practical layout tips
- Light the path before the feature: illuminate routes first, then accents.
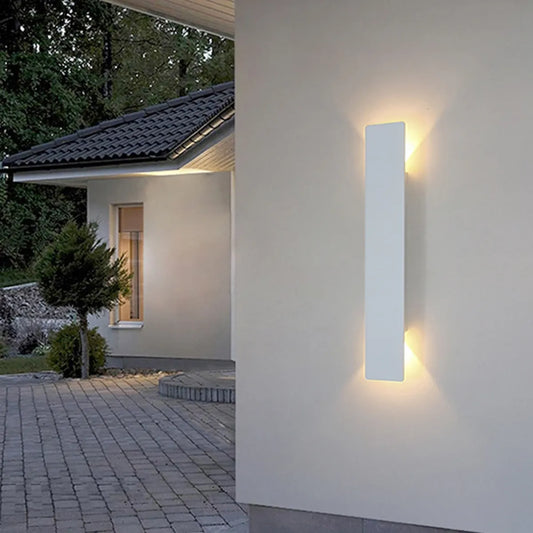
- Use layered lighting—ambient, task, and accent—to create depth without glare.
- Place fixtures close to the ground for pathways and up-light architecture sparingly to prevent light trespass.
- Choose shielded fixtures and aim lights downward to reduce glare and protect neighbors and wildlife.
🌟 "Swapping to warm LEDs and adding motion sensors cut our electric bill and made the house feel safer without glaring light." — Local homeowner review
Controls, sensors, and smart integration to save energy
Smart controls—timers, photocells, motion sensors, and dimming—cut run-time and energy while keeping lights ready when needed.
Controls are often the fastest payback in an outdoor lighting upgrade. They let you reduce hours of operation and lower light levels during low-need times.
Common control options and benefits
- Photocells (dusk-to-dawn): Switch lights automatically at night. Best for constant perimeter and pathway lights.
- Motion sensors: Activate high-output lights only on demand, excellent for security and large-area lights.
- Timers and schedules: Simple, programmable savings for predictable nighttime hours.
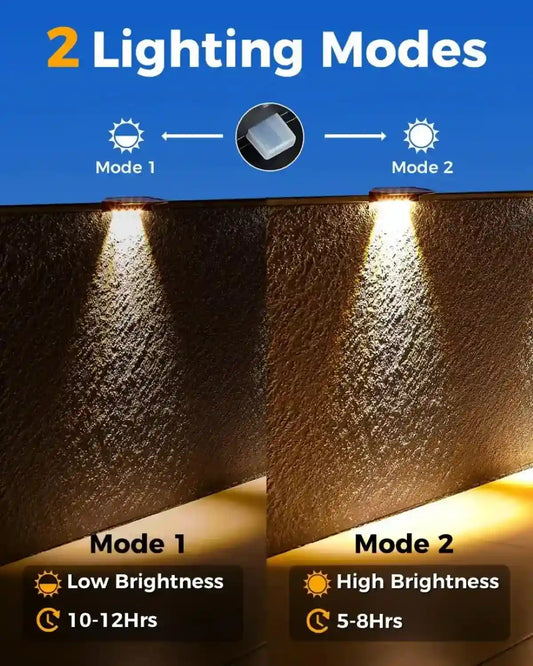
- Dimmers and step-dimming: Lower output during late-night hours to save energy and reduce glare.
- Smart control hubs / apps: Integrate schedules, zones, and remote control; can combine motion + scheduling for optimal performance.
Energy impact of controls (example)
Example: A 1,000-lumen LED floodlight rated 30 W running 12 hours nightly consumes ~10.8 kWh monthly. Adding a motion sensor that reduces run-time to 2 hours active + 1 hour dim nightly cuts use to ~2.1 kWh — an 80% reduction. Combine sensors and dimming for deeper savings.
Installation, maintenance, and safety considerations
Proper installation and upkeep ensure fixtures meet performance expectations, last longer, and stay safe in wet or harsh conditions.
Installation best practices
- Follow manufacturer instructions and local electrical codes; when in doubt hire a licensed electrician.
- Use properly sized transformers for low-voltage systems; undersized transformers cause voltage drop and dim lamps.
- Ensure fixtures have adequate IP ratings for their exposure—IP65 for exposed fixtures, IP44 for covered areas.
- Mount fixtures on stable surfaces and avoid placing lights where water pools or wiring can freeze.
Routine maintenance checklist
- Clean lenses and solar panels annually to maintain output.
- Inspect seals and gaskets; replace or reseal if cracked.
- Test photocells, sensors, and smart connections seasonally.
- Replace batteries in solar units every 3–5 years, or sooner if capacity drops.
- Keep planting trimmed away from fixtures to prevent overheating and blocked beams.
Good maintenance extends life and keeps fixtures in warranty. Many quality LED fixtures carry 5–10 year limited warranties—keep records and receipts.
Environmental and regulatory considerations
Reduce light pollution, protect wildlife, and comply with local ordinances by using shielded, appropriately colored, and timed lighting.
Uncontrolled lighting harms wildlife—especially coastal species. For example, sea turtles are disoriented by beachfront lighting; the U.S. Fish & Wildlife Service provides guidance for turtle-friendly lighting to reduce hatchling mortality (U.S. Fish & Wildlife Service — Sea Turtles).
Minimize light pollution and protect wildlife
- Use warm color temperatures (≤3000K) near natural habitats to minimize blue light impacts.
- Use full-cutoff fixtures that direct light downward, not into the sky.
- Limit uplighting and avoid unnecessary overnight illumination on sensitive habitats.
- Follow local/municipal dark-sky ordinances—National Park Service offers best practices for reducing sky glow (NPS — Night Skies).
Local codes and HOA rules
Check local building codes and homeowners association rules before changing exterior lighting. Some areas restrict brightness, fixture style, or hours of operation to protect neighbors and wildlife.
Budgeting, incentives, and expected ROI
Calculate upfront cost versus operating savings, factor in rebates, and plan for the expected lifetime to estimate payback and long-term savings.
LED fixtures cost more initially but save money quickly through lower energy use and fewer replacements. Rebates and incentives often shorten payback periods.
Typical costs and payback example
- Average garden/fixture LED cost: $40–$150 per fixture (quality depends on brand, lumen output, and features).
- Smart controls / sensors: $20–$150 each depending on type and integration.
- Professional installation: $150–$600+ depending on scope.
Simple payback example (rounded):
- Replace four 50 W halogen path lights (200 W total) with four 10 W LED fixtures (40 W total).
- Running 10 hours/night, halogens use 60 kWh/month; LEDs use 12 kWh/month — savings 48 kWh/month.
- At $0.15/kWh, monthly savings ≈ $7.20; annual ≈ $86.40.
- If upgrade cost = $400, simple payback ≈ 4.6 years, plus ongoing lower maintenance and replacement savings.
Rebates and funding sources
- Check ENERGY STAR rebates and programs at energystar.gov.
- Look for local utility rebates for LED fixtures, smart controls, and whole-home upgrades—many utilities publish rebate listings online.
- Municipal or state energy offices and federal programs may offer grants for exterior lighting efficiency in public or multifamily projects; see Energy.gov resources for programs (Energy.gov).
Choosing fixtures: a step-by-step decision guide
Follow a clear decision path to choose fixtures that meet safety, aesthetic, budget, and environmental goals.
- Define needs: safety (paths, stairs), orientation (entrance, driveway), and accents (trees, façade).
- Set performance targets: lumens per task, CCT, CRI, and IP rating.
- Choose technology: LED for most uses; solar for remote/low-output roles.
- Select fixtures with shielding and appropriate beam angles to avoid glare and trespass.
- Add controls: photocells for dusk-to-dawn, motion sensors for security, and scheduling/dimming for late-night savings.
- Install and test at night; tune aim and timings to achieve desired look and minimize over-lighting.
- Register warranties and document product specs for future maintenance or replacement.
Case studies and real-world outcomes
Upgrades in residential and municipal projects show consistent energy and maintenance savings when high-quality LEDs and controls are used.
Example outcomes reported by municipalities and energy programs include:
- Reduction of outdoor lighting energy use by 40–80% after LED upgrades and controls installation.
- Maintenance declines from frequent lamp replacements to multi-year intervals for LED fixtures, saving labor costs.
- Improved nighttime visibility and perceived safety without increasing light pollution when fixtures were properly shielded and color temperature was reduced.
Government and research organizations provide further validation of LED savings and best practices for fixture selection—see U.S. Department of Energy resources on LED and outdoor lighting approaches (Energy.gov – Lighting Choices) and broader solid-state lighting research at the National Renewable Energy Laboratory (NREL).
Frequently asked questions (FAQs)
1. Are LEDs really worth the higher upfront cost for outdoor use?
Yes. LEDs have higher initial costs but deliver 50–80% energy savings, greatly reduced maintenance, and longer lifespans (often 25,000–50,000+ hours). Typical residential payback is 3–7 years depending on usage and local electricity rates.
2. What color temperature is best for my yard?
For most residential yards, 2700–3000K offers warm, attractive light that minimizes blue light impacts. For security areas where clarity is important, 3000–4000K may be acceptable. Avoid >4000K in residential settings to reduce glare and potential wildlife disruption.
3. How bright should pathway and step lights be?
Pathways: about 100–200 lumens per fixture. Steps: 100–300 lumens focused on the riser or tread. Run tests at night and reduce rather than increase—overlighting causes glare and wastes energy.
4. Can I mix solar lights with hardwired LEDs?
Yes, but expect performance differences. Use solar for low-output, temporary, or remote locations. Hardwired LEDs are better for consistent, higher-output needs and integrate easily with timers and sensors.
5. What IP rating do my outdoor fixtures need?
Choose at least IP44 for protected outdoor locations (covered porches). For exposed fixtures that face weather, use IP65 or higher to ensure dust and water resistance.
6. How do motion sensors and photocells work together?
Photocells handle night-only switching (dusk-to-dawn). Motion sensors add activation for higher light levels only when needed. Combined systems can use photocells to enable night mode and motion sensors to boost output on demand.
7. Are there rebates for outdoor LED upgrades?
Yes. Many utilities and ENERGY STAR programs offer rebates for qualifying LED fixtures and controls. Check ENERGY STAR and your local utility’s website for current incentives and lists of eligible products.
8. Will outdoor lighting affect local wildlife?
It can. Blue-rich, unshielded lights disrupt insects, birds, and sea turtles. Use warm-color, shielded fixtures and minimize overnight illumination near sensitive habitats. The U.S. Fish & Wildlife Service and park agencies provide specific guidance for coastal and protected areas.
9. What maintenance do LEDs require?
Minimal maintenance: occasional cleaning of lenses, inspection of seals, and testing controls. Solar units need battery replacement every 3–5 years. Keep records of purchase and warranty details.
10. Can smart home systems control my outdoor lighting?
Yes. Many LED fixtures and drivers support smart hubs, Wi‑Fi, Z-Wave, or Zigbee controllers. Smart systems allow scheduling, scene setting, geo-fencing, and integration with security systems for better energy use and convenience.
If you’d like, I can draft a customized lighting plan for your property—tell me the layout (front yard, driveway, pathways, trees), preferred style (modern, classic, hidden), and approximate budget, and I’ll provide fixture and control recommendations with estimated costs and energy savings.


 />
/>
 />
/>
 />
/>
 />
/>
 />
/>