
How to Install an Outdoor Lamp Post: A Step-by-Step Guide for Homeowners
Share
Installing an outdoor lamp post not only enhances your property’s curb appeal but also provides additional security and lighting to your outdoor spaces. Whether you’re looking to illuminate your driveway, front yard, or garden, knowing the right steps for installation is crucial. This guide walks you through the process of installing an outdoor lamp post, ensuring that it’s securely mounted and functions optimally for years to come.
Table of Contents
- 1. Why Install an Outdoor Lamp Post?
- 2. Choosing the Right Location for Your Lamp Post
- 3. How Deep Should You Dig for an Outdoor Lamp Post?
- 4. Proper Height for Outdoor Lamp Post Installation
- 5. Step-by-Step Guide to Installing Your Outdoor Lamp Post
- 6. Safety Considerations for Installing an Outdoor Lamp Post
- 7. How to Replace or Upgrade Your Outdoor Lamp Post
1. Why Install an Outdoor Lamp Post?

Outdoor lamp posts are more than just decorative elements. They serve as important functional features that enhance security and visibility in your yard. A well-placed lamp post can light up dark walkways, deter trespassers, and highlight landscaping features. It’s also an easy way to add curb appeal and increase your home’s aesthetic value.
For security purposes, lighting is a proven deterrent against burglars. According to a study by the International Association of Crime Prevention, homes with well-lit outdoor spaces are 30% less likely to be targeted by criminals. Furthermore, a stylish lamp post can add a sophisticated charm to your outdoor decor.
2. Choosing the Right Location for Your Lamp Post
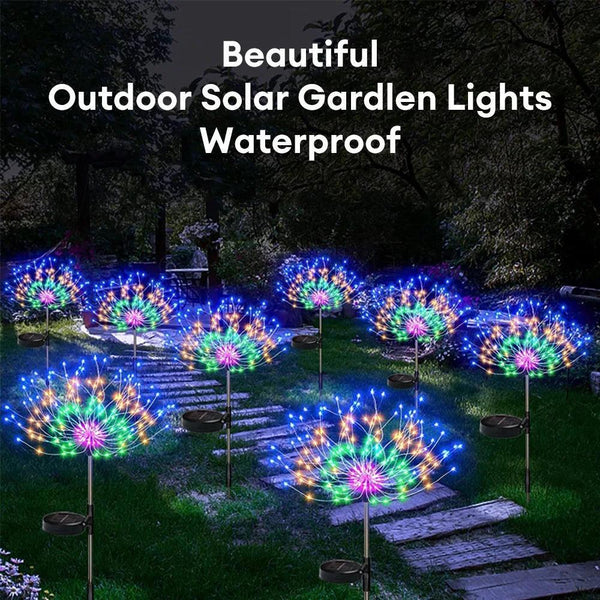
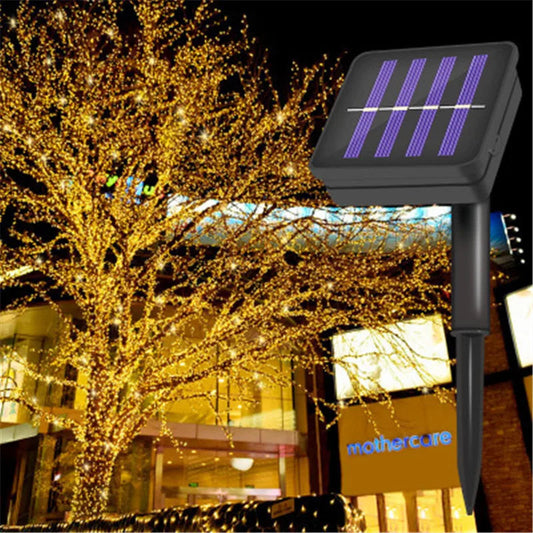
LED Outdoor Solar Firework Light With IP65 Waterproof
Before you start digging, consider where the lamp post will be most effective. The goal is to provide sufficient lighting to important areas such as your driveway, front walkway, or garden. Here are key factors to think about when choosing the location:
- Proximity to Power Source: Ensure that your chosen spot is near a power source if you’re not using solar lights. Wiring can be tricky, so placing the post near an existing electrical line will save time and effort.
- Visibility and Purpose: If the post is for security, choose a spot that lights up the path to your door or covers the entire driveway. For decorative purposes, position the post to highlight specific features like your front porch or garden.
- Avoiding Obstructions: Make sure the lamp post won’t be blocked by trees, bushes, or other structures. Ensure it’s placed in a clear area where it will illuminate the space effectively.
3. How Deep Should You Dig for an Outdoor Lamp Post?
One of the most critical aspects of installing an outdoor lamp post is ensuring a solid, stable foundation. The depth of the hole depends on the size of the lamp post and the soil conditions. Here’s a general guideline:
- Depth: Dig the hole at least 2 to 3 feet deep. If you're installing a heavy post or a tall lamp post, deeper holes are recommended to provide greater stability.
- Width: The hole should be about 12-18 inches wide to accommodate the base of the post and allow space for concrete reinforcement.
- Soil Considerations: In rocky or sandy soil, you may need to adjust the depth or use a wider base to ensure stability. For clay or firm soils, a standard depth will suffice.
Ensure the hole is deep enough to secure the post but not too deep that it becomes difficult to work with. Using a post-level or plumb line to ensure it is straight is key before pouring concrete.
4. Proper Height for Outdoor Lamp Post Installation
The height of your outdoor lamp post is another factor to consider. The general rule of thumb is to install the post so that the lamp is around 6 to 8 feet above ground level. However, the ideal height can vary based on the lamp’s purpose:
- Driveways and Walkways: For general illumination, a height of 6-7 feet is perfect. This ensures that the light casts evenly along the path without being too harsh.
- Security Purposes: If the goal is security, a taller post (8-10 feet) might be necessary to provide better coverage of the area and to deter burglars from tampering with the light.
- Decorative Posts: For decorative purposes, you can opt for a slightly shorter post to highlight landscaping or outdoor features. Around 6 feet is typically sufficient for this.
Height can also depend on the bulb's brightness and the area being lit. Test the height before permanently installing the post to ensure it provides adequate coverage.
5. Step-by-Step Guide to Installing Your Outdoor Lamp Post
Now that you’ve chosen the location and have the tools, it’s time to start the installation process. Here’s a detailed step-by-step guide:
- Prepare the Site: Clear the area where the lamp post will be installed, ensuring it’s free from debris or obstructions.
- Dig the Hole: Using a shovel or post hole digger, dig the hole to the proper depth and width. Check the depth with a tape measure to ensure accuracy.
- Add Gravel: Place a layer of gravel at the bottom of the hole. This helps with drainage and keeps the post secure.
- Position the Post: Insert the post into the hole, ensuring it is level and centered. Use a level to ensure it’s perfectly straight.
- Pour Concrete: Fill the hole with quick-setting concrete. Allow the concrete to set for at least 24 hours before continuing with the installation.
- Wire the Lamp (If Applicable): If your post requires wiring, follow the manufacturer’s instructions to connect the wiring properly. Ensure all electrical connections are secure and waterproof.
- Mount the Lamp: Once the post is set, mount the light fixture on top of the post. Follow the manufacturer’s instructions for attaching the light.
6. Safety Considerations for Installing an Outdoor Lamp Post
Safety is crucial when working with electrical components outdoors. Keep these tips in mind:
- Use Waterproof Fixtures: Ensure your light fixture is designed for outdoor use and is waterproof to avoid damage from rain or snow.
- Electrical Safety: If you are wiring the lamp post, ensure you turn off the power at the breaker before working. Use outdoor-rated extension cords and connectors.
- Avoid Overloading Circuits: Ensure that the lamp post’s electrical load doesn’t overload the outdoor circuit. Consult with a professional electrician if you’re unsure.
- Grounding: Always ground the lamp post properly to avoid electrical hazards. Improper grounding can lead to shocks or fires.
7. How to Replace or Upgrade Your Outdoor Lamp Post
If you’re replacing an old lamp post or upgrading to a newer model, follow these steps:
- Remove the Old Post: If you're replacing a post, carefully remove the old fixture. You may need to disconnect the wiring first.
- Inspect the Wiring: Check for any wear or damage to the existing wiring. Replace damaged sections before installing the new post.
- Install the New Post: Follow the same installation steps as outlined earlier, ensuring the new post is level and properly wired.
- Upgrade the Fixture: When upgrading, ensure the new lamp fixture is compatible with the existing wiring and post.
Upgrading allows you to enjoy better lighting, improved security, and a more aesthetically pleasing look for your outdoor space.
By following these steps and tips, you can install an outdoor lamp post that enhances the safety, security, and beauty of your home. Whether you're replacing an old post or installing a new one, a well-installed lamp post adds both functionality and aesthetic appeal to your outdoor space.
Related Articles:












 />
/>
 />
/>
 />
/>
 />
/>
 />
/>
 />
/>