
Choosing the Right Recessed Puck Lighting for Your Space: 5 Essential Factors to Consider
Choosing recessed puck lighting is easier when you treat it like a five-factor decision: cutout and trim size, color quality, brightness and beam, layout and spacing, and installation constraints. Use this guide to pick recessed puck lights that look clean, light evenly, and stay reliable.
Table of Contents
- Understanding Recessed Puck Lighting
- Factor 1: Size and Cutout Dimensions
- Factor 2: Color Temperature and CRI
- Factor 3: Brightness (Lumens) and Beam Spread
- Factor 4: Layout, Spacing, and How Many Lights
- Factor 5: Installation Constraints, Safety, and Compatibility
- Frequently Asked Questions About Recessed Puck Lighting
- Final Thoughts: Next Steps
Understanding Recessed Puck Lighting
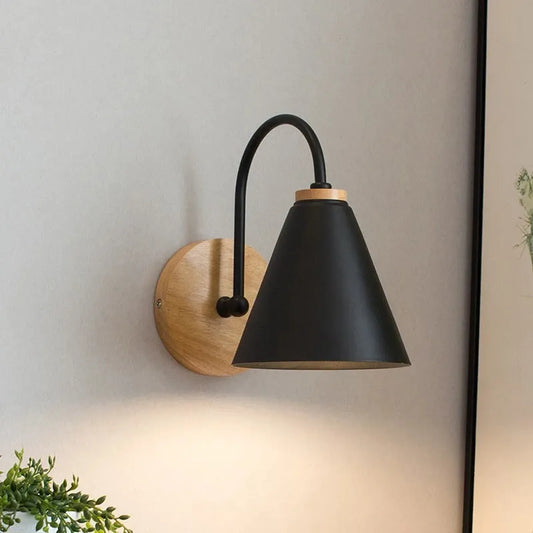
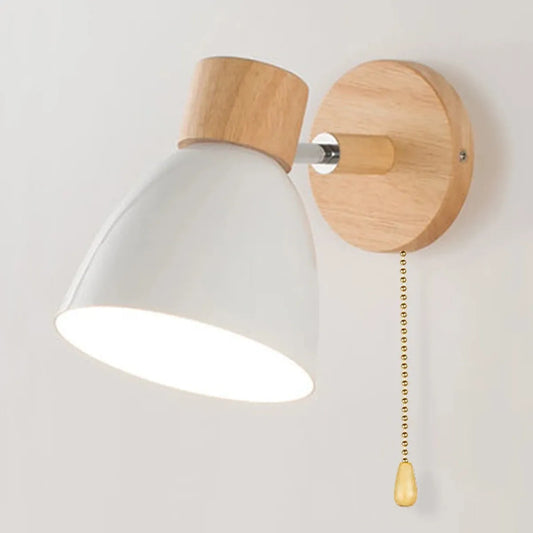
Recessed puck lights are compact fixtures designed to sit flush (or near flush) with a surface, hiding most of the body inside the ceiling, cabinet, shelf, or wall. They’re used when you want focused light with a minimal look and less visual clutter than surface-mounted fixtures.
Factor 1: Size and Cutout Dimensions
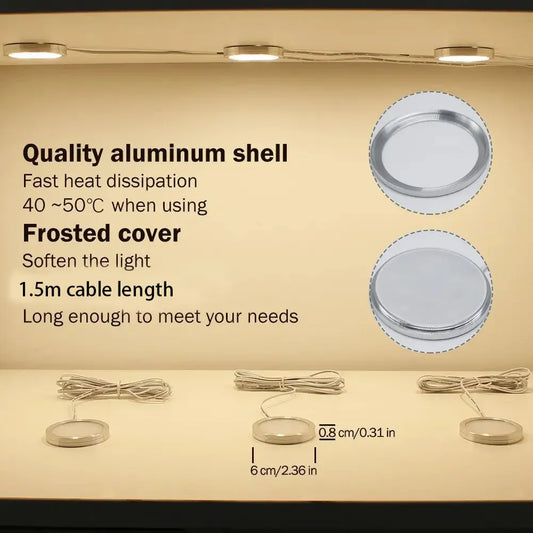
Size matters because it determines what will physically fit and how “finished” the light looks. Always choose by cutout diameter and mounting depth, not just the advertised trim size.
What to measure before you buy
- Cutout space: the hole size the puck requires
- Ceiling or panel thickness: especially for cabinetry and shelves
- Clearance behind the surface: space for the puck body and any driver/controller
| Size Class | Typical Diameter | Best For | Watch Out For |
|---|---|---|---|
| Small | 2.5–3 in | Cabinets, shelves, tight ceiling areas | Smaller trim can show more hot spots if beam is narrow |
| Medium | 3–3.5 in | Kitchens, hallways, work zones | Requires enough depth clearance for recessed body |
| Large | 3.5–4 in | Open spaces, broader wash | Can feel visually heavy if spaced too tightly |
Factor 2: Color Temperature and CRI
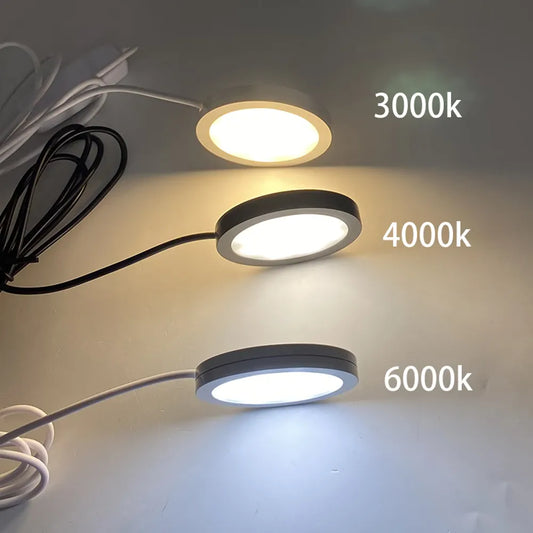
Color temperature (CCT) sets the mood, and CRI affects how natural colors look on surfaces, food, and fabrics. Choose CCT/CRI first if the space is visually sensitive (kitchens, closets, displays).
Quick selection rules
- 2700K–3000K: warm and cozy for living rooms and bedrooms
- 3500K–4000K: neutral and practical for kitchens, closets, and work areas
- 5000K+: crisp and “daylight” for detail work, garages, and utility spaces
For most homes, aim for CRI 80+ as a baseline. If you’re lighting a wardrobe, food prep area, or a display shelf, higher CRI often looks better because colors appear more accurate.
LEDs are efficient and long-lasting compared with older bulbs, which is why most recessed puck options are LED. See the U.S. Department of Energy for a plain-English overview (energy.gov).
Factor 3: Brightness (Lumens) and Beam Spread
Brightness is not just lumens. Beam spread decides whether you get smooth coverage or visible circles. The best recessed puck lighting balances enough lumens with a beam wide enough to blend.
Lumen starting points (per puck)
- Accent / display: 150–300 lumens
- Closets / pantries: 200–400 lumens
- Task zones: 400–700 lumens, especially if ceiling height is higher or surfaces are dark
If you’re getting hot spots, you usually don’t need “more lumens.” You need a wider beam, better placement, or more fixtures at lower output.
💡 Lumaz tip: A cleaner recessed puck setup usually comes from more even coverage, not higher peak brightness. If your surface looks scalloped, tighten spacing or choose a wider beam before you crank lumens.
Factor 4: Layout, Spacing, and How Many Lights
Layout is where recessed puck lighting either looks professional or looks like random dots. Plan for even coverage first, then adjust for task zones and obstacles.
A simple spacing approach
- Start with 18–24 inches between pucks for general coverage, then tighten if beams are narrow or ceilings are higher.
- Use symmetry in visible areas, but shift slightly to avoid placing a puck directly above reflective glare zones.
- Prioritize task zones (sink, prep, desk) over perfect centerline spacing.
💬 “My first layout looked like bright circles on the counter. Once I tightened spacing and moved the lights slightly back, the whole run looked smoother and more intentional.”
Factor 5: Installation Constraints, Safety, and Compatibility
Installation constraints decide what’s possible in your ceiling or cabinet: depth, wiring access, location rating, and dimmer compatibility. This is the factor that prevents rework.
Compatibility checks that save time
- Power type: hardwired vs plug-in vs battery (choose based on permanence and access to power)
- Driver/transformer needs: low-voltage systems require a compatible driver and enough capacity
- Dimming: confirm the fixture and driver support dimming and what dimmer type is required
- Location rating: damp locations (bathrooms, covered outdoors) need properly rated fixtures
For deeper lighting education and terminology, the Lighting Research Center at Rensselaer Polytechnic Institute is a solid reference (rpi.edu).
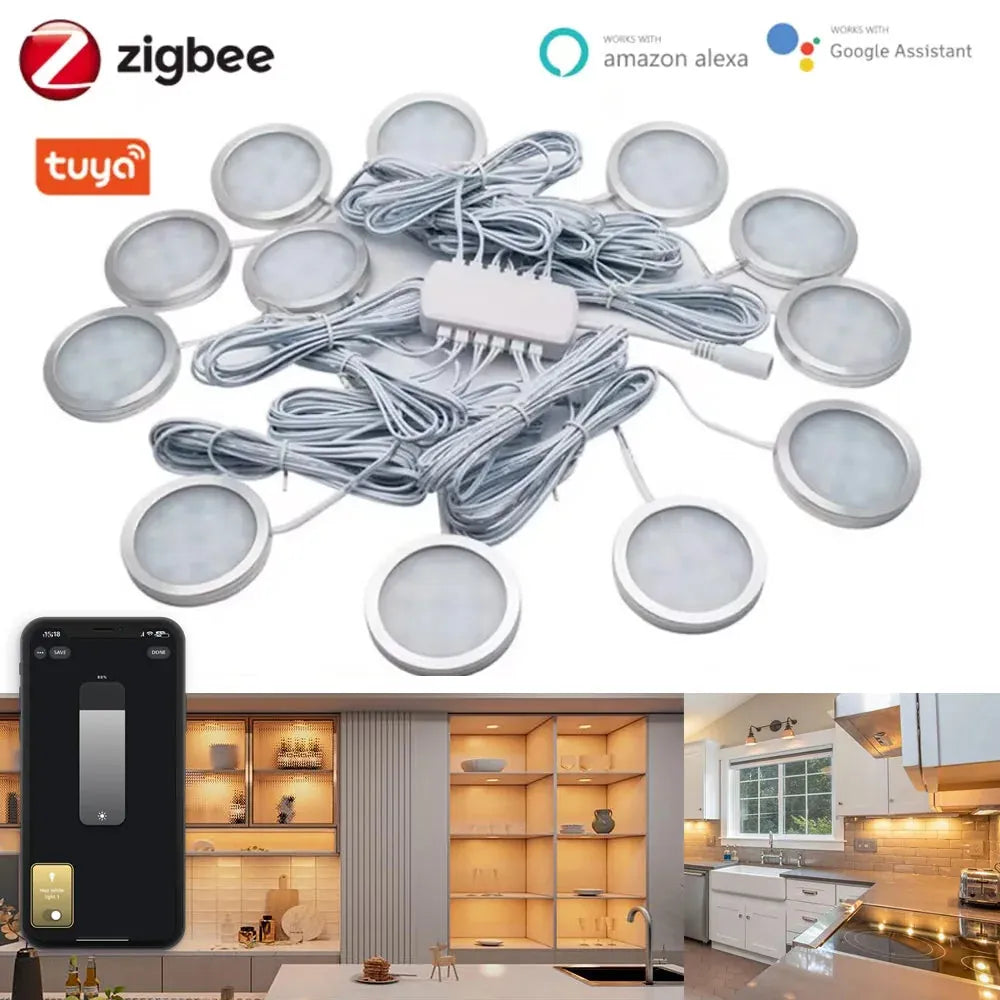
For users facing tight depth limits or limited wiring access, ultra-slim fixtures can reduce installation risk. Tuya Zigbee Smart Under Cabinet LED Puck Lights (12V, full kit) are not recessed, but their slim ~8 mm profile makes them easy to install in cabinets or shelves where traditional recessed puck lights aren’t practical, while still offering app and voice control compatibility.
Frequently Asked Questions About Recessed Puck Lighting
These FAQs cover common buying questions people ask when choosing recessed puck lighting.
What is the difference between recessed puck lights and recessed can lights?
Recessed puck lights are smaller, more targeted fixtures typically used for compact accent or task zones. Recessed can lights are larger downlights designed for broader general illumination.
How far apart should recessed puck lights be?
Many layouts start around 18–24 inches apart, then adjust based on beam spread, ceiling height, and the surface you want to light. Narrow beams and higher ceilings usually need tighter spacing.
Is 300 lumens bright enough for recessed puck lighting?
It can be for accent, display, and some closets, but task zones often need more output or more fixtures. If coverage looks uneven, widen the beam or add a puck rather than relying on one very bright point.
Do recessed puck lights need a transformer?
Low-voltage puck systems typically need a driver/transformer to convert household AC to the correct low-voltage output. Always match driver output to the fixture’s requirements and total wattage.
How do I avoid glare from recessed puck lights?
Use a wider beam, avoid placing pucks directly in the primary viewing line, and position them to wash surfaces rather than pointing into eyes. Dimming helps too.
Final Thoughts: Next Steps
The “right” recessed puck lighting choice comes from matching the five essentials to your space: fit and cutout, color quality, brightness and beam, layout, and installation constraints. Once those are aligned, the result looks clean and performs consistently.
Further Reading
Explore the full guide for this topic: Puck Lights: A Complete Guide to Choosing and Using Them
Related Articles
- Puck Lights vs. Other Lighting Solutions: A Comprehensive Comparison for Every Space
- Expert Tips for Installing and Using LED Puck Lights in Your Home
- Top 8 Puck Lights for Kitchens, Closets, and Displays
- How to Choose the Best Rechargeable Puck Lights
- How to Choose the Right Battery Operated Puck Lights?


 />
/>
 />
/>
 />
/>
 />
/>
 />
/>