
How to Install and Replace Puck Lights on Ceilings and Under Cabinets
Installing and replacing puck lights in your home can dramatically enhance both functionality and ambiance, especially in key areas like ceilings and under cabinets. Whether you’re looking to add task lighting in the kitchen or create a modern look with ceiling lighting, this guide will walk you through the installation, removal, and replacement of puck lights. By following these expert tips, you’ll ensure your lighting is both aesthetically pleasing and efficient, while avoiding common mistakes.
Table of Contents
- How to Install Puck Lights on Ceilings
- How to Install Puck Lights Under Cabinets
- How to Remove Puck Lights
- How to Replace Puck Lights
- How Do You Take Apart a Puck Light
- Conclusion
How to Install Puck Lights on Ceilings
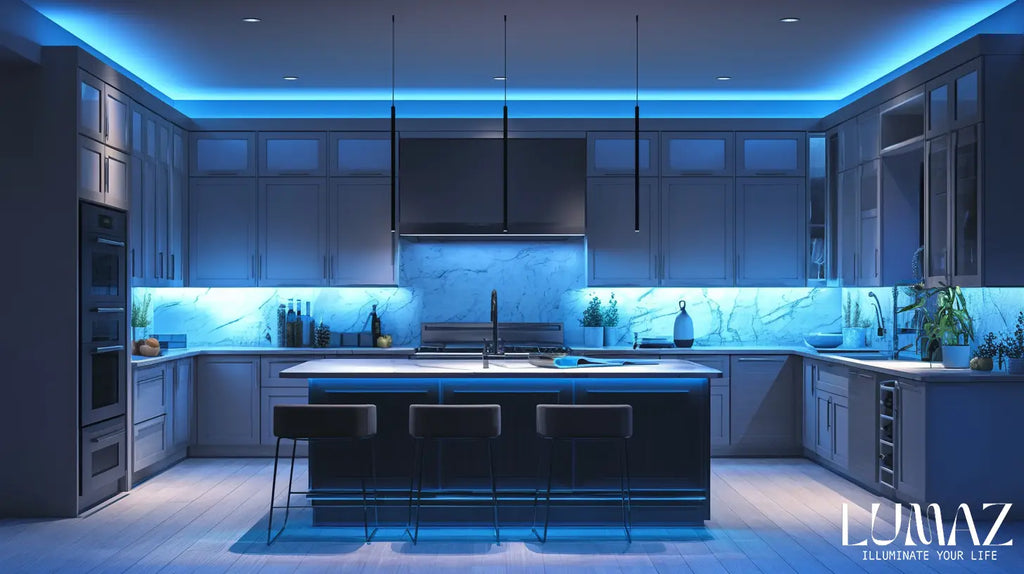
Ceiling-mounted puck lights are ideal for providing ambient or accent lighting, and they can give a sleek, modern look to any room. Here’s how you can install them:
- Plan and Measure: Space the lights 3-4 feet apart for even light distribution. Mark the locations carefully to avoid misalignment.
- Drill Holes: For recessed puck lights, use a hole saw to create openings that match the fixture size. If using surface-mounted lights, position the lights where they’ll be mounted.
- Run the Wires: For hardwired installations, run the wires through the ceiling and connect the lights in series for consistent power. Always make sure to secure the wiring with clips or conduit.
- Secure the Lights: Snap the recessed lights into the drilled holes or screw surface-mounted lights into place.
- Test the Lights: Turn the power back on and test each light to ensure they’re working properly.
With ceiling installations, lighting balance is crucial. Proper spacing and consistent power help avoid dark spots or overly bright areas, making the room more visually appealing.
How to Install Puck Lights Under Cabinets
Under-cabinet lighting is one of the most popular applications for LED puck lights, particularly in kitchens. Here’s a step-by-step guide to ensure optimal task lighting:
- Measure and Mark: To avoid shadows and ensure even light, install puck lights 8-12 inches apart along the cabinet's front edge. This distance works well for countertops typically 24 inches deep.
- Drill Holes for Recessed Lights: For recessed puck lights, drill holes under the cabinet. Surface-mounted lights can be directly adhered or screwed onto the surface.
- Wiring the Lights: For hardwired setups, connect the wires from each puck light in series, threading them through the back of the cabinet. This ensures even brightness across all lights.
- Install the Lights: Secure the lights with screws or adhesive backing, depending on your chosen style.
- Test the Setup: Turn on the lights to check for any shadows or uneven lighting. Adjust the position if necessary.
Under-cabinet puck lights not only brighten up workspaces but also add a layer of sophistication to kitchen design.
How to Remove Puck Lights
Whether hardwired or adhesive-mounted, removing puck lights without damaging the surface can be tricky. Here’s how to do it safely:
Removing Hardwired Puck Lights:
- Turn Off the Power: Always switch off the power at the circuit breaker before starting.
- Unscrew and Disconnect: Loosen the screws securing the puck light. Disconnect the wires using wire nuts to safely cap exposed wires if not replacing the light immediately.
Removing Adhesive-Backed Puck Lights:
- Heat the Adhesive: Use a hairdryer to gently heat the adhesive, making it easier to peel off without leaving damage or residue.
- Peel Carefully: Slowly lift the puck light while continuing to apply heat. Clean any leftover adhesive with isopropyl alcohol.
How to Replace Puck Lights
If your puck lights stop working or you want to upgrade, here’s how to replace them:
- Is the Power Off?: Always double-check that the power is turned off at the breaker before starting the replacement.
- Disconnect the Old Light: Unscrew the old light and disconnect the wiring. Make sure to cap the wires to avoid accidental short circuits.
- Connect the New Light: Wire the new puck light, following the manufacturer’s instructions, and secure it in place using screws or adhesive.
- Turn on the Power: Restore power at the breaker and test the new lights to ensure they are working properly.
By following these steps, you can replace old puck lights with minimal effort, ensuring consistent lighting in your home.
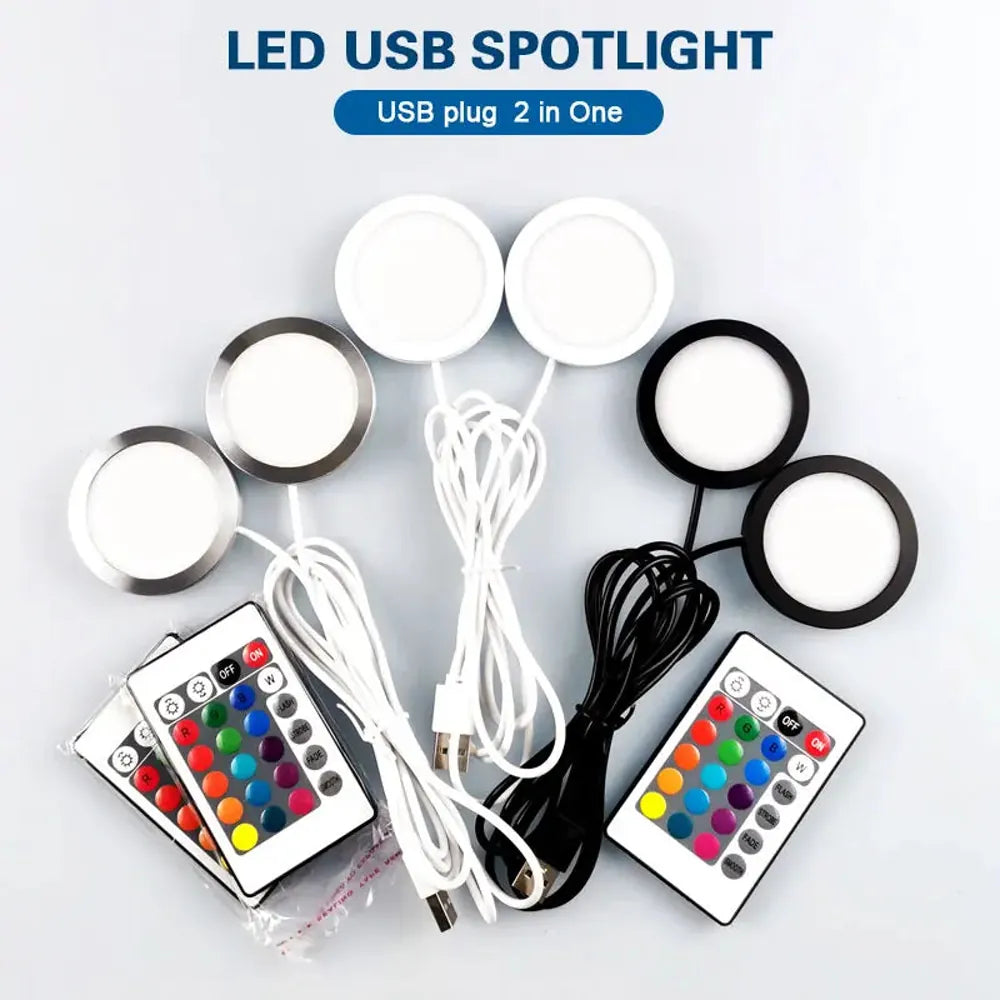
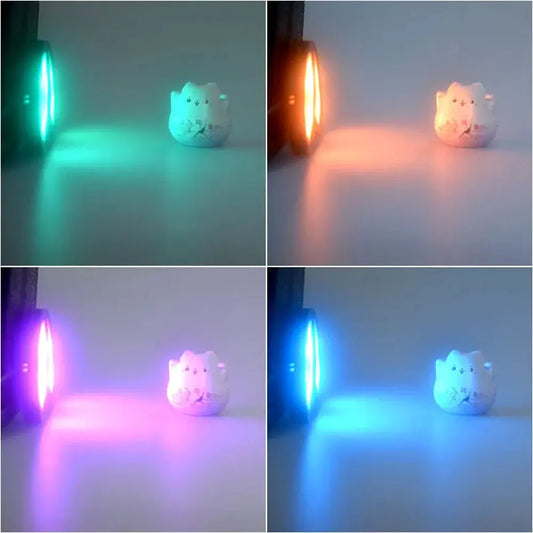
For users looking to upgrade or simplify replacements, easily removable puck lights can save time and effort. Dual-head 2-in-1 USB RGB under cabinet LED puck lights with remote control and 16-color options are ideal for quick swaps in kitchens or display areas, providing customizable lighting without complicated wiring.
How Do You Take Apart a Puck Light?
-
Turn Off the Power
Always start by turning off the power. If the puck light is hardwired, switch off the circuit breaker. For plug-in or battery-operated models, unplug or remove the batteries to ensure safety during disassembly. -
Remove the Light Cover or Lens
Use a small flathead screwdriver or a plastic pry tool to gently pop off the cover or lens. For most surface-mounted puck lights, the lens is held by clips or tabs—apply light, even pressure to avoid snapping them. For recessed puck lights, some covers twist off instead of popping off. -
Unscrew the Light from the Mount
Once the cover is removed, you’ll see screws securing the puck light to its base or the ceiling/cabinet surface. Use a screwdriver to unscrew these fasteners. For recessed models, gently twist or pull the puck light out of its housing. -
Disconnect the Wiring or Bulb
After the puck light is detached, carefully pull it away from its mounting to expose the wiring. If it's hardwired, unscrew the wire nuts to disconnect the wiring. For replaceable bulbs or LED panels, gently pull the light away from its socket or mounting clips.
Note:
Handle all components carefully, especially the wiring and connectors. Avoid pulling too hard, as this could damage the wires or internal components.
Conclusion
Mastering the installation and replacement of puck lights can significantly elevate your home’s lighting design. From the precise positioning of lights under cabinets to installing them seamlessly in ceilings, these versatile fixtures offer both practicality and style. Whether you’re upgrading your lighting system or replacing older units, following these step-by-step instructions ensures your puck lights will enhance your space for years to come.
Further Reading
Explore the full guide for this topic: How to Install Puck Lights: Placement, Wiring, and Layout Guide


 />
/>
 />
/>
 />
/>
 />
/>
 />
/>