
How to Choose Battery Operated Picture Lights for Your Home
Battery operated picture lights let you highlight artwork without wiring. This guide focuses on the specs that change how your frames look: beam control, lumens, color accuracy, battery/runtime, controls, and mounting.
Table of Contents
- What Battery Operated Picture Lights Do Best
- Specs That Actually Matter
- Choose a Style and Mounting Method
- Size and Place the Light to Avoid Glare
- Battery, Charging, and Maintenance
- Frequently Asked Questions
- Conclusion: Next Steps
What Battery Operated Picture Lights Do Best
Battery operated picture lights are cordless fixtures designed to illuminate artwork, photos, and wall décor when you don’t want visible cords or in-wall wiring. They’re ideal for rentals, stairways, and gallery walls you rearrange often.
Where they work best
- Small to medium frames where you want a clean, minimalist look
- Gallery walls where drilling and hiding cords would be messy
- Accent lighting for sculptures, collectibles, and shelves near artwork
Where you may want a different solution
- Very large art that needs long, even wash across a wide surface
- All-night lighting where battery changes would be frequent
- High-value or light-sensitive pieces where you want strict control over exposure time
Light damage is cumulative and irreversible. If the piece is valuable or light-sensitive, prioritize lower brightness, shorter daily run time, and a timer over “as bright as possible.” (Library of Congress: https://www.loc.gov/preservation/care/light.html)
Specs That Actually Matter
The best battery picture light is the one that lights your frame evenly without glare. Start with beam + placement, then choose brightness, color quality, battery system, and controls.
| Spec | What it changes | Good target for most homes | When to adjust |
|---|---|---|---|
| Lumens (brightness) | How “present” the art looks on the wall | 150–300 lm for most frames | Go higher for dark walls or deep frames; go lower for delicate paper |
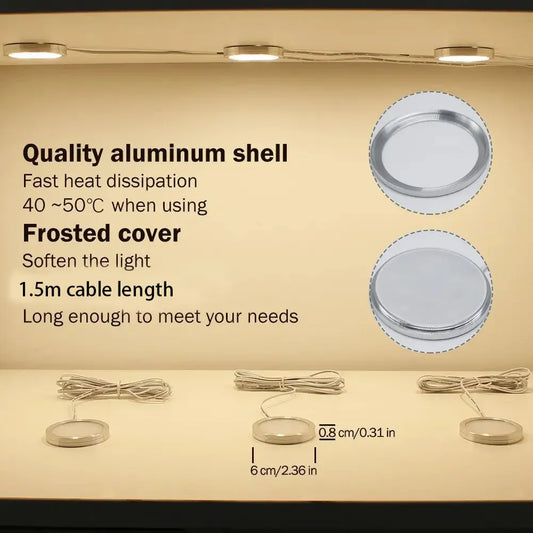
| Beam angle / optics | Evenness across the artwork | Wider beams for fewer hot spots | Narrow beams can work for small frames but show bright centers |
| CRI (color accuracy) | How natural pigments and skin tones look | CRI 90+ if you care about color fidelity | CRI 80+ is usually acceptable for casual décor |
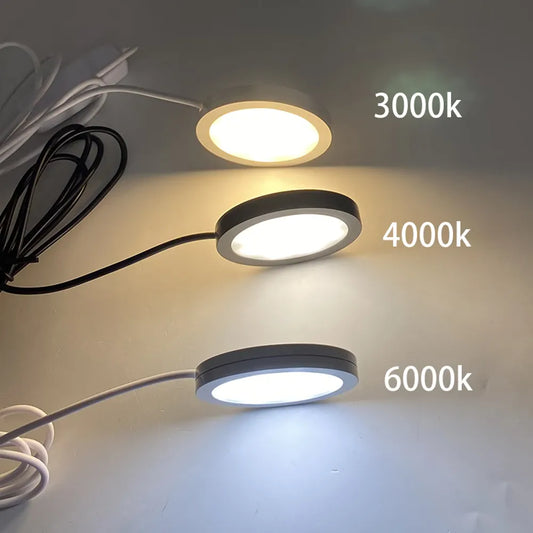
| CCT (color temperature) | Warm vs neutral vs cool appearance | 2700K–3000K for warm homes; 3500K for neutral | Match nearby lamps so the art doesn’t look “off” |
| Light length | Edge-to-edge coverage | About 1/2–2/3 of the artwork width | Go longer for wide pieces or mats that need even wash |
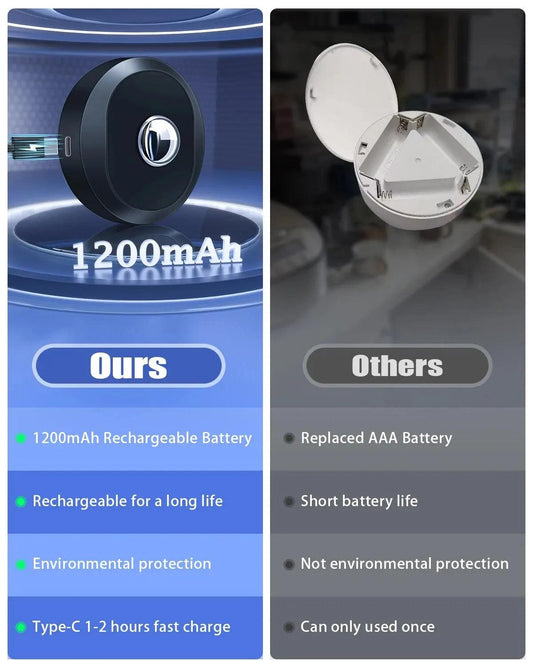
| Battery system | Convenience and long-term cost | Rechargeable if you run daily; replaceable for occasional use | Replaceable batteries help if you can’t easily access the light to charge |
| Controls | How often you actually use it | Remote + timer + dimming | Wall-switch feel requires hardwired/plug-in options |
For preservation-focused lighting, reducing exposure time matters as much as the light source itself. (NEDCC: https://www.nedcc.org/free-resources/preservation-leaflets/2.-the-environment/2.4-protection-from-light-damage)
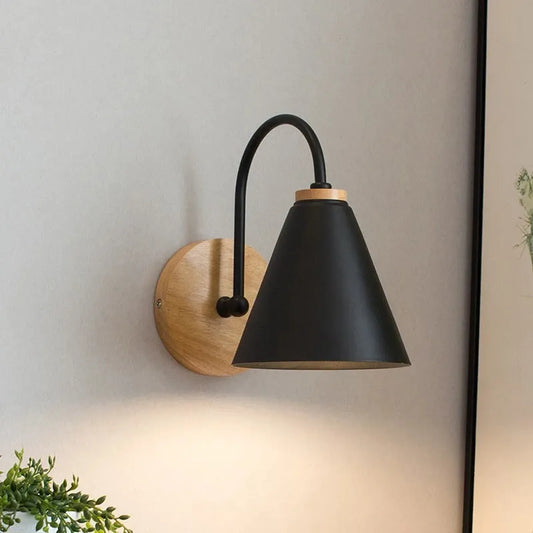
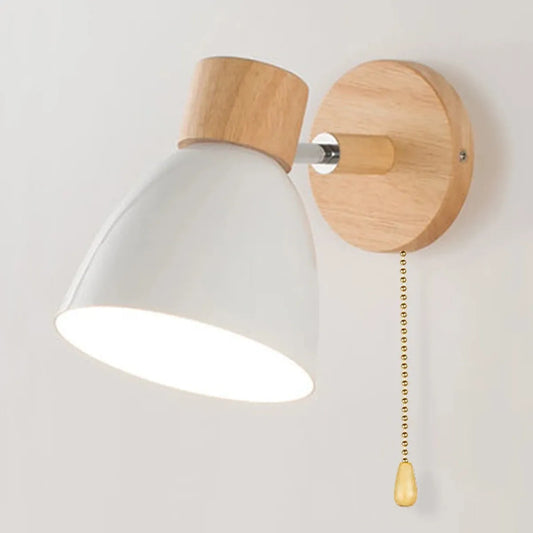
Choose a Style and Mounting Method
Style determines both the look and the light pattern. Pick the style that matches your frame depth, the wall surface, and how “built-in” you want the result to feel.
| Type | Best for | Strengths | Trade-offs |
|---|---|---|---|
| Bar-style picture light | Most framed art and gallery walls | More even wash across the frame | Needs correct length and careful placement |
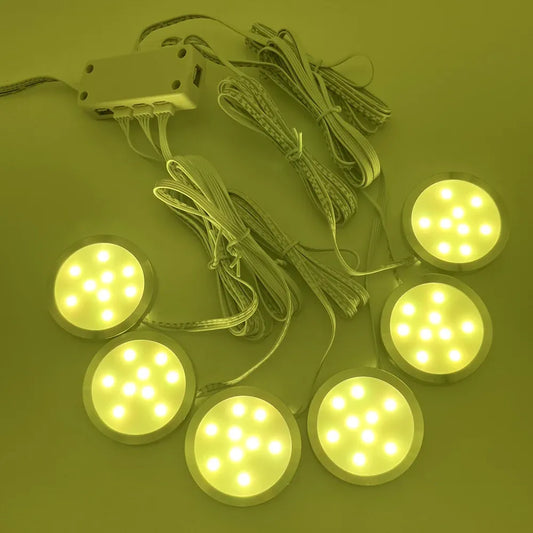
| Puck-style light | Small pieces, accent effects, collectibles near art | Compact, flexible, easy to hide | Hot spots are more likely without diffusion |
| Frame-mounted mini light | Lightweight frames and frequent rearranging | Moves with the frame | Limited output; may not clear deep mats |
Mounting options (and what they imply)
- Screw mount: most stable and aligned, best for long-term installs
- Adhesive mount: fastest, but alignment can drift over time on textured walls
- Magnetic mount: convenient for repositioning if the surface supports it
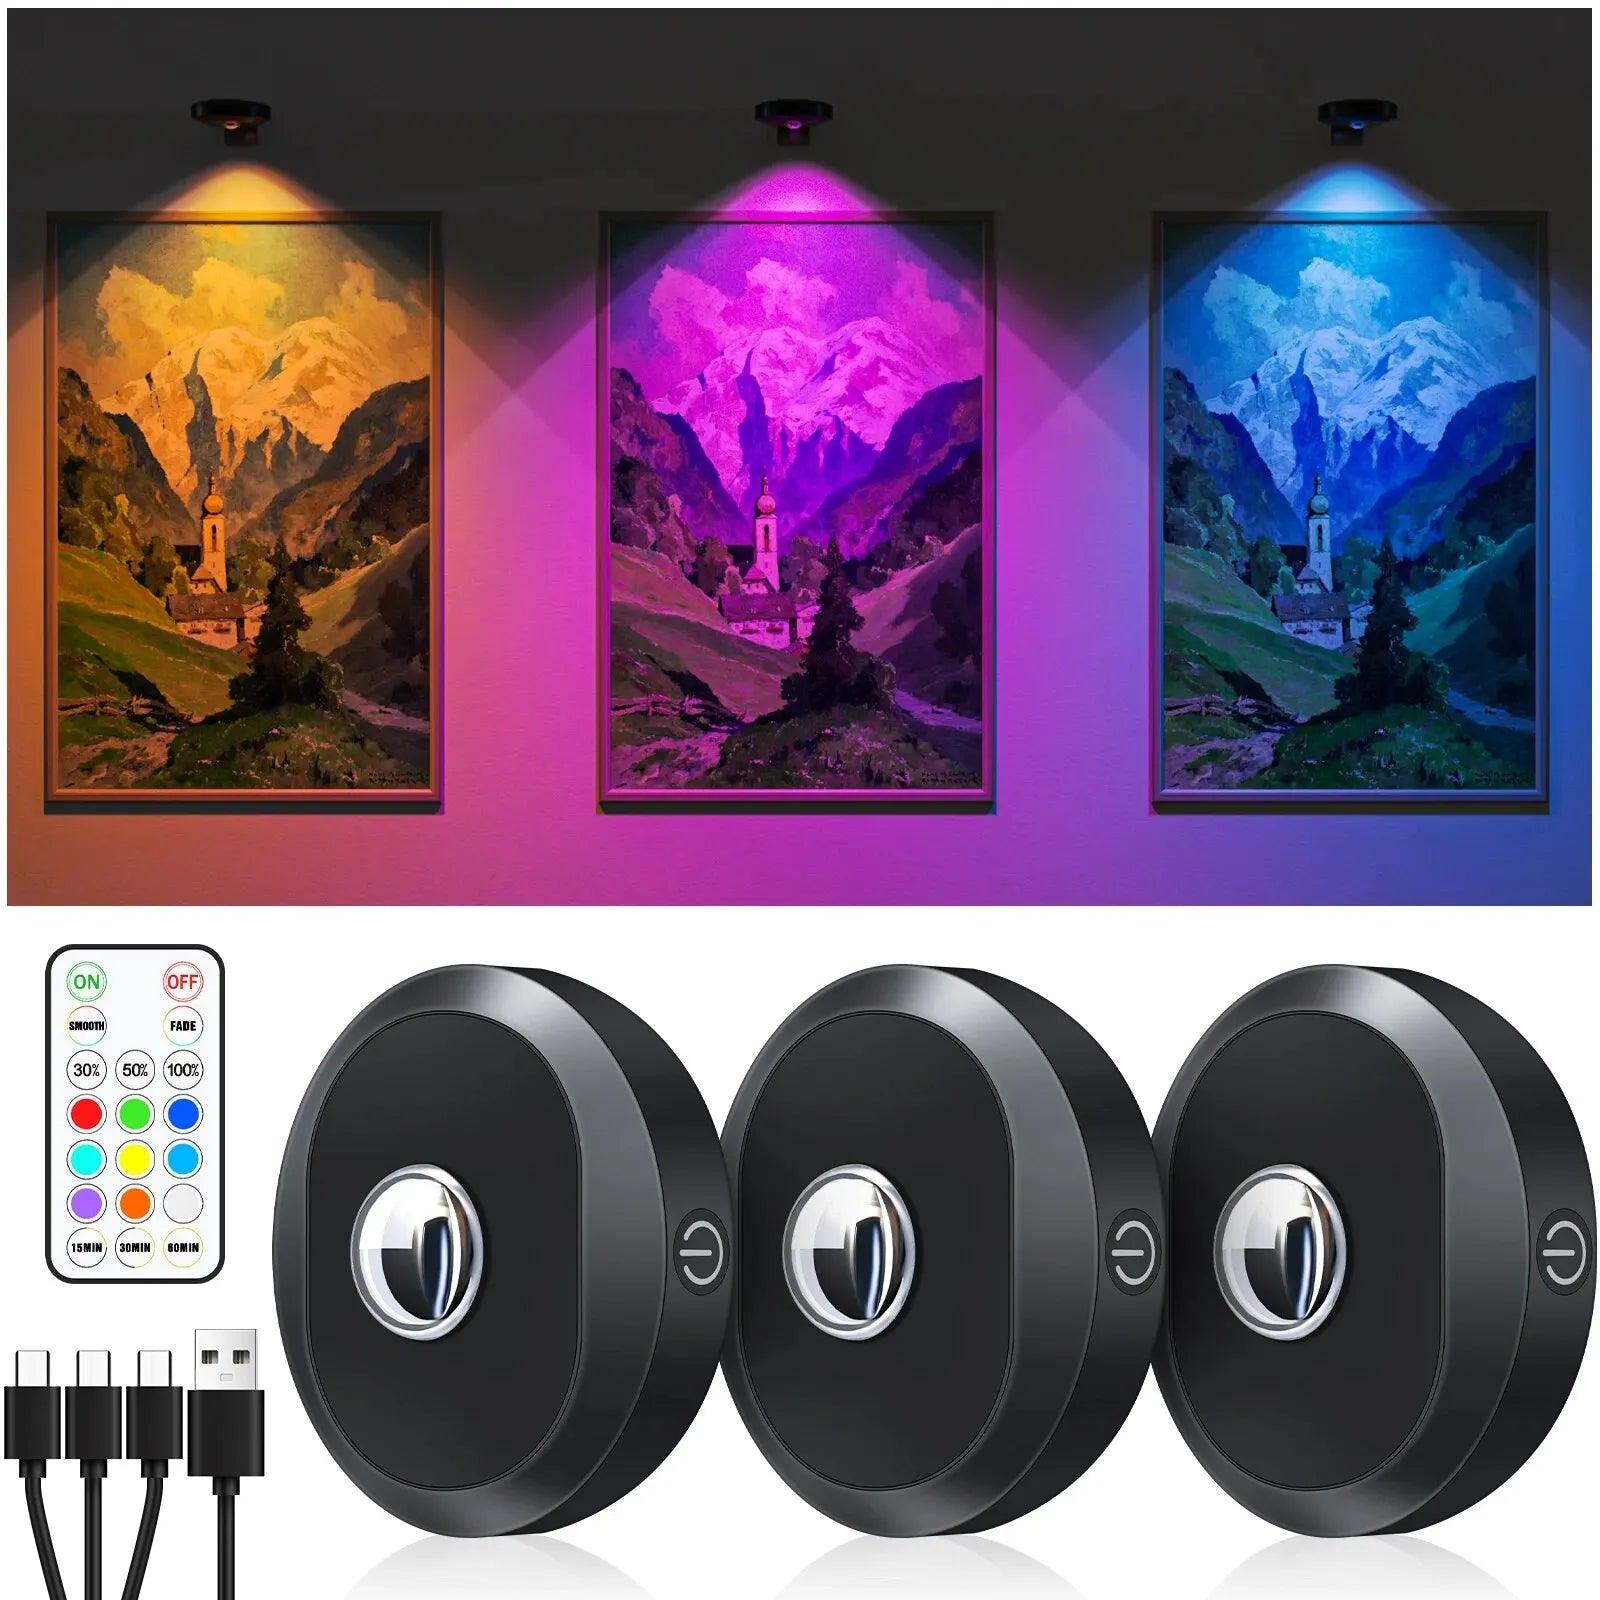
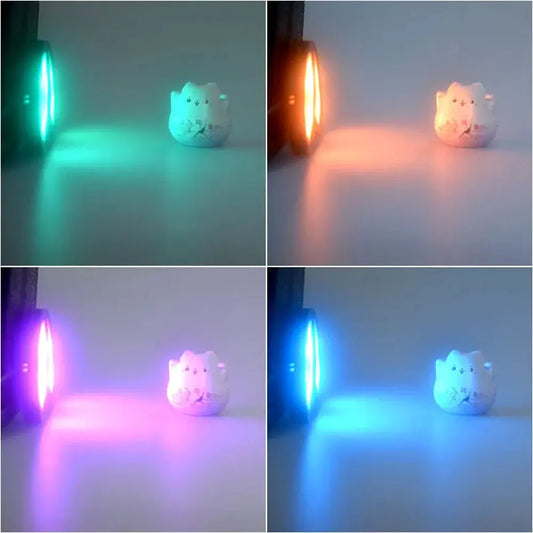
For users who prefer a low-profile look without permanent mounting, compact puck-style lights offer flexible placement above or around framed artwork. Rechargeable RGB under cabinet LED puck lights with remote and touch control work well for picture lighting where easy repositioning and subtle color or brightness adjustments help achieve a balanced, gallery-style effect.
Size and Place the Light to Avoid Glare
Placement is what separates “professional gallery” from “bright dot on glass.” Use this simple workflow to get even coverage and reduce glare.
A practical placement workflow
- Pick the light length: aim for about 1/2–2/3 of the artwork width for most frames.
- Mount height: start 6–12 inches above the top of the frame (higher for deep frames).
- Angle: tilt the head down gradually until the center is bright but the glass doesn’t flash in your sightline.
- Check from normal viewing spots: stand where people actually look at the art, not directly under the light.
- Finish with dimming: if the art looks harsh, dim first before changing placement.
Fast fixes for common problems
- Glare on glass: raise the light slightly and reduce tilt, or dim and widen the beam.
- Bright center / dark edges: choose a longer fixture or a wider beam, or add a second light for wide pieces.
- Uneven color: match CCT to the room and use higher CRI if tones look flat.
Battery, Charging, and Maintenance
Battery specs decide whether you love the light or forget to use it. Choose based on access, usage frequency, and how much you want to “set and forget.”
Battery choices
- Rechargeable (built-in): best for daily use; look for clear battery indicators and simple charging access.
- Replaceable (AA/AAA): best for occasional use or hard-to-reach installs where charging is inconvenient.
Maintenance habits that prevent headaches
- Use a timer so the light isn’t accidentally left on for hours.
- Set a dim default and increase brightness only when needed.
- Avoid long-term storage with alkaline batteries installed to reduce leakage risk.
If you’re lighting valuable prints or photos, “less time on” is one of the most effective ways to reduce risk. Use dimming and timers as part of the selection criteria, not as an afterthought. (Library of Congress: https://www.loc.gov/preservation/care/light.html)
Frequently Asked Questions
These quick answers cover the most common “what should I buy?” questions for battery operated picture lights.
How many lumens do I need for a battery picture light?
For many homes, 150–300 lumens works well. If you have a dark wall color, a deep frame, or want the art to read from farther away, you may need more. If the piece is delicate or behind reflective glass, start lower and rely on placement and beam control.
Will LED picture lights damage artwork?
Any light can contribute to fading over time. The biggest controllable factor at home is exposure: keep brightness reasonable and limit run time with a timer. Light damage is cumulative and irreversible. (NEDCC: https://www.nedcc.org/free-resources/preservation-leaflets/2.-the-environment/2.4-protection-from-light-damage)
Do I really need CRI 90+?
If you care about accurate colors (skin tones, reds, subtle neutrals), CRI 90+ is a good target. For casual décor, CRI 80+ can be fine as long as the color temperature matches the room.
What color temperature looks best for artwork?
Most homes look natural at 2700K–3000K (warm) or around 3500K (neutral). The best choice is usually the one that matches nearby lamps so the artwork doesn’t shift warm or cool compared to the rest of the room.
How do I avoid glare on glass frames?
Move the fixture slightly higher, reduce the downward tilt, and dim. Glare is usually a geometry problem first and a brightness problem second.
Conclusion: Next Steps
Choose battery operated picture lights by prioritizing even coverage and control: beam first, then lumens, CRI/CCT, battery system, and timer/dimming. When placement is right and brightness is restrained, artwork looks intentional and stays easier to protect over time.
- Shortlist: CRI 90+ (if color matters), dimming, timer, and a beam that blends.
- Size: aim for a light length around 1/2–2/3 of the artwork width.
- Place: start 6–12 inches above the frame and adjust to eliminate glare.
Further Reading
Explore the full guide for this topic: Puck Lights: A Complete Guide to Choosing and Using Them
Related Articles
- Puck Lights vs. Other Lighting Solutions: A Comprehensive Comparison for Every Space
- Expert Tips for Installing and Using LED Puck Lights in Your Home
- Top 8 Puck Lights for Kitchens, Closets, and Displays
- How to Choose the Best Rechargeable Puck Lights
- How to Choose the Right Battery Operated Puck Lights?


 />
/>
 />
/>
 />
/>
 />
/>
 />
/>