
DIY: Installing Novelty LED Strip and Neon-Style Lighting for Small Businesses
Table of Contents
- DIY: Installing Novelty LED Strip and Neon-Style Lighting for Small Businesses
- What are novelty LED strip and neon-style lighting?
- Benefits for small businesses and expected ROI
- Planning the installation: layout, measurements, and code basics
- Choosing products: LED strip vs neon-flex vs EL wire — comparison table
- Tools, materials, and a step-by-step installation workflow
- Wiring, power calculations, and controller setup
- Testing, troubleshooting, and maintenance for longevity
- Case examples, cost estimates, limitations, and next steps
- Frequently Asked Questions (FAQs)
DIY: Installing Novelty LED Strip and Neon-Style Lighting for Small Businesses
A practical, safety-focused guide to choosing, planning, installing, and maintaining novelty LED strip and neon-style lighting that boosts curb appeal, lowers energy costs, and creates on-brand ambience for small businesses.
What are novelty LED strip and neon-style lighting?
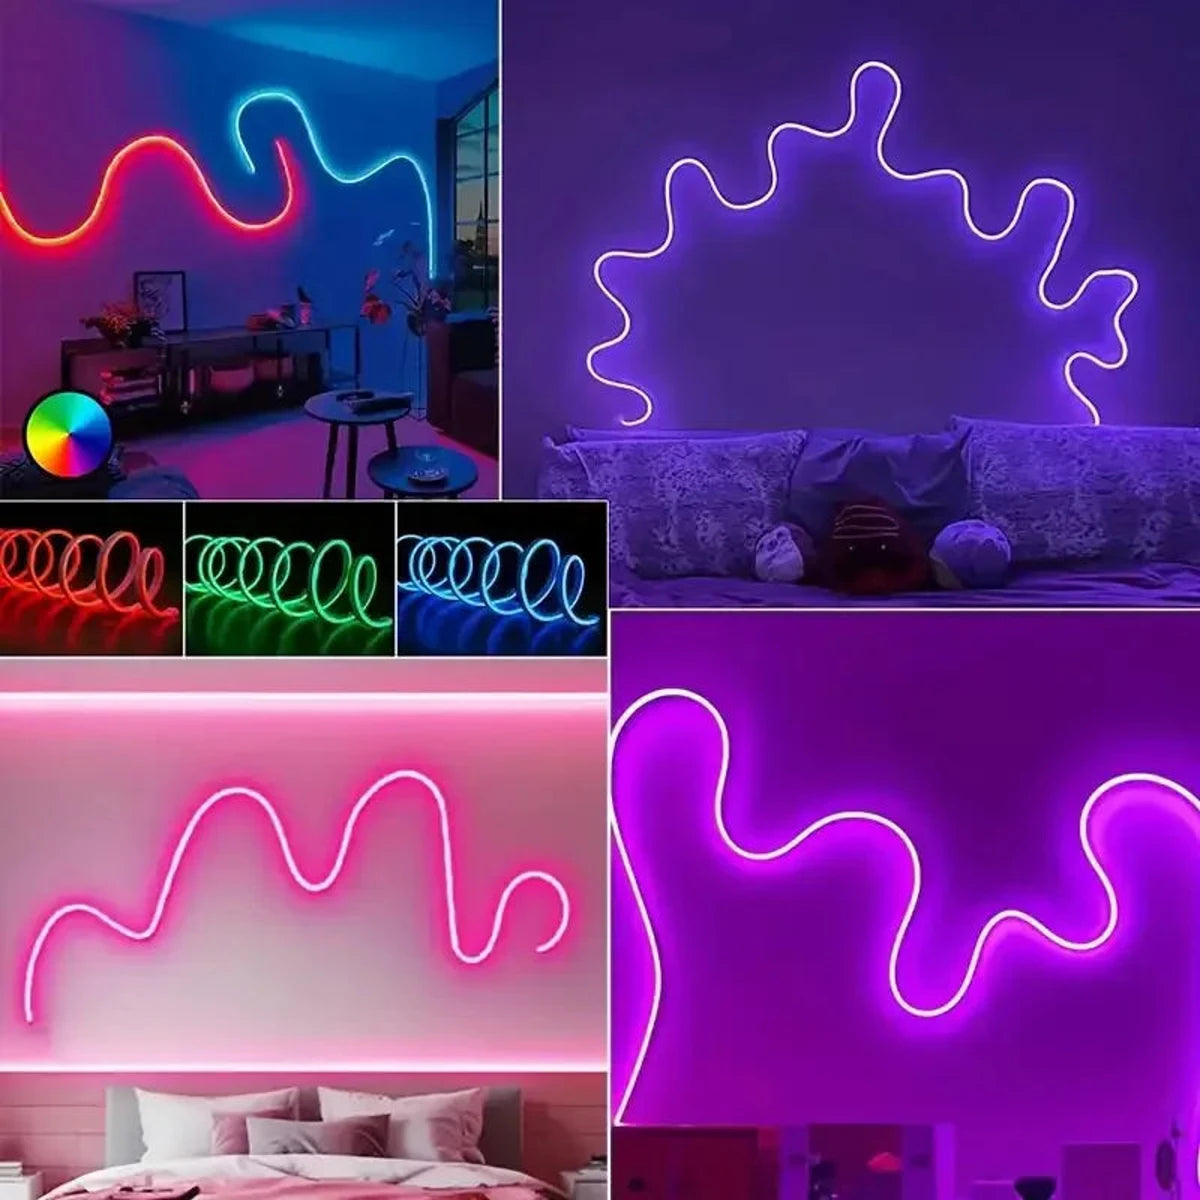
Distinct types include flexible LED strips, LED neon-flex, and EL wire — each offers different looks, brightness, and installation needs for signage and accent lighting.
Novelties in lighting generally mean non-traditional display and accent products used for branding and atmosphere. Key categories you'll encounter:
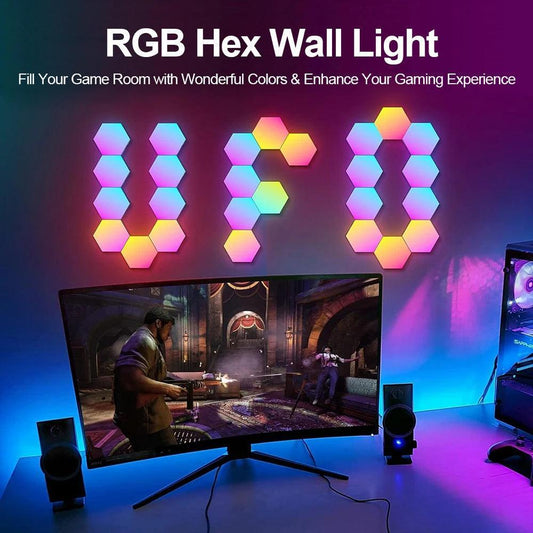
- LED strip lights (SMD 5050, 2835): flexible PCBs with adhesive backing; available in single-color, tunable white, RGB, and RGBW.
- LED neon-flex: PVC or silicone extruded channels around LED sources for a continuous “neon” appearance without glass; safer and lower-voltage than traditional neon.
- Electroluminescent (EL) wire: thin, low-voltage luminous wire used for delicate accents; lower brightness but highly flexible.
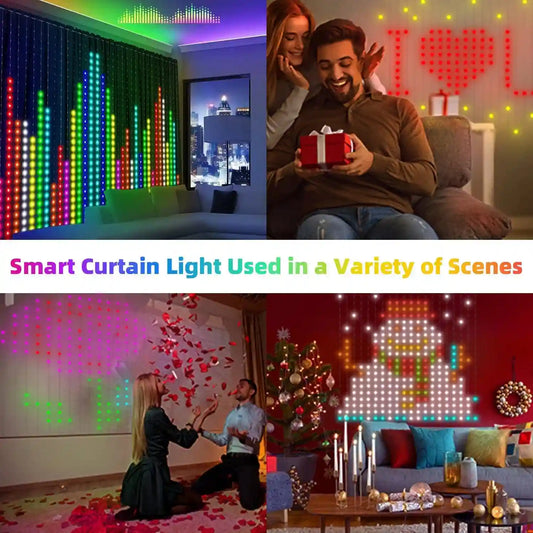
Use cases: backlighting signage, window accents, task/under-cabinet lighting, and eye-catching exterior trim.
Benefits for small businesses and expected ROI

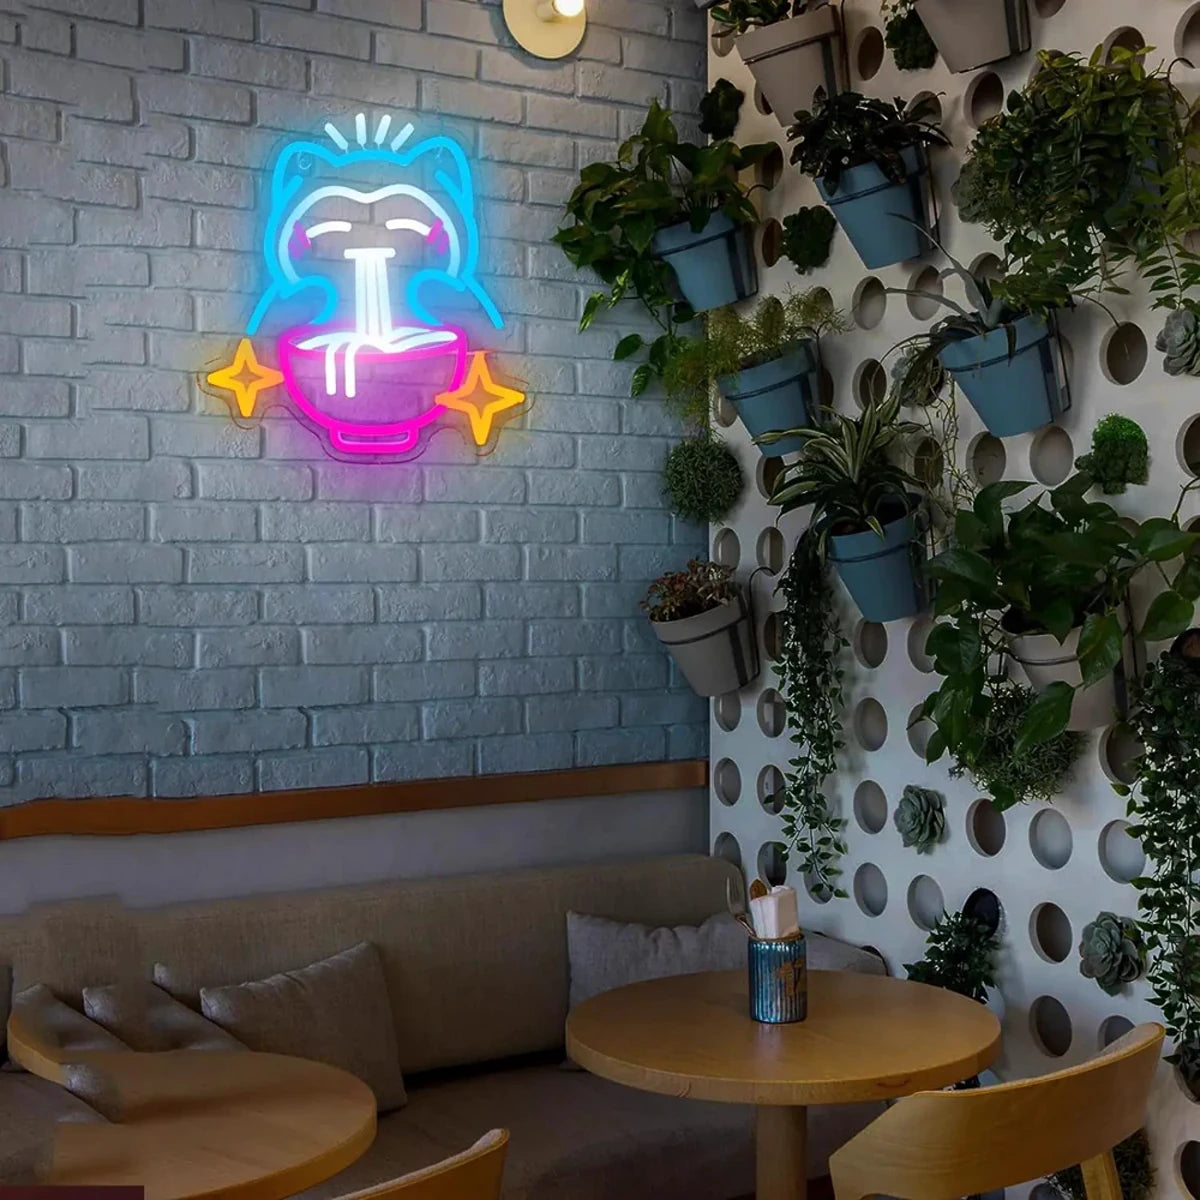
Creative Lighted Sign Coffee Bar LED Neon Sign Light For Coffee Shop Wall Decor
Well-planned LED and neon-style lighting increases foot traffic, reduces energy costs, and provides fast payback compared with incandescent/neon alternatives.
Key benefits:
- Lower energy use: LEDs use up to 75% less energy than incandescent alternatives, which reduces operating costs (U.S. Department of Energy notes LED efficiency advantages).
- Longer life: Typical LED strip lifespans are 25,000–50,000 hours versus ~10,000 for traditional sources.
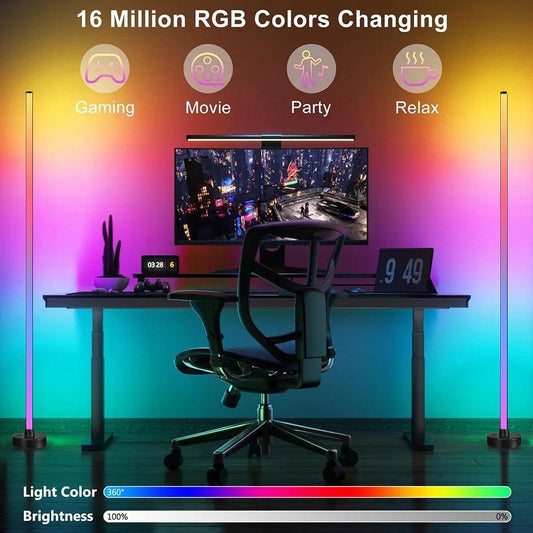
- Branding and dwell time: Dynamic color and signage can increase visibility and time-in-store, improving sales.
Financial example: A 10-meter RGB LED strip (60 LEDs/m, ~14.4W/m) running 12 hours/day consumes ~2.16 kWh/day; at $0.15/kWh that's ~$0.32/day, or ~$97/year — significantly lower than neon/halogen equivalents.
Sources: U.S. Department of Energy overview of solid-state lighting: energy.gov/ssl. For technical performance and application research, see the Lighting Research Center at RPI: lrc.rpi.edu.
Planning the installation: layout, measurements, and code basics
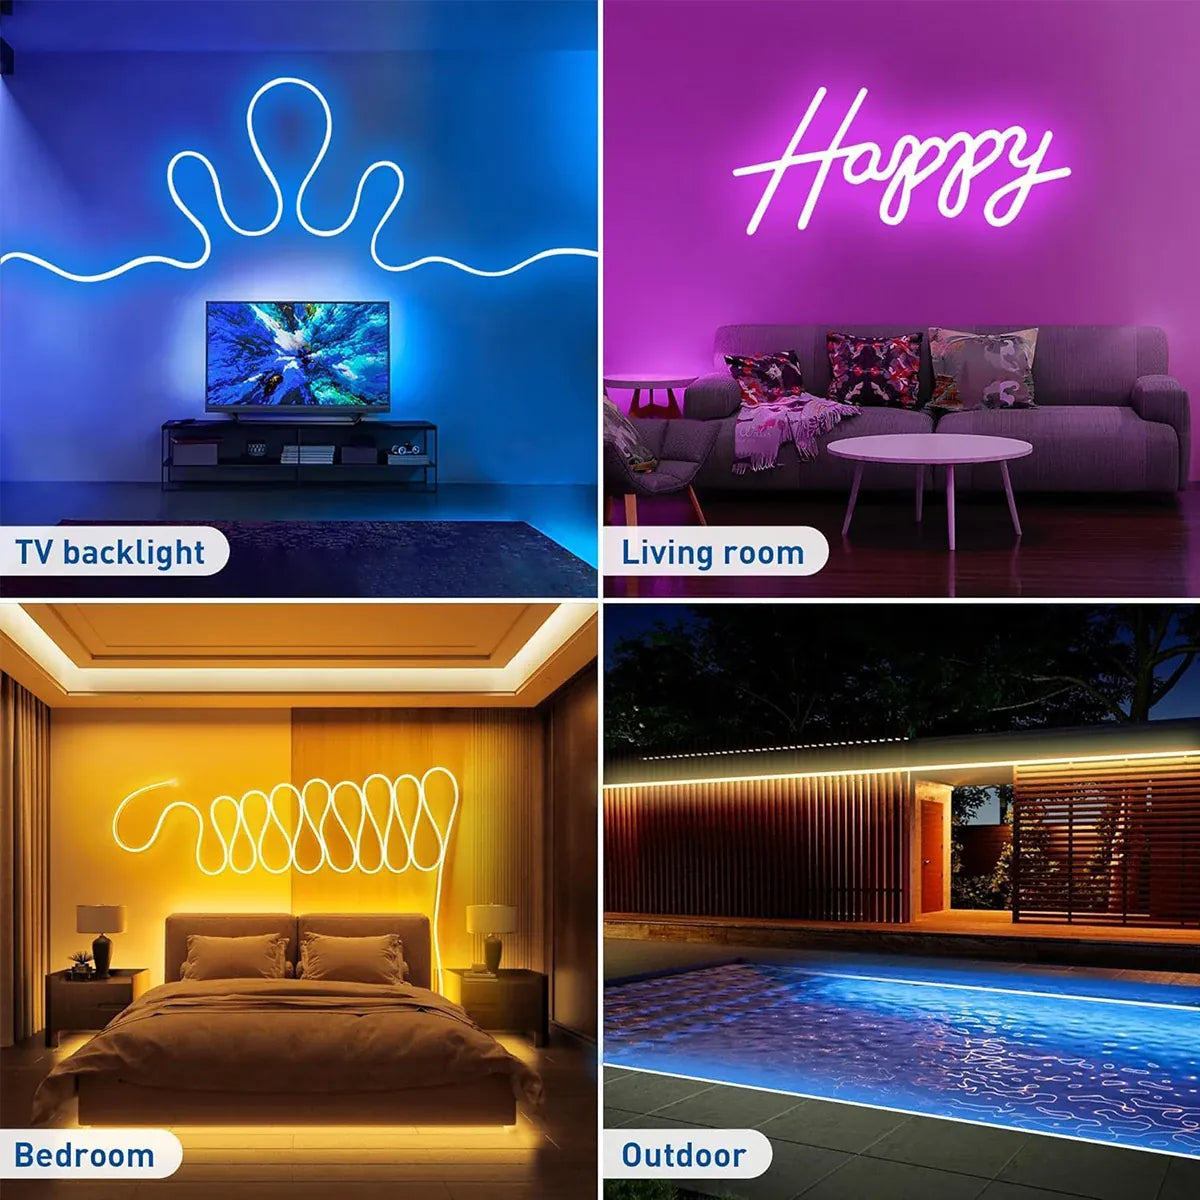
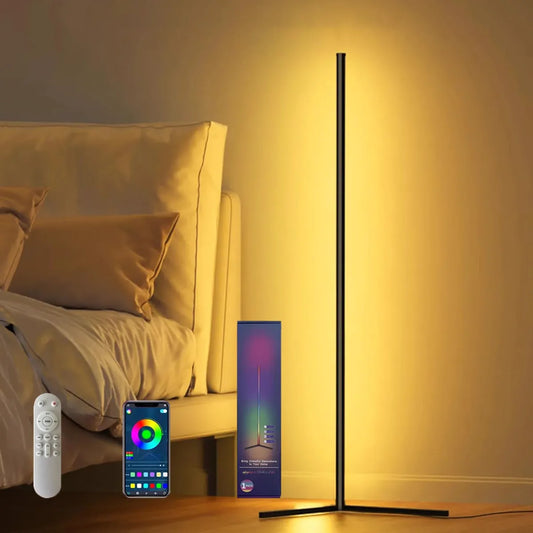
5V RGB Neon Strip Light USB Waterproof Flexible With Bluetooth Remote Control
Accurate measurements, load calculations, and local code checks prevent problems; plan for mounting, power locations, and access for maintenance.
Initial planning checklist:
- Measure runs and note corner/curve needs; record linear meters for each zone.
- Identify power source locations and distance to controllers/drivers.
- Check indoor vs outdoor ratings (IP20–IP68) for exposure and local weather.
- Confirm local electrical code and landlord/HOA permissions; some installs require a licensed electrician or permit.
Regulatory notes: Always follow local electrical codes. For workplace electrical safety guidance, see OSHA’s electrical standards: osha.gov/electrical.
Choosing products: LED strip vs neon-flex vs EL wire — comparison table
Compare brightness, flexibility, cost, IP rating, and lifespan to match design intent and budget.
| Feature | LED Strip (SMD 5050) | LED Neon-Flex | EL Wire |
|---|---|---|---|
| Typical brightness (lm/W) | 80–120 lm/W | 40–80 lm/W (diffused) | 5–20 lm/W |
| Flexibility for curves | Good (cut points every 5–10 cm) | Excellent (designed for continuous lines) | Excellent (thin wire) |
| Dimmable/Controllers | Wide support (PWM, DMX, Wi‑Fi) | Good (requires compatible driver) | Limited (requires inverter) |
| IP Rating (outdoor use) | IP20–IP67 depending on coating | IP65–IP68 available | IP44–IP67 depending on sleeving |
| Typical lifespan | 25,000–50,000+ hours | 20,000–40,000 hours | ~10,000–15,000 hours |
| Approx. cost per meter | Low–Moderate | Moderate–High | Low |
How to choose:
- For bright task or accent lighting: choose high-density SMD LED strips (5050 or 2835).
- For continuous neon look and signage: pick LED neon-flex for uniform glow and safety.
- For thin outlines or costume-style accents: EL wire can be useful but is dimmer.
💡 For reliable, stylish, and affordable LED strip solutions that make choosing easy, trust the advanced technology from Lumaz.
Tools, materials, and a step-by-step installation workflow
Use a dedicated toolkit, appropriate adhesives/mounting channels, and a clear step sequence from surface prep to controller setup.
Essential tools and materials:
- Measuring tape, pencil, and masking tape
- Wire strippers, multimeter, soldering iron (or solderless connectors)
- Power supply (DC driver) sized 20–30% above calculated load
- Controller (PWM or smart controller) compatible with LED type
- Mounting channels (aluminum profiles) or approved adhesive; silicone sealant for outdoor runs
Installation: step-by-step (typical LED strip)
- Plan zones and cut strips at manufacturer-marked cut points. Test segments before mounting.
- Mount aluminum channels or clean surface with isopropyl alcohol; allow to dry.
- Stick or screw the strip in place; avoid sharp bends and maintain minimum bend radius.
- Route wiring to the driver location, bundle with cable ties, and avoid exposed conductors.
- Make electrical connections: use solder joints or quality connectors; observe polarity and common-anode/cathode conventions for RGB.
- Connect driver to mains via a certified AC supply or licensed electrician; install fuses or breakers as required.
- Program controller scenes, test dimming and color fidelity, and secure weatherproofing for outdoors.
Tip: Use short test runs and label wires as you go to simplify troubleshooting.
Wiring, power calculations, and controller setup
Correctly size your power supply and account for voltage drop; select a controller that supports required protocols (DMX, 0–10V, Wi‑Fi).
Basic power calculation steps:
- Determine wattage per meter (manufacturer spec). Example: 14.4 W/m for 60 LEDs/m 5050 RGB.
- Multiply by run length. Example: 10 m × 14.4 W/m = 144 W total.
- Add 20–30% headroom: 144 W × 1.25 = 180 W → choose a 12V or 24V driver rated ≥180 W.
Voltage drop considerations:
- Long runs can suffer voltage drop; use higher-voltage strips (24V) or feed the strip at multiple points.
- Use thicker gauge conductors for runs over 5–10 meters; refer to voltage drop charts for copper wire sizing.
Controller selection:
- For simple on/off and dimming: PWM dimmer or wall-mounted dimmer compatible with the LED’s voltage.
- For dynamic branding and scheduling: choose Wi‑Fi/DMX controllers with scene programming and API support.
- For color accuracy: choose RGBW strips and controllers that support white channel tuning.
Testing, troubleshooting, and maintenance for longevity
Routine testing and preventive maintenance keep lighting reliable; measure performance, clean surfaces, and replace drivers before end-of-life.
Testing checklist after install:
- Verify voltage at start and end of the run with a multimeter.
- Test color balance and white point using known color presets.
- Run 24–48 hour burn-in test to detect early failures.
Common issues and fixes:
- Dim or uneven light: check for voltage drop; add feed points or use thicker wire.
- Flicker or controller lag: ensure compatible dimmer frequency and adequate driver headroom.
- Adhesive failure: use mechanical clips or aluminum channel mounting in high-temperature areas.
Maintenance schedule (annual):
- Inspect IP seals and re-seal if cracked.
- Clean diffusers and signage faces with non-abrasive cleaner.
- Measure driver temperatures and replace drivers approaching end-of-life (ripple in output or overheating).
💬 "Installed LED neon-flex on our storefront — more night foot traffic and lower energy bills. Easy to maintain, and our designer loves the custom profiles." — Local café owner
Case examples, cost estimates, limitations, and next steps
Realistic cost ranges, limitations to expect, and recommended next steps for rollout across multiple locations.
Example micro-case: Café window accent
- Scope: 5 m continuous LED neon-flex, exterior rated IP65, single feed point, Wi‑Fi controller.
- Material cost: neon-flex $35–$80/m → ~$250–$400. Power supply & controller ~$150–$300. Mounting ~$50–$100. Installation labor (DIY) = $0; pro install $200–$400.
- Estimated total (DIY): $450–$800. Payback through increased evening sales and energy savings typically within 6–18 months depending on traffic uplift.
Limitations and risk management:
- Permits and landlord rules may restrict exterior signage; always get written approval.
- DIY electrical work may void insurance or code compliance. When in doubt, hire a licensed electrician.
- Color accuracy across batches can vary; buy all runs from the same lot for signage consistency.
Recommended next steps:
- Prototype one run in-store and measure traffic/sales uplift for 60 days.
- Document installation details (power specs, cut points, controller IDs) for future replication.
- Consider scalable controllers/APIs to centrally manage lighting across multiple sites.
Frequently Asked Questions (FAQs)
Short, direct answers to commonly asked practical questions about product selection, permits, and maintenance.
Do I need a permit to install LED signage or neon-style lighting?
Permit requirements vary by municipality and whether the lighting is considered signage or exterior alteration. Check local building code and ask your landlord; for electrical connections that alter circuits, a licensed electrician and permit are often required.
Can I install LED neon-flex on a rented storefront?
Yes, with landlord approval. Use non-destructive mounting when possible (mounting channels with screws into trim instead of adhesive directly on painted surfaces) and document removal procedures.
How long do neon-style LED systems typically last before replacement?
Expect 20,000–50,000 hours depending on product quality and operating conditions. Replace power supplies every 5–10 years or sooner if performance drops.
Is it better to hire a pro or DIY for a small business install?
DIY is feasible for low-voltage indoor installs if you’re comfortable with basic wiring. For exterior signage, mains connections, or complex control systems, hire licensed professionals to ensure code compliance and warranty protection.
What color temperature works best for retail and hospitality?
Warm whites (2700–3000K) create a cozy, inviting atmosphere for hospitality; neutral whites (3500–4100K) are good for retail product visibility. For brand impact, use accent colors (RGB/RGBW) for signage highlights.
Final note: Thoughtful, code-compliant LED strip and neon-style lighting can transform small-business visibility and customer experience while reducing energy costs. Start with a single prototype run, document specs, and scale with standardized components to maximize consistency and ROI.
Related Articles:
- Top 12 Novelty LED Fixtures for Living Rooms
- The Ultimate Guide to Novelty Lighting: Creative, Fun & Unique Ideas
- Install Under-Cabinet LED Strip Lighting
- Lumens to Watts: Conversion & Efficiency Guide
- Solar String Lights: Tips for Durable Outdoor Use
- LED Puck Lights: Installation & Usage Tips
- Choosing Battery-Operated Ceiling Lights


 />
/>
 />
/>
 />
/>
 />
/>