
Low-Voltage vs Solar vs Hardwired LED Garden Lights — Costs, Performance, and Lifespan
Table of Contents
- Quick comparison: Low-voltage vs Solar vs Hardwired LED garden lights
- Upfront costs and installation complexity
- Energy use, running costs, and how to calculate savings
- Performance: brightness, color quality, and weather reliability
- Lifespan, maintenance, and common failure points
- Environmental impact, incentives, and regulations
- Best use cases and design recommendations
- Installation checklist, tools, and cost-saving tips
- Frequently asked questions (FAQs)
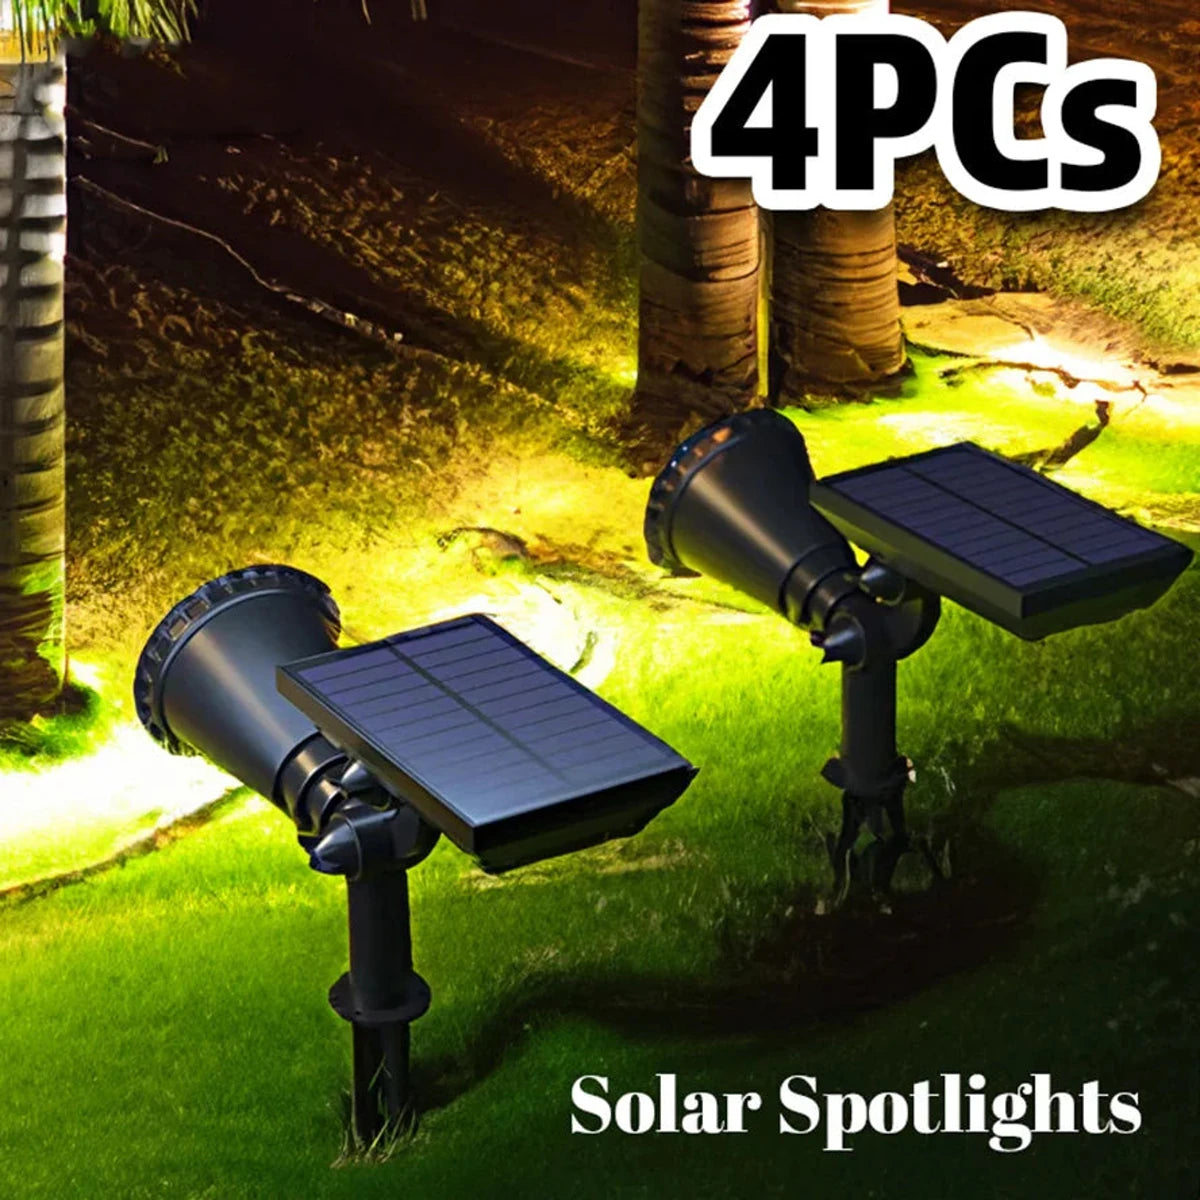
Quick comparison: Low-voltage vs Solar vs Hardwired LED garden lights
Low-voltage balances cost and control, solar prioritizes zero-grid power and simplicity, and hardwired LED offers the highest performance and reliability for permanent installations.
This section gives a concise side-by-side of the three common landscape lighting approaches so you can match features to your site, budget, and goals.
- Low-voltage LED lights use a transformer to step household voltage down (usually to 12V); they’re popular for pathways, accent and plant lighting.
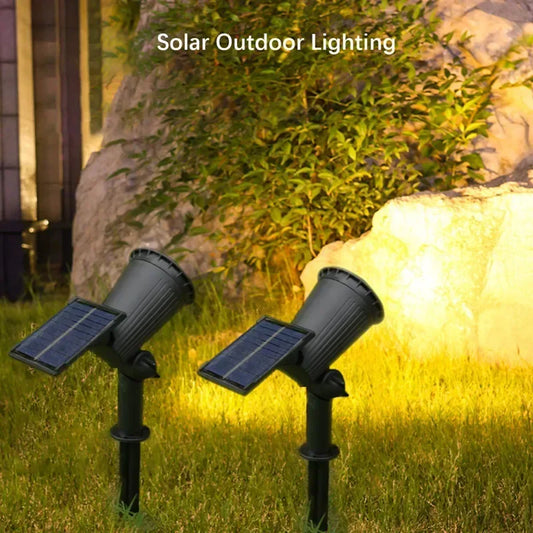
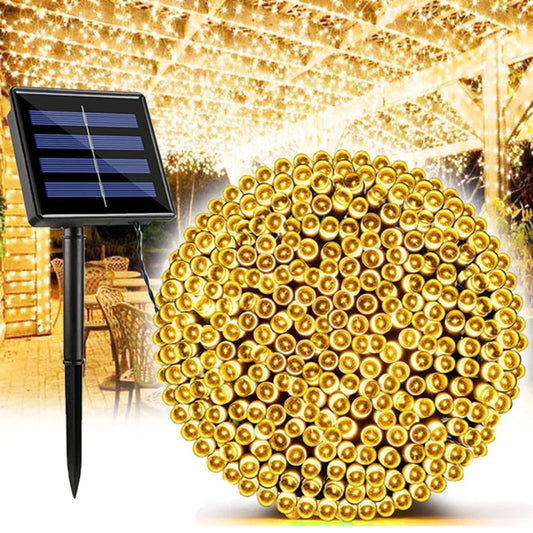
- Solar LED lights integrate a photovoltaic cell and battery into each fixture; they’re easiest to install and lowest on operating costs but are dependent on sun exposure and battery health.
- Hardwired (line-voltage) LED lights connect directly to 120V/240V mains (often with a dedicated circuit); they deliver consistent brightness and are standard for powerful area and security lighting.
Upfront costs and installation complexity
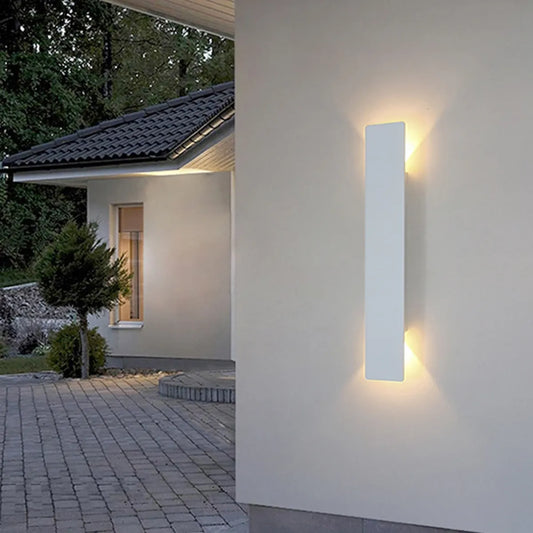
 Extra Large LED Outdoor Wall Lights Waterproof Motion Sensor Outdoor Lighting
upfront price ranges overlap, but labour and wiring complexity drive real cost differences—expect low-voltage and solar to be cheaper to DIY; hardwired often requires an electrician.
Cost depends on fixture quality, site size, trenching needs, and whether you hire a pro. Typical price ranges and the factors that most influence cost:
- Low-voltage: Fixtures $20–$120 each; transformer $50–$300; cable ~$0.50–$1.50/ft; pro install $150–$700 depending on runs.
- Solar: Consumer-grade stakes $10–$40 each; high-quality integrated fixtures $40–$200 each; little to no wiring costs but battery replacement adds lifetime expense.
- Hardwired: Fixtures $30–$250 each; electrician typically $300–$1,000+ depending on trenching and permits; possible additional cost for a dedicated circuit.
Comparison table: typical costs, complexity, and installation time
| Metric | Low-voltage LED | Solar LED | Hardwired LED |
|---|---|---|---|
| Typical unit cost | $20–$120 | $10–$200 | $30–$250 |
| Installation complexity | Low (DIY possible) | Very low (plug-and-place) | High (may require electrician & permits) |
| Average pro install per fixture | $15–$60 | Minimal | $50–$200+ |
| Best for | Pathways, layered landscape lighting | Temporary spots, remote areas, budget installs | High-traffic areas, driveways, strong accent lighting |
Energy use, running costs, and how to calculate savings
LEDs are low-wattage, so operating cost depends on luminosity, hours used, and whether power comes from the grid or solar cells.
Calculate running cost with this formula: annual kWh = (watts × hours per day × 365) ÷ 1000. Multiply kWh by your local electricity rate to get dollars per year.
Example calculation (using a typical LED path light at 3 W and a US average electricity rate of $0.16/kWh):
- 3 W × 6 hours/day × 365 = 6.57 kWh/year
- 6.57 kWh × $0.16/kWh ≈ $1.05 per year per fixture
Solar lights effectively have zero grid energy cost, but batteries and reduced performance in low-sun months change the lifetime cost equation.
Key operating-cost considerations:
- Fixture wattage and hours of operation — lower watts and shorter runtimes reduce cost linearly.
- Electricity price — use current local utility rates (see the U.S. Energy Information Administration for national data).
- Solar battery replacements — factor in battery costs every 1–5 years depending on chemistry and usage.
💡 Slash your energy bills with Lumaz's ultra-efficient LEDs. Calculate your savings and light up smarter.
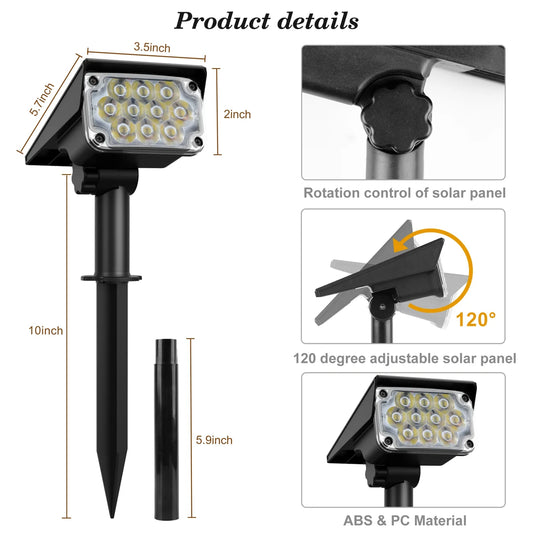
Performance: brightness, color quality, and weather reliability
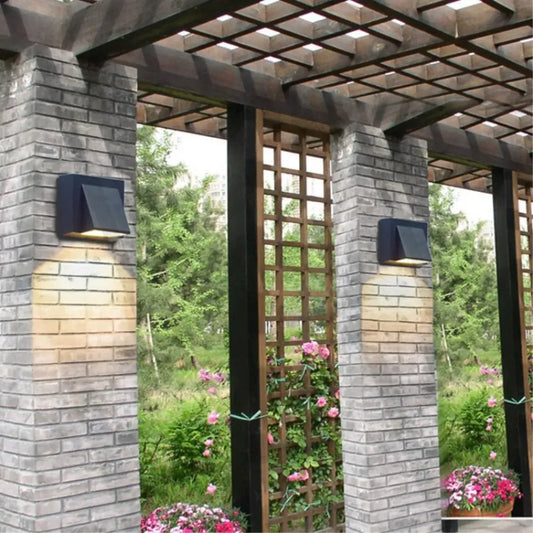
9 LEDs Outdoor Solar Spotlights IP65 Waterproof Brightness Adjustable for Garden Decor
compare lumens, beam control, and environmental resistance; the right choice depends on the scene and climate.
Performance metrics to evaluate:
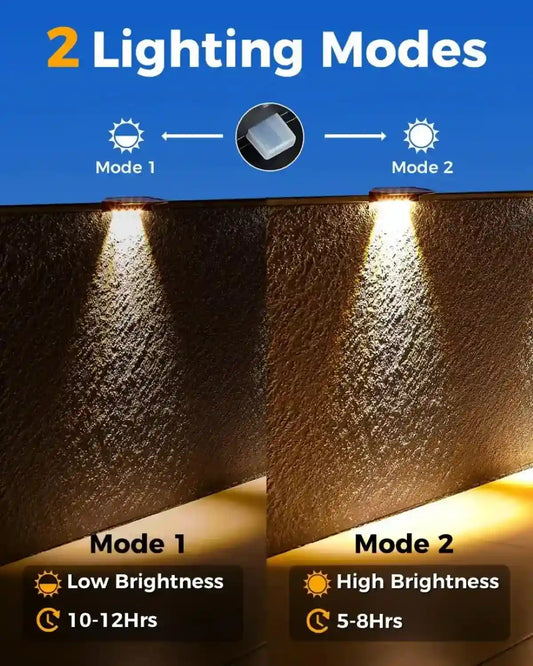
- Lumens — measure of visible light output. For pathway lights choose 100–300 lm; for accent/spotlighting 300–1200 lm.
- Color temperature (K) — warmer (~2700K–3000K) is typical for landscapes; avoid very cool whites for yards and plant health.
- CRI (Color Rendering Index) — 80+ is good for natural color; high-CRI LEDs render materials and foliage more pleasingly.
- Beam control — narrow beams for highlighting, wide beams for wash lighting; integrated optics vs reflectors change results significantly.
- Weather rating — look for IP65 or higher for exposed fixtures; corrosion-resistant materials (bronze, stainless steel) will last longer in coastal areas.
Solar lights tend to deliver lower lumen output and inconsistent runtime in shade or winter. Hardwired LEDs offer steady lumen output and are easier to pair with motion sensors or timers for consistent security lighting.
Further Reading:
Lifespan, maintenance, and common failure points
LED chips often last 25,000–50,000 hours, but drivers, batteries, seals, and connectors usually dictate real-world lifetime.
Practical longevity details:
- LED emitter life — many LEDs are rated for 25k–50k hours, but heat and humidity shorten life; good fixtures include heatsinks and sealed compartments.
- Drivers and transformers — low-voltage transformers and LED drivers are common failure points and may require replacement after 5–10 years.
- Batteries (solar) — replace every 1–5 years depending on chemistry (NiMH, Li-ion); expect reduced runtime before replacement is necessary.
- Seals and corrosion — moisture intrusion is a primary cause of premature failure; choose IP-rated fixtures for exposed installations.
🌙 “Switched to a mix of low-voltage for pathways and a few solar stake lights near the shed — low bills and only one battery replaced in 3 years.” — Neighborhood gardening group member
Maintenance checklist (quarterly or seasonal):
- Inspect fixtures and seals for moisture or corrosion.
- Clean solar panels and lenses for max light collection.
- Check wiring connections for chafing and secure splices.
- Test timers, photocells, and motion sensors for correct operation.
Environmental impact, incentives, and regulations
LEDs reduce energy use and emissions; solar reduces grid demand. Local incentives or codes may influence system choice and permit needs.
Environmental advantages and policy context:
- LEDs use a fraction of the energy of halogen or incandescent fixtures, reducing CO2 emissions when replacing older technologies; federal resources provide guidance on efficient lighting choices — see the U.S. Department of Energy’s LED resources at energy.gov/energysaver/led-lighting.
- Solar lights lower grid demand but often use replaceable batteries that have environmental costs; proper recycling of batteries matters.
- Large multi-light hardwired projects may require permits or inspections under local electrical codes; check with your municipality before big installs.
For solar performance and site assessment basics, see the National Renewable Energy Laboratory’s resources on PV and site shading at NREL.
Best use cases and design recommendations
choose the technology that matches the site’s sun availability, desired control level, and expected lifetime—combine technologies strategically for best ROI.
Design guidance by scenario:
- Small garden/pathways with limited budget: low-voltage or good-quality solar; low-voltage gives better dimming/timers if you can run cable.
- Remote yards or seasonal use: solar is ideal where wiring is impractical; choose fixtures with replaceable Li-ion batteries for longer life.
- Driveways, security, and high-visibility architectural lighting: hardwired LED for reliable, high-output performance and integration with home automation.
- Mixed-site approach: use hardwired for main focal points and low-voltage for layered, softer accent lighting; add solar accent lights for temporary displays or areas without cabling.
Design tips to maximize impact and minimize waste:
- Prioritize low glare by using shields and aiming fixtures away from neighbors and windows.
- Use 2700K–3000K LEDs for warm, garden-friendly tones that are also better for nocturnal wildlife.
- Plan zones and circuits: group lights by usage (security vs accent) so you can control run times independently.
Installation checklist, tools, and cost-saving tips
good planning reduces costly rework—confirm layout, load, and power options, then choose durable fixtures and a sensible control strategy.
Essential pre-install checklist:
- Map light locations and intended beam directions.
- Measure cable runs and calculate voltage drop for low-voltage systems.
- Confirm sun exposure and winter performance for solar fixtures.
- Check local codes and whether an electrician is required for hardwired installs.
Tools and materials commonly needed:
- Shovel, trenching tool, or vibro-plow (for long cable runs)
- Wire strippers, connectors rated for exterior use, silicone sealant
- Multimeter and test lamp for verifying voltage and continuity
- Voltage-rated wire for line-voltage; low-voltage landscape cable for 12V systems
Cost-saving and durability tips:
- Buy higher-quality fixtures with rated drivers and replaceable parts; they often last longer and reduce long-term cost.
- For low-voltage runs over 50 feet, upsize cable to reduce voltage drop instead of oversizing the transformer.
- Use photocells and timers to avoid unnecessary run hours — lights off during late nights reduce wear and energy use.
- Bundle work: install conduit and extra cable now to allow future expansion without trenching later.
Frequently asked questions (FAQs)
Below are concise answers to common queries readers ask when choosing between low-voltage, solar, and hardwired LED garden lights.
Can I mix solar and hardwired/low-voltage lights on one property?
Yes. Mixing is common and practical: use hardwired or low-voltage for core, high-quality lighting, and add solar accents where wiring is impractical. Keep separate controls and avoid paralleling solar fixtures onto a wired circuit.
How do I size a transformer for low-voltage lights?
Add the wattage of all fixtures on the circuit, multiply by a safety margin (typically 20–25%), and choose a transformer with equal or greater wattage rating. For long runs, account for voltage drop and consider heavier gauge cable.
Do solar garden lights work in winter or shaded yards?
Solar lights work best with direct sun. In winter or heavy shade they may have reduced run-time or fail to reach specified lumen output — choose larger panel/battery fixtures and position them to maximize daily sun exposure.
What are the main safety concerns for DIY installs?
For low-voltage: ensure waterproof connectors and correct transformer sizing. For hardwired: follow local electrical codes and hire a licensed electrician for mains connections and required permits. Always shut power when making electrical connections.
How often should I replace batteries in solar fixtures?
Batteries typically last 1–5 years depending on chemistry and usage. Replace when runtime noticeably drops or use replaceable-battery fixtures to avoid full-fixture disposal.
Are LED garden lights harmful to plants or pollinators?
Use warm-color LEDs (2700K–3000K) and avoid excessive nighttime illumination. Intense blue-rich light can disrupt wildlife; choose properly shielded fixtures and lower color temperatures to minimize impacts.
Final recommendation: match technology to the site. For consistent high output and control choose hardwired LEDs; for balanced cost and control choose low-voltage LEDs; for simplest installs and off-grid spots, choose high-quality solar fixtures and plan for battery maintenance. Prioritize IP-rated fixtures, proper placement, and control strategies to maximize visual impact and minimize total cost of ownership.
Sources and further reading:
- U.S. Department of Energy — LED lighting guidance: https://www.energy.gov/energysaver/led-lighting
- National Renewable Energy Laboratory (NREL) — solar basics and site assessment: https://www.nrel.gov/
- U.S. Energy Information Administration (EIA) — average electricity prices (for cost calculations): https://www.eia.gov/


 />
/>
 />
/>
 />
/>
 />
/>
 />
/>