
How to Connect and Dim Puck Lights with Smart Home Systems (Alexa, Google, HomeKit)
Table of Contents
- Overview: What puck lights are and how smart home integration changes them
- Choose the right puck light and dimming method
- Comparison: Smart connection protocols for puck lights
- How to connect puck lights to Alexa, Google Assistant, and HomeKit
- Using smart hubs, bridges, and Matter for better control
- Practical wiring and installation tips
- Troubleshooting common dimming issues (flicker, minimal dim, ghosting)
- Automation, scenes, and voice command best practices
- Safety, standards, and when to hire a professional
- Cost, ROI, and energy savings
- Frequently asked questions (FAQs)
- Final checklist and next steps
Overview: What puck lights are and how smart home integration changes them
Puck lights are compact LED fixtures used under cabinets, in closets, and for accent lighting; integrating them with Alexa, Google, or HomeKit adds voice control, schedules, and dimming for convenience and energy savings.
Puck lights are small circular fixtures—often 12V or 120V LED—that provide focused illumination for task and accent lighting. When paired with smart home systems, you get remote control, precise dimming, automation, and integration with scenes and occupancy sensors. This guide shows how to choose, connect, and dim puck lights with major smart ecosystems (Alexa, Google Assistant, and Apple HomeKit), whether you're using Wi‑Fi, Zigbee, Z‑Wave, Bluetooth, Thread, or Matter devices.
💡 Transform simple puck lights into a responsive, intelligent system with Lumaz smart LEDs. Experience seamless control and brilliant, energy-efficient lighting.
Choose the right puck light and dimming method
Select a puck light and dimming system that matches your voltage, driver type, and smart-protocol preference to avoid flicker, incompatibility, or damage.
Before buying or wiring puck lights, identify three key attributes: voltage (12V low-voltage vs 120V line-voltage), dimming compatibility (TRIAC/forward phase, ELV/reverse phase, or PWM/driver-based), and control protocol (Wi‑Fi, Zigbee, Z‑Wave, Bluetooth, Thread/Matter). Choosing correctly is the foundation for reliable dimming and voice control.
Key characteristics to confirm
- Voltage: 12V often uses an external driver/transformer; 120V plugs directly into house wiring.
- Dimming type: Driver must support dimming and specify the method (PWM, leading-edge/TRIAC, trailing-edge/ELV).
- Protocol: Native smart puck (Wi‑Fi/Bluetooth) vs. standard LED puck paired with a smart dimmer/driver or hub.
Common dimming methods explained
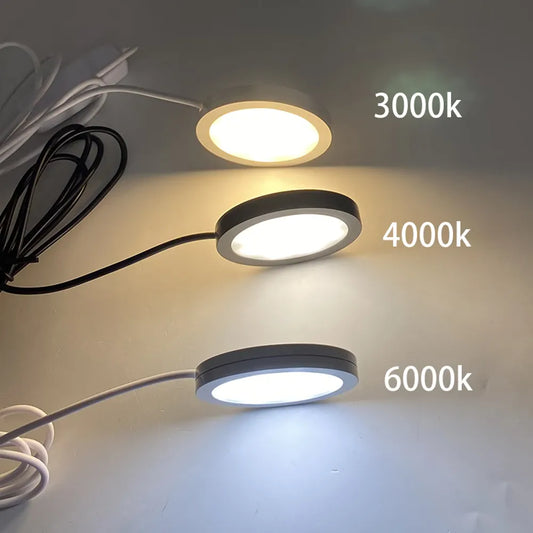
- PWM (Pulse-Width Modulation): Driver dims LEDs by varying duty cycle. Smooth and common for 12V LED modules.
- TRIAC (Leading-edge): Cuts part of AC waveform—works with many incandescent/halogen replacements but can cause flicker with some LEDs.
- ELV (Trailing-edge): More LED-friendly than TRIAC, generally produces less humm and flicker with electronic drivers.
Product types and smart options
- Smart puck (built-in Wi‑Fi/Bluetooth): Connects directly to the network; easy setup but limited to the manufacturer’s app unless it supports Alexa/Google/HomeKit.
- Standard LED puck + smart dimmer (line-voltage or low-voltage): Replaces wall switch or in-line driver with a smart dimmer for whole-group control.
- Low-voltage puck + smart driver/transformer: Replaces the existing driver with a smart-enabled driver (Zigbee/Wi‑Fi/Cloud) or adds a smart inline dimmer between driver and puck.
- Hub-based approach (Zigbee/Z‑Wave + hub): Uses a hub (SmartThings, Hubitat, Hue Bridge, Lutron) to control multiple pucks reliably and integrate with HomeKit/Alexa/Google.
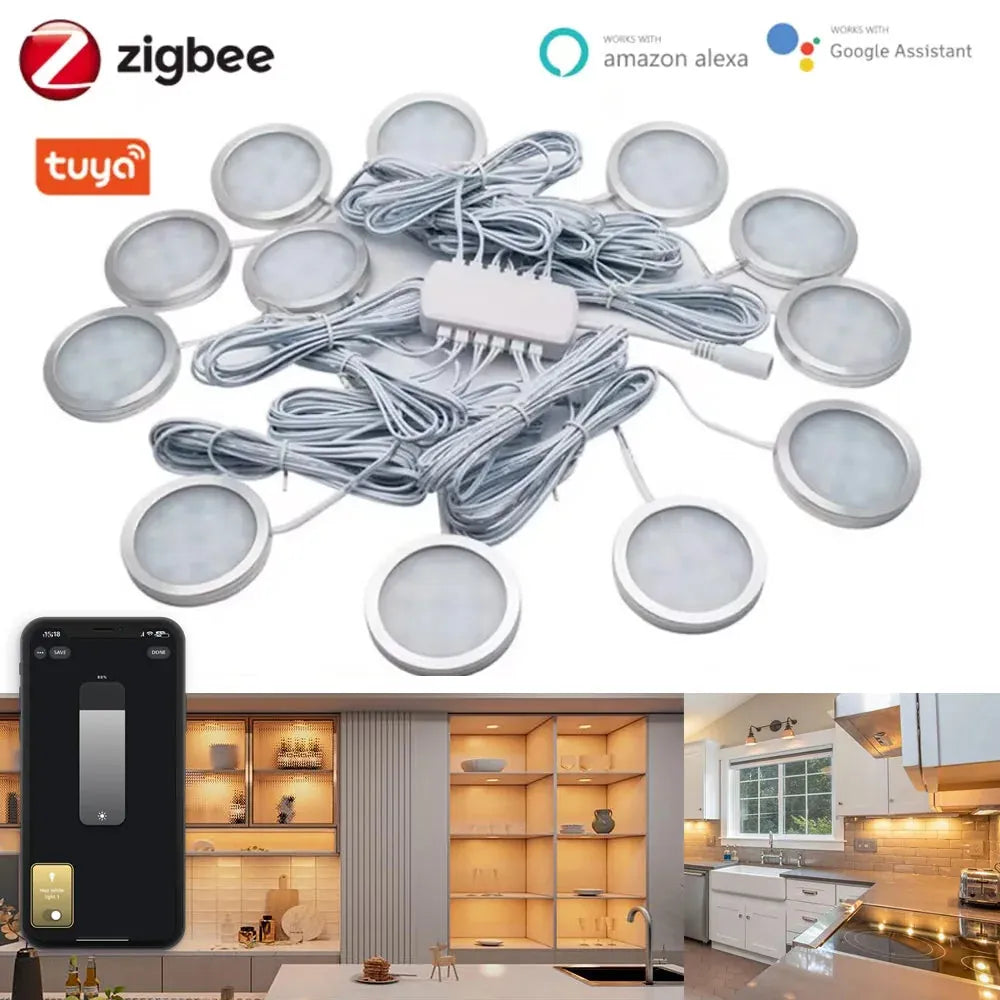
For users who want reliable dimming and seamless smart-home control without worrying about voltage or driver compatibility, an all-in-one system simplifies setup. Tuya Zigbee Smart Under Cabinet LED Puck Lights (12V, full kit) provide integrated drivers and Zigbee connectivity, allowing app and voice control while ensuring smooth dimming and compatibility across multiple fixtures.
Comparison: Smart connection protocols for puck lights
This table summarizes major connection protocols for puck lights—use it to match reliability, latency, local control, and best applications to your project.
| Protocol | Pros | Cons | Best for |
|---|---|---|---|
| Wi‑Fi | Direct cloud integration; no hub; wide device availability | Potential latency/cloud dependency; higher power use | Single-room installs; DIY users |
| Zigbee | Mesh network, low power, reliable local control via hub | Requires hub (Hue, SmartThings, Hubitat) | Whole-home lighting; many devices |
| Z‑Wave | Robust mesh and reliable local control | Smaller device ecosystem; requires hub | Professional installs, security-minded users |
| Bluetooth | Easy pairing; low power; direct phone control | Short range; limited multi-device mesh (unless Bluetooth Mesh) | Closet/cabinet lighting; single-room |
| Thread / Matter | Modern, IP-based, low-latency, cross-ecosystem promise | Devices and hubs are still rolling out; Matter support evolving | Future-proof HomeKit + multi-ecosystem integration |
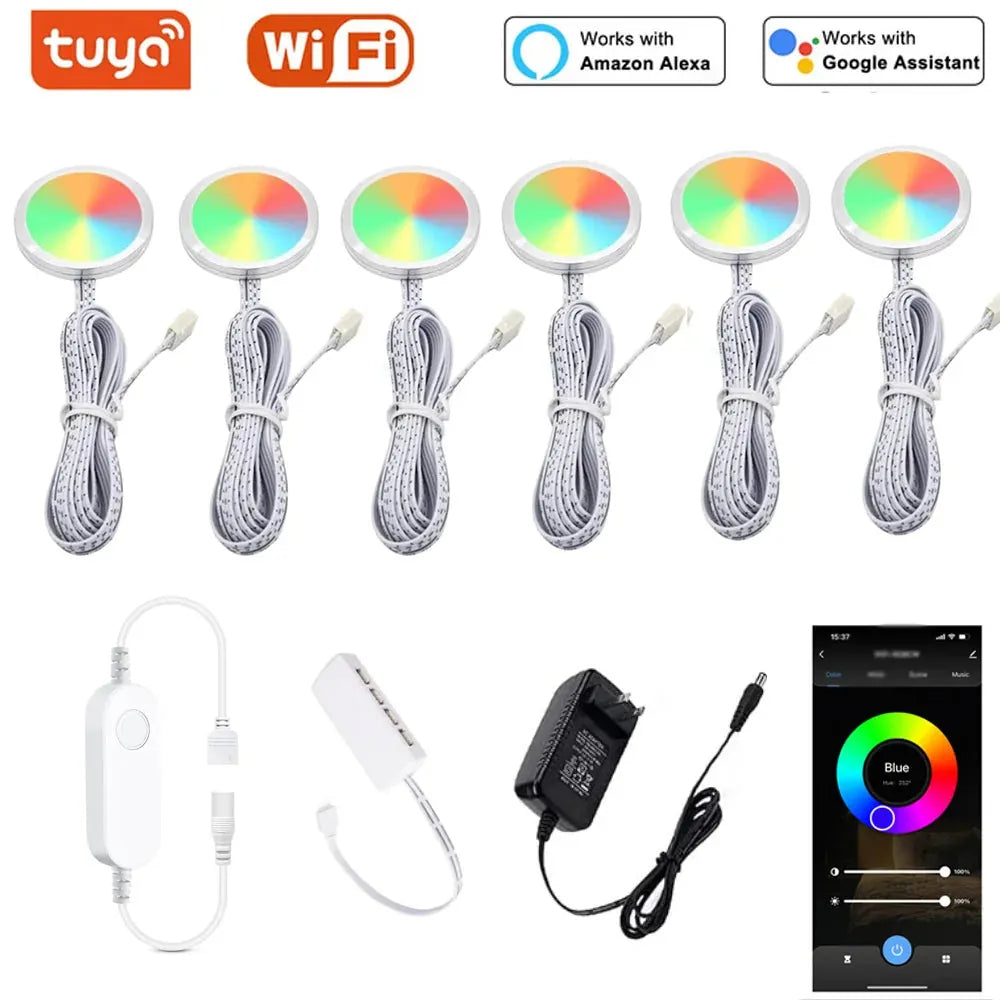
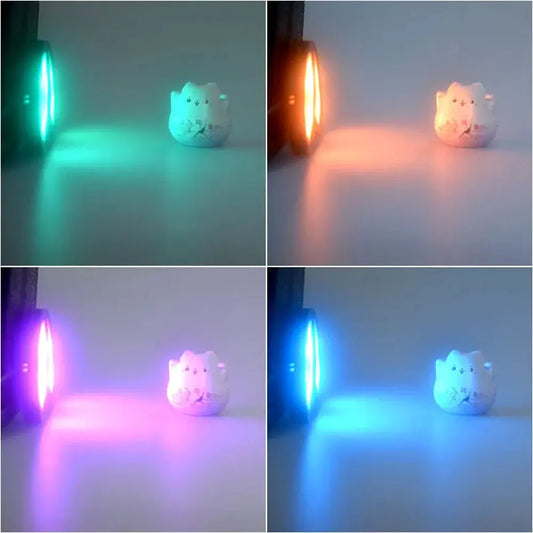
For users who want quick setup without adding a hub, WiFi-based puck lights can be a practical choice. Tuya WiFi RGB Under Cabinet LED Puck Lights (12V, dimmable) connect directly to the home network, offering app and voice control with straightforward installation—well suited for kitchens or displays where ease of use matters more than advanced local automation.
How to connect puck lights to Alexa, Google Assistant, and HomeKit
Use protocol-appropriate steps: native smart pucks pair through their app; standard pucks connect via a smart dimmer, smart driver, or hub for voice control and dimming.
Below are step-by-step workflows for the three major ecosystems. Choose the one that matches your hardware (native smart puck vs. smart driver vs. hub-driven solution).
Setup A — Native smart puck (Wi‑Fi/Bluetooth)
- Install puck lights and power them according to manufacturer instructions.
- Download the manufacturer app and create an account.
- Follow in-app pairing (usually press-and-hold or power-cycle). Verify firmware is up to date.
- Enable the vendor’s Alexa or Google Home skill (or link HomeKit via on-device pairing code if supported).
- Discover devices in Alexa/Google/Home and assign rooms or zones.
Setup B — Standard LED puck with a smart dimmer or smart driver
- Identify if pucks are 12V: If so, they use a driver/transformer. Replace the driver with a smart-enabled driver or place a smart in-line dimmer on the low-voltage side.
- For 120V pucks, install a compatible smart dimmer switch (Triac or ELV depending on puck specs) or an in-line smart module.
- Install wiring safely—turn off power at the breaker and use proper connectors; consider an electrician if unsure.
- Pair the smart dimmer/module with its hub/app, then link that hub to Alexa/Google/HomeKit.
Setup C — Hub-based integration (Zigbee/Z‑Wave) for multi-puck setups
- Choose a hub with the ecosystem integration you need (e.g., Hue Bridge for Zigbee/Hue-compatible drivers; SmartThings/Hubitat for broader Zigbee/Z‑Wave device support).
- Connect hub to home network and update firmware.
- Pair smart drivers/dimmers or Zigbee-enabled puck controllers to the hub using the hub’s device inclusion process.
- Link the hub to Alexa, Google Home, or HomeKit (via bridge or HomeKit integration) and discover devices.
Example voice commands
- Alexa: “Alexa, dim under‑cabinet lights to 40%.”
- Google: “Hey Google, set kitchen puck lights to 50%.”
- Siri/HomeKit: “Hey Siri, turn on kitchen lights to 30%.”
Using smart hubs, bridges, and Matter for better control
A hub or bridge improves reliability, enables local control, and often provides smoother dimming and more complex automations than cloud-only devices.
Hubs (Hue Bridge, SmartThings, Hubitat) translate between low-power mesh protocols and your local network, enabling stable control and reducing dependence on cloud services. Matter (the new IP-based standard) is improving cross-platform compatibility, making it easier to use the same puck lights across Alexa, Google, and HomeKit without vendor lock-in.
Why use a hub or bridge?
- Local control and faster response times.
- Mesh networking extends range and reliability for many pucks across a home.
- Centralized management for firmware updates and scenes.
- Bridges can provide HomeKit compatibility for devices that are otherwise not supported.
Matter and future-proofing
Matter aims to make devices interoperable across ecosystems. If you’re planning a whole-home puck-light system, consider devices and hubs that support Thread/Matter to minimize rework as the standard matures.
Practical wiring and installation tips
Correct wiring and installation prevent flicker, reduce electrical noise, and ensure dimming works as intended—follow manufacturer specs and local electrical code.
Basic installation checklist
- Turn off power at the breaker before touching wiring.
- Confirm puck voltage and driver type before swapping drivers or adding smart modules.
- If using 12V pucks, ensure the power supply (driver) is dimmable and sized to meet total wattage plus 20% headroom.
- Use wire gauge appropriate for the run; longer low-voltage runs may need heavier gauge to avoid voltage drop.
- Cap unused conductors and secure connections with the right connectors (wire nuts, crimp connectors, or terminal blocks).
Sizing a low-voltage driver (example)
Calculate total wattage: if each puck is 3W and you have eight pucks, total = 24W. Add 20% safety margin: 24W × 1.2 = 28.8W. Choose a 12V driver rated ≥ 30W.
Common wiring scenarios
- Single switch control: Use a smart dimmer at the switch or a smart inline dimmer at the driver.
- Multi-zone control: Use multiple smart drivers or addressable puck controllers tied to a hub for scene-level adjustments.
- Retrofit under-cabinet LED strip vs puck: strips often use 24V and may require different drivers or controllers—verify compatibility.
Troubleshooting common dimming issues (flicker, minimal dim, ghosting)
Flicker and poor dimming are usually caused by driver incompatibility, minimum load problems, or wiring issues; systematic testing resolves most problems.
Quick diagnostics checklist
- Confirm driver is dimmable and supports your dimming method (PWM, TRIAC, ELV).
- Check minimum load specs—some dimmers require a minimum wattage to function without flicker.
- Test with a known-compatible smart dimmer or driver to isolate the problem.
- Ensure firmware updates on hubs or smart modules—manufacturers often fix dimming behavior via firmware.
Specific problems and fixes
- Flicker at low levels: Use a different dimming curve (ELV vs TRIAC) or add a dummy load (resistive or a LED-compatible load capacitor) if recommended by manufacturer.
- No dimming—only on/off: The driver may be non-dimmable; replace with a dimmable driver or a smart puck.
- Ghosting (lights glow when off): Caused by neutral-less smart switches or small leak currents—install a neutral, use a bypass, or change to a switch with a neutral/compatibility for LEDs.
- Latency / unresponsive devices: Improve hub placement, reduce Wi‑Fi congestion, or expand mesh with repeaters/hubs.
💬 "Installed 12 low-voltage pucks with a Zigbee smart driver and Hubitat—no flicker, local automations, and Alexa responds instantly." — Homeowner project update
Automation, scenes, and voice command best practices
Create scenes, schedules, and conditional automations to get the most from dimmable puck lights—use layered lighting for function and mood control.
Automation ideas that add value
- Morning ramp-up scene: slowly increase under-cabinet lights to 60% over 15 minutes for gentle wake-up.
- Presence-based dimming: combine motion sensors with puck lights to turn on only when needed (saves energy).
- Cooking mode: set task lights to 100% and accent lights to 30% with a single voice command or button.
- Night path: dim to 5–10% when motion is detected between 10 PM and 6 AM.
Sample voice and routine commands
- Alexa Routine: “When I say ‘Alexa, kitchen prep’, set under-cabinet to 100%, island pendant to 70%.”
- Google Home Routine: “Hey Google, movie time” triggers dim to 10% and turns on accent LED strips.
- HomeKit Automation: Use time-based automation tied to sunrise/sunset and occupancy sensors for HomeKit scenes.
Safety, standards, and when to hire a professional
Follow electrical codes and safety guidelines; consult an electrician for line-voltage work, complex rewiring, or if local code requires licensed installation.
LED and lighting safety is regulated for consumer protection and fire risk minimization. For guidance on safe electrical work and preventing hazards, consult authoritative sources like the Occupational Safety and Health Administration (OSHA) and the U.S. Department of Energy:
When to call a professional electrician
- If you are not comfortable turning off breakers and working with live wires.
- If you need new runs of 120V wiring, new switches, or code-compliant junction boxes.
- When integrating smart dimmers into multi-way (3-way/4-way) switch circuits.
- For complex low-voltage runs requiring transformers, centralization, or load calculations beyond typical DIY scope.
Cost, ROI, and energy savings
Smart dimmable LED pucks are energy-efficient; combining them with automation and occupancy sensors reduces waste and can accelerate payback despite higher upfront costs.
LEDs use far less energy than halogen or incandescent alternatives. For example, replacing a 20W halogen with a 3W LED puck saves ~17W per hour. Over time with frequent use, savings compound and combined with smart scheduling yield noticeable reductions in electricity bills. The U.S. Department of Energy provides data on LED efficiency and savings potential (energy.gov).
Simple ROI calculation (example)
- Assume puck is used 4 hours/day. Savings per puck = (20W − 3W) × 4h = 68 Wh/day → 24.82 kWh/year.
- At $0.15/kWh, annual savings ≈ $3.72 per puck. Smart control can double savings by eliminating idle-on time.
- Factor in device costs (pucks, driver, smart dimmer/hub). Payback typically ranges from 1–4 years depending on usage and hardware choices.
Frequently asked questions (FAQs)
Clear answers to common questions about connecting and dimming puck lights across Alexa, Google, and HomeKit.
1. Can I dim any LED puck light with a smart dimmer?
Not always. The puck and its driver must be dimmable and compatible with the dimmer’s dimming method (PWM, TRIAC, or ELV). Check manufacturer specs; if in doubt, use an LED-specific or manufacturer-recommended dimmer.
2. Should I use a hub for my puck lights?
If you plan many lights across the home or want local automations, a hub (Zigbee/Z‑Wave/Thread hub like Hue Bridge or Hubitat) gives better reliability and lower latency than many cloud-only Wi‑Fi devices.
3. Will HomeKit work with my Wi‑Fi puck lights?
Only if the device vendor provides HomeKit support or if you use a bridge/hub that exposes devices to HomeKit. Matter-compatible products are increasingly simplifying cross-platform support.
4. Why do my puck lights flicker when dimmed?
Flicker usually stems from driver/dimmer incompatibility, minimum load issues, or poor wiring. Fixes include swapping to a compatible driver/dimmer, adding a recommended bypass, or updating firmware.
5. Can I wire puck lights to a smart switch and still control them individually?
A smart switch typically controls an entire circuit; for individual puck control, use addressable puck controllers, smart drivers with zone control, or separate circuits/switches per zone.
6. What’s the difference between a smart puck and a smart driver?
A smart puck has intelligence built into the fixture (Wi‑Fi, Bluetooth). A smart driver sits between power and puck and provides control for standard pucks. Smart drivers often allow more flexibility for multiple non-smart fixtures.
7. Are Matter and Thread worth waiting for?
Matter/Thread promise improved interoperability and reduced vendor lock-in. If you’re starting a new whole-home system and can buy Matter-capable devices, it’s a good choice; for small retrofits, current Zigbee/Z‑Wave/Wi‑Fi solutions work well now.
8. How do I prevent glowing or ghosting when using a neutral-less smart switch?
Use a switch that requires a neutral or install a recommended bypass (load capacitor or LED-compatible device). Alternatively, use a smart relay at the driver that supports low-current LED loads.
9. Can I mix puck brands on the same dimming circuit?
Mixing brands can work if all pucks use the same voltage and a single dimmable driver or compatible dimmer. Differences in LED color rendering and dimming curves can create uneven light; matching pucks yields the smoothest results.
10. Is it safe to install puck lights myself?
Basic low-voltage (12V) puck installs are often DIY-friendly. Any 120V wiring, new switch runs, or changes to fixed household wiring should follow local codes and often require a licensed electrician.
Final checklist and next steps
Use this checklist to move from planning to a successful smart puck-light installation with reliable dimming and voice control.
- Confirm puck voltage (12V vs 120V) and whether the driver is dimmable.
- Decide on control method: native smart pucks, smart driver, smart switch, or hub-based solution.
- Choose protocol based on desired reliability and ecosystem: Wi‑Fi for simplicity, Zigbee/Z‑Wave for mesh, Thread/Matter for future-proofing.
- Size the driver correctly and follow wiring best practices; consult an electrician for line-voltage work or complex multi-way circuits.
- Pair devices to your chosen hub/app, enable Alexa/Google/HomeKit integration, and create useful scenes and automations.
- Test dimming across the full range to confirm smooth operation; update firmware on all devices if issues appear.
Integrating puck lights into Alexa, Google Assistant, or HomeKit systems gives you voice control, energy savings, and richer automations—when you choose compatible hardware, use the right dimming strategy, and follow safe installation practices. If you need help selecting models or wiring diagrams tailored to your space, share your puck specs and existing wiring, and I’ll recommend options and step-by-step wiring guidance.
Further Reading
Explore the full guide for this topic: How to Control and Dim Puck Lights: Remote, Smart Switches, and Voice Assistants


 />
/>
 />
/>
 />
/>
 />
/>
 />
/>