Bookcase & Multi-Shelf Lighting Without Visible Wires
Plan the Cable Route Before Choosing the Shelf Lights
For a built-in bookcase with a concealed route to power, use one measured run of the Lumaz Through-Wood Touch Sensor COB LED Strip Light Kit beneath each shadow-producing shelf and return every supported lead to one accessible hub. For a freestanding bookcase, first decide whether a removable cable channel can run down the rear edge: use powered strip or bars when that route can stay hidden and serviceable, or make priority shelves independent with Lumaz rechargeable magnetic bars when the furniture cannot be drilled or wired.
Use a shared powered topology when
- A built-in can conceal a vertical lane behind a side stile, removable back, or trim channel.
- A freestanding bookcase sits against a wall and can carry a removable rear surface channel.
- Several shelf levels should switch and dim from one control point.
Use independent shelf lights when
- The bookcase is open-backed, visible from several sides, or cannot accept pass-through holes or a rear channel.
- Only one to three priority shelves need occasional display light, making charging simpler than hiding a shared cable route.
- The unit is moved often enough that a tethered power route would be inconvenient or vulnerable to damage.
Lumaz solution principle: treat the installation as three connected drawings: which shelves need their own source, where that source sits under each shelf, and how every powered lead returns to an accessible service point. Choose strip or bar only after those three decisions agree.
Match the Topology to the Furniture, Not Just the Fixture
| Bookcase condition | Recommended solution | Cable and service plan | Choose differently when |
|---|---|---|---|
| Built-in with a removable back, hollow side stile, or base service cabinet | Cut-to-fit COB runs | Home-run each supported shelf lead through one vertical lane to a hub and adapter that remain reachable. | The furniture cannot be drilled or opened for cable routing. |
| Built-in or modular shelving with repeatable bays that match 30cm, 40cm, or 50cm fixtures | Ultra-thin powered bars | Align one bar per shelf, then return the supported leads through a side channel after checking cable reach. | An exact edge-to-edge fit or an irregular shelf shape requires cuttable strip. |
| Freestanding bookcase against a wall with room for a removable rear channel | Powered strip or powered bars | Run one vertical low-voltage lane down the rear edge, secure slack, and keep the adapter connection near the base so the unit can be unplugged before moving. | The rear and sides are visible, or the furniture is moved frequently. |
| Open-backed, rental, or finished freestanding bookcase with no acceptable cable path | Independent rechargeable bars | No shelf-to-shelf connection; keep a clear removal direction for charging each magnetic bar. | Many shelves run for hours every day and charging several fixtures would become the maintenance problem. |
| Custom millwork project with a separately specified 12V power, dimmer, and connection system | 2-pin 12V COB strip | Design the complete low-voltage system before cutting; the strip is not a complete powered kit. | The installer wants a ready-to-use hub, controller, and adapter in one product family. |
Cuttable does not mean reconnectable by itself: a strip's cut marks establish where it may be shortened. They do not prove that a particular snap connector, extension lead, dimmer, or daisy-chain layout is compatible. Verify the complete connection system before cutting any shelf run.
Draw the Shelf Map as Three Separate Lines
A useful plan does not start with total strip length. Record the light line, return path, and control group for every shelf separately; this prevents a strip that fits the shelf from being paired with a lead that cannot reach the hub.
| Line to draw | What to mark | Decision it prevents |
|---|---|---|
| Light-source line | Every solid shelf that creates a shadow, the usable illuminated width, and front, rear, or side placement. | Buying one top light and discovering that occupied shelves leave the lower levels dark. |
| Low-voltage return line | The path from each powered source to the chosen vertical lane, including connector bodies and shelf pass-throughs. | Assuming total strip length also guarantees enough lead length or connector clearance. |
| Service and control line | The hub, dimmer or sensor, adapter, outlet, and the panel or compartment that must remain removable. | Hiding the wiring successfully but sealing the component that later needs adjustment or replacement. |
Use one row per shelf before ordering
- Number the display levels from bottom to top and mark which solid shelves cast a shadow on the level below.
- Record the usable light length under each shelf after subtracting side panels, hardware, and the space needed to hide the source from normal viewing angles.
- Choose front, rear, or side placement by the object faces you want to reveal—not by the easiest adhesive surface.
- Measure the return path from that exact source position to the vertical cable lane; do not substitute the bookcase height for individual lead measurements.
- Mark one accessible service point near the base or an adjacent cabinet, then confirm that the selected Lumaz kit supports the number of runs and connection layout you drew.
Choose the Fixture and Power System After the Map
Configuration 1 · Permanent multi-shelf built-in
Return Every Shelf Run to One Hidden Hub
Recommended setup: measure the usable underside of every shelf, assign one COB strip run to each level, and route the leads through aligned rear-corner or side-stile pass-throughs. Place the centralized adapter and hub in a ventilated, reachable base compartment. Use the hidden touch control behind a compatible non-metallic panel where it can be found consistently.
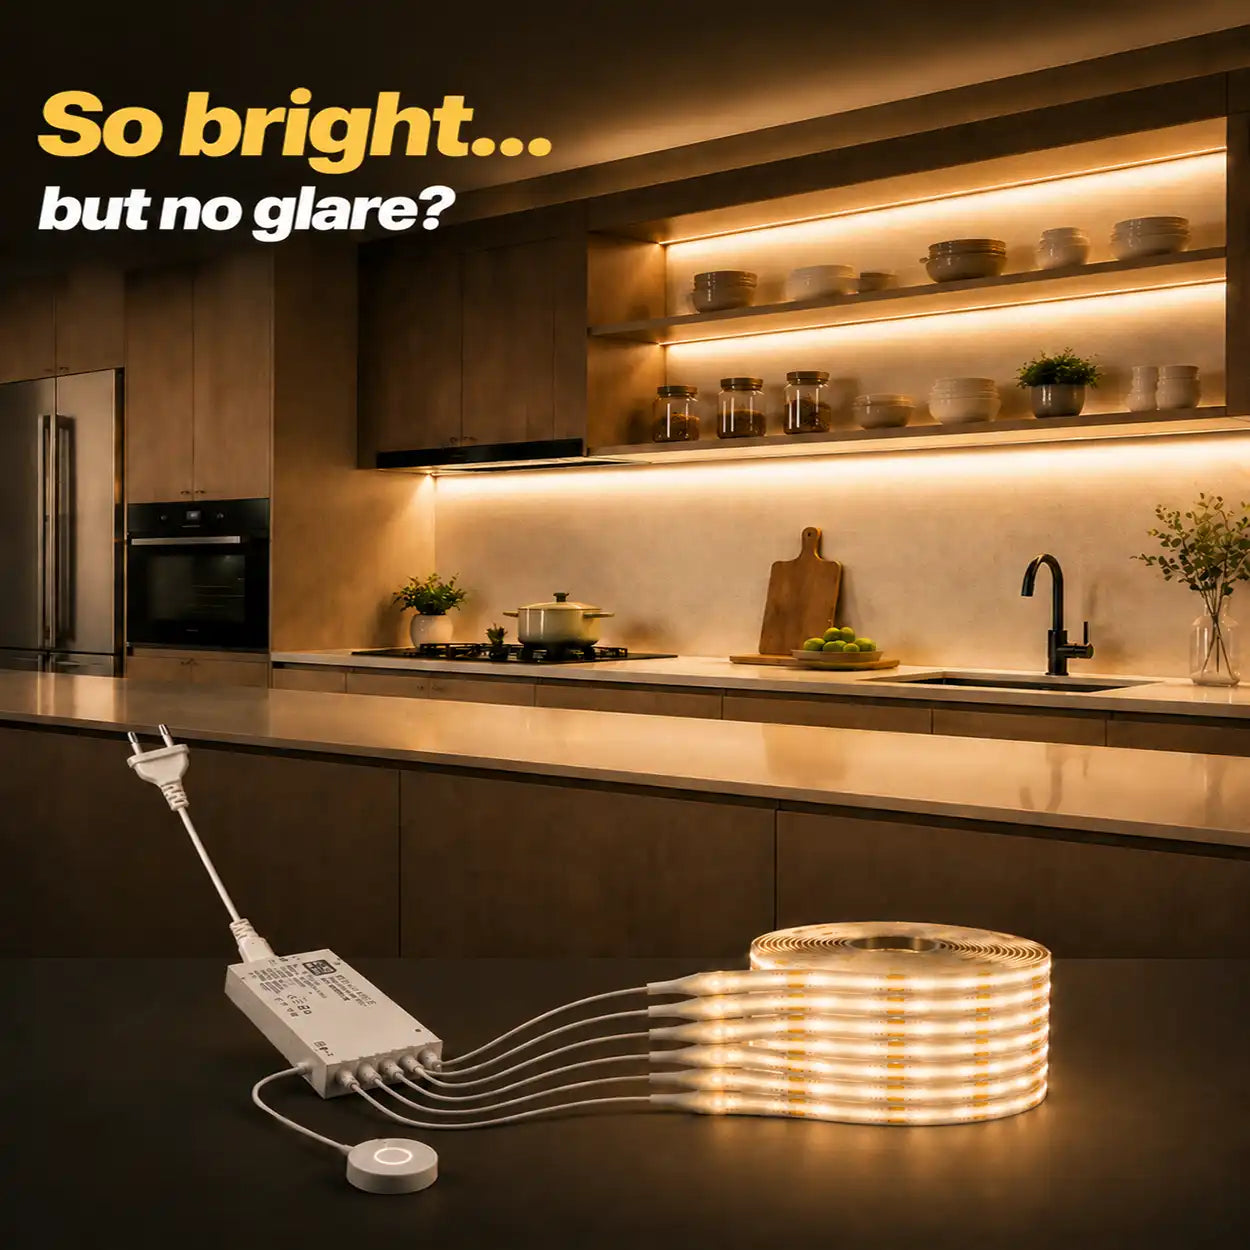
- Best fit: fixed wood shelving with several illuminated levels and a concealed route to a base or side service space.
- System facts: 2-, 4-, 5-, and 6-strip options; 1m, 2m, 3m, and 5m lengths; centralized power hub; US or EU adapter.
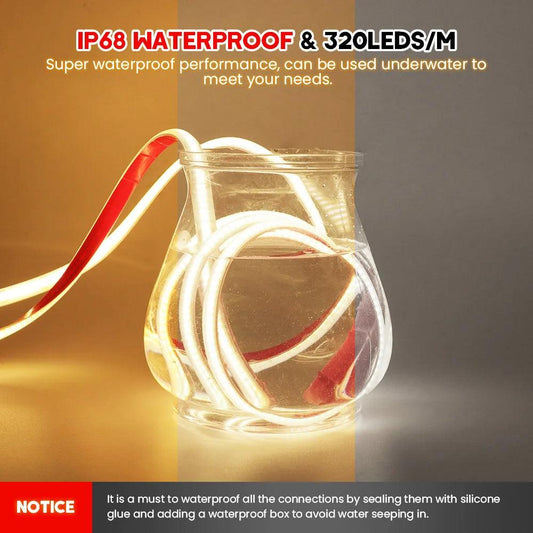
- Why this model: 320 LEDs/m COB creates a smoother continuous line, 2.5cm cut intervals support shelf-specific fitting, and stepless dimming lets books and reflective objects share one comfortable output.
Best fit
A homeowner or millworker can hide one vertical cable lane behind a face frame or removable back, and wants four or more shelves to switch and dim as a coordinated display.
Not ideal when
The bookcase must remain unmodified or the hub cannot stay accessible. Choose Lumaz rechargeable magnetic bars so each shelf remains independent, or use powered rigid bars when standard lengths fit without cutting.
Use a home-run layout instead of improvising a daisy chain
- Number shelves from bottom to top and record the finished illuminated length of each run.
- Select a hidden vertical cable lane on one side. Align pass-through positions where shelf structure permits, but keep holes away from fasteners and load-bearing joinery.
- Route each supported strip lead back to the centralized hub. Do not splice shelf runs in series unless the selected kit instructions explicitly support that connection.
- Dry-fit every strip, lead, control, and adapter before removing adhesive backing or cutting the strip.
- Leave the hub and adapter removable for service; do not seal them permanently behind a fixed back panel.
Configuration 2 · Repeating straight shelf widths
Use Slim Bars When Standard Lengths Already Fit
Recommended setup: use one powered Lumaz light bar beneath each shelf whose usable width closely matches 30cm, 40cm, or 50cm. Align the fixtures at the same front-to-back position, place the sensor/control where a deliberate hand sweep is possible, and route the supplied system's low-voltage leads down one concealed side after confirming the chosen kit's connector topology.
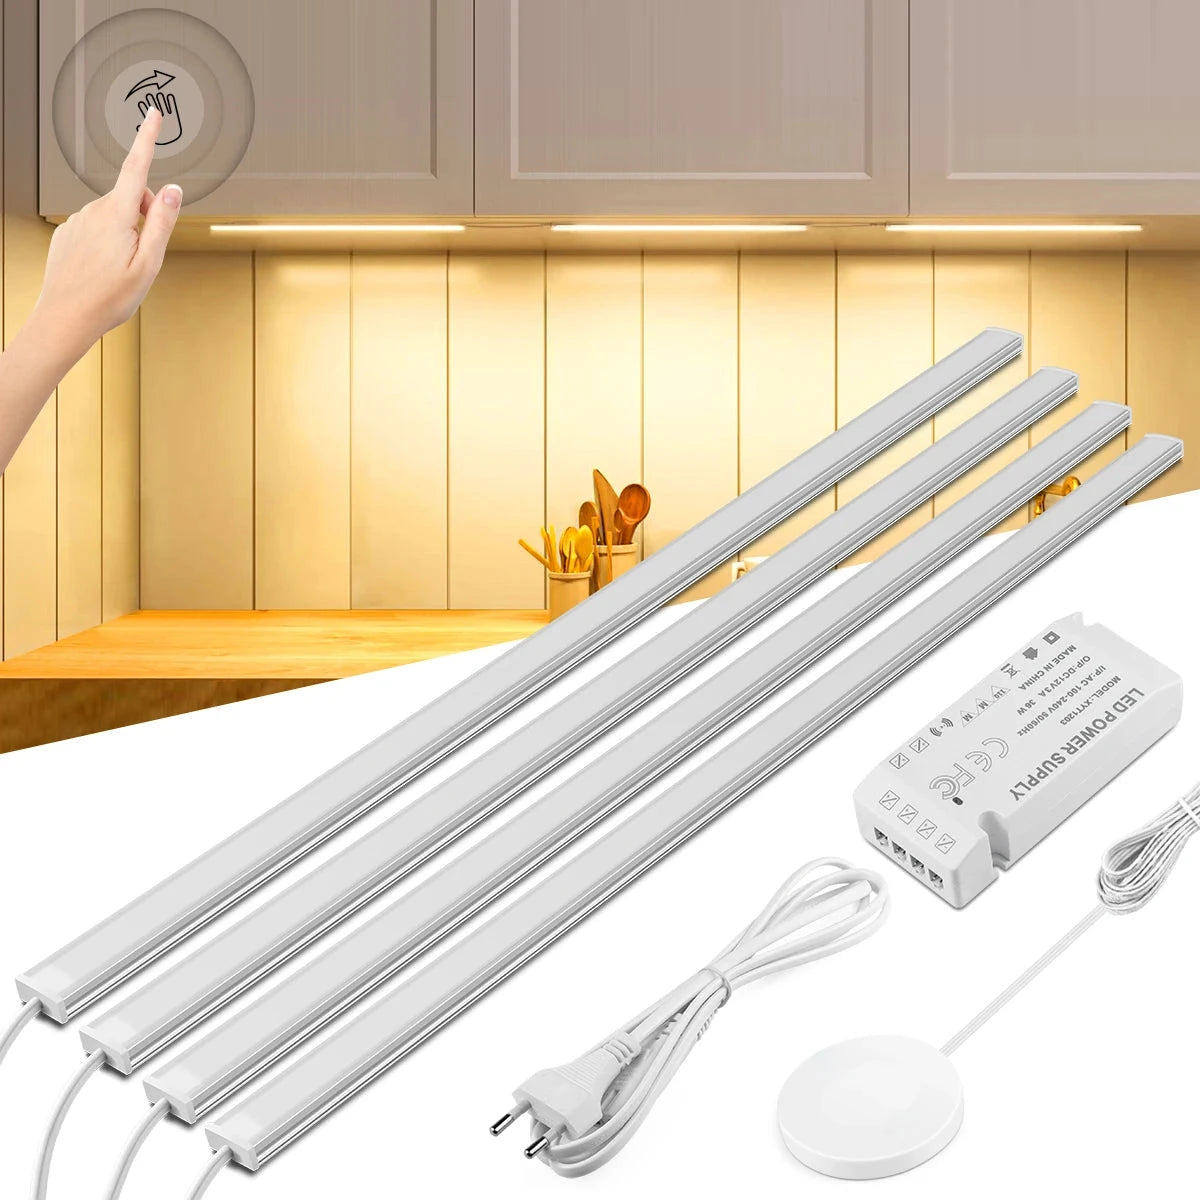
- Best fit: modular shelving with repeatable straight bays where rigid fixtures are easier to align than cut strip.
- Fixture facts: 7mm aluminum body; 30cm, 40cm, and 50cm lengths; 1- to 6-light kit choices; warm or cool white.
- Why this model: the slim rigid housing creates consistent alignment across levels, while hand-sweep switching and stepless dimming provide deliberate display control without touching a visible switch.
Best fit
A bookcase has four equal-width shelves and enough side trim to conceal the interconnecting leads. The available bar size stops short of both side panels without requiring a custom cut.
Not ideal when
Shelf widths vary, curved or angled sections need illumination, or the bar leaves large dark ends. Use the cut-to-fit Lumaz COB kit for a more exact line, or rechargeable bars when no shared cable route exists.
Confirm before drilling: a multi-light kit choice does not by itself establish every cable length, splitter position, or shelf-to-shelf connection. Lay the selected kit on the floor in the planned order and verify reach before opening the furniture.
Configuration 3 · No holes and no visible vertical cable
Make Each Shelf an Independent Rechargeable Zone
Recommended setup: mount one Lumaz rechargeable magnetic bar beneath each priority shelf rather than trying to connect the levels. Match 10cm to 50cm bars to the individual bays, use always-on mode for display sessions, and keep the magnetic removal direction clear so charging does not require unloading books or collectibles.

- Best fit: a rental bookcase, finished collectible cabinet, or one to three priority shelves that cannot accept pass-through holes.
- Fixture facts: 10cm to 50cm lengths; black or silver; 3000K, 4000K, or 6000K; stepless dimming; magnetic installation.
- Why this model: each shelf can operate without a vertical cable, while always-on, night-motion, all-day-motion, and off modes let the same removable bar serve display and short-access use.
Best fit
Two collectible shelves need clean light for occasional evening display, and preserving the furniture matters more than controlling every level from one switch.
Not ideal when
Five or six shelves stay illuminated for hours every day. Multiple independent batteries create a repeated charging task; use the powered Lumaz COB hub or rigid-bar system when a concealed route can be added.
Plan charging as part of the layout
- Start with the most visually important shelves instead of automatically lighting every level.
- Confirm that each bar can slide or lift off its magnetic patch after the shelf is fully dressed.
- Use the same color-temperature choice across adjacent shelves to prevent an accidental patchwork appearance.
- Create one labeled charging location and rotate shelves if charging every bar at once is unnecessary.
Configuration 4 · Custom low-voltage millwork system
Use Raw 12V Strip Only When the Rest of the System Is Already Designed
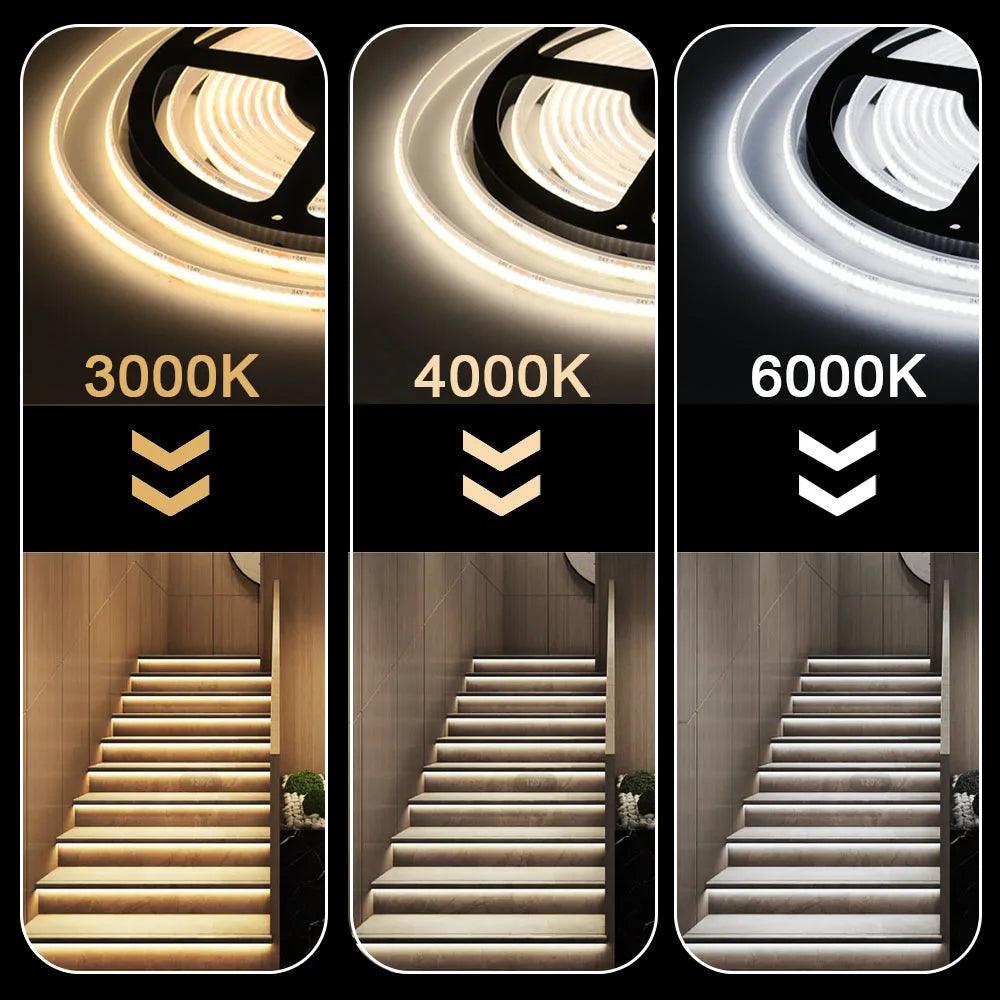
Recommended setup: use the Lumaz 2-pin 12V COB strip as the light source when a compatible power supply, dimmer, connectors, cable gauge, and connection topology are being specified as one system. Cut each shelf section only after the complete route is tested, and use a professional installer when the project requires new mains-power work or concealed electrical components.
- Best fit: custom millwork where the installer is already specifying compatible 12V power, dimming, connectors, and hidden wiring.
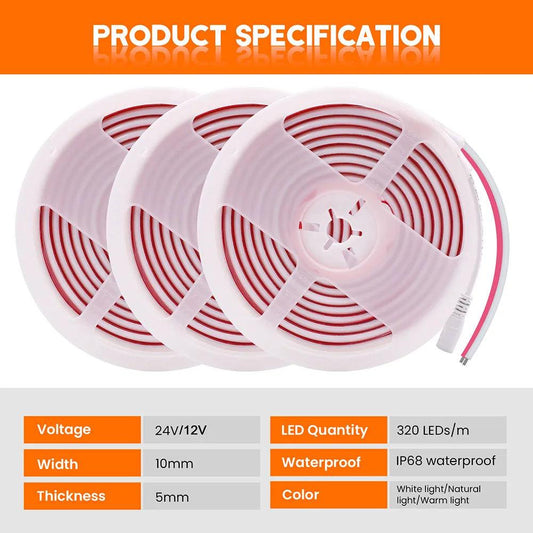
- Strip facts: 320 LEDs/m, CRI above 90, 3000K/4000K/6000K choices, 1m to 20m lengths, cuttable and dimmable construction.
- Why this model: high-density COB supports a smooth display line and CRI above 90 helps books and collectible colors appear natural, while the long roll supports measured shelf sections within a designed system.
Best fit
A new built-in is being fabricated with removable backs or channels, and the installer can calculate the total load and specify one compatible control and power architecture.
Not ideal when
The user expects a complete plug-in shelf kit. This product includes the strip with 2-pin wire but no power supply or dimmer; choose the Lumaz Through-Wood Touch Sensor COB kit for a more complete starting system.
Route Built-In and Freestanding Bookcases Differently
| Furniture type | Preferred vertical lane | Service point | Installation boundary |
|---|---|---|---|
| Built-in with removable back or side trim | Inside one rear corner, behind a side stile, or at the removable back-panel edge. | Ventilated base cabinet, adjacent cupboard, or removable side cavity. | Do not make structural holes or permanently close the hub, controller, connectors, or adapter behind fixed millwork. |
| Freestanding against a wall | One secured, removable low-voltage channel down the rear edge; keep it clear of anti-tip hardware. | Near the lower rear edge where the unit can be unplugged before it is moved. | Leave enough slack for service but secure it so the cable cannot snag, carry furniture load, or become the anti-tip restraint. |
| Open-backed or visible from several sides | No shared vertical lane unless a deliberate trim feature can conceal it. | Independent rechargeable bars removed shelf by shelf. | Do not trade one visible cable for several small clips and crossings; reduce the number of lit shelves instead. |
- Choose the service location first. Put the hub, controller, and adapter in an accessible base cabinet, adjacent cupboard, or removable side cavity before deciding which side carries the leads.
- Map one continuous cable lane. A rear corner, hollow side stile, removable back-panel edge, or paint-matched surface raceway is usually cleaner than crossing each shelf in a different place.
- Separate light length from lead length. Measure every illuminated shelf section and every return path to the hub separately. A strip may fit the shelf while its supplied lead still fails to reach the controller.
- Dry-fit the full system. Connect and power every shelf in order before drilling, cutting strip, or exposing adhesive. Confirm that connector bodies can pass through or remain hidden at the selected route.
- Protect transitions. Keep low-voltage leads away from sharp edges, moving doors, drawer slides, shelf pins, and mounting screws. Use appropriate bushings or channels where a lead passes through furniture.
- Leave a service path. Do not glue over connectors or permanently bury the adapter. A removable trim strip or back panel keeps future troubleshooting possible.
Do not improvise mains wiring inside furniture: the shelf-lighting products operate from their specified low-voltage or supplied adapter systems. Any new outlet, concealed mains cable, or permanent electrical alteration should follow local requirements and be handled by a qualified person where required.
Choose Front Edge, Rear Edge, or a Top-Shelf Solution
| Placement | Best use | Visible result | Main risk |
|---|---|---|---|
| Just behind the front underside edge | Books, framed objects, and collectibles whose faces need even light | Light reaches the front of objects and reduces shadows cast by the shelf above. | The source may be visible from a seated position; recess it behind a lip or shallow channel. |
| Rear underside edge | Wall-wash or silhouette effect behind sparse objects | Brightens the back panel and creates depth. | Book spines and object fronts can remain dark, especially when shelves are deep or crowded. |
| Front vertical side | Open shelving where one side source can reach several levels | Adds cross-light to object faces without a fixture above every level. | Side glare and unequal illumination increase when objects block the beam. |
| Top cap or front valance above the highest display surface | An open top shelf with no shelf above it | Gives the highest objects a concealed overhead source consistent with lower levels. | A visible add-on rail can look unfinished; integrate it with the bookcase trim or use room lighting instead. |
Test the finished display, not an empty shelf
- Place the tallest book, darkest object, reflective frame, and most important collectible in their intended positions.
- Temporarily hold the light near the front edge, then at the rear. View it both standing and from the room's normal seated position.
- Choose the front position when object faces matter; choose rear placement only when a back-panel glow is the intended result.
- For glass shelves, reduce brightness and test reflections from several angles before fixing the source.
- For the open top level, add a shallow upper valance or side source only if ceiling light cannot provide a consistent result.
Questions That Determine Your Lighting Setup
Should bookcase shelf lights be daisy-chained?
Use only the connection topology documented for the selected kit. The Lumaz Through-Wood COB kit provides a centralized hub for multiple runs, which supports a clean home-run plan. Do not assume a cut strip or third-party connector can be daisy-chained merely because the strip has cut marks.
Is strip or a light bar better for several shelves?
Use Lumaz COB strip when shelf widths vary or the light line must fit precisely. Use the 7mm Lumaz powered bars when shelves repeat and match 30cm, 40cm, or 50cm lengths. Use rechargeable bars when eliminating the vertical cable is more important than centralized control.
How should the highest open shelf be lit?
Integrate a short strip or bar into an upper cap, crown, or shallow front valance and route its lead down the same hidden side lane. If no trim can conceal the source, use side lighting or rely on the room's ceiling light rather than leaving an exposed strip at eye level.
Can all shelf lights use one power supply?
Only when the selected product system and total load support it. The Lumaz Through-Wood kit includes a centralized adapter and hub for its multiple runs. The raw 12V COB strip includes no power supply, so its driver, dimmer, wiring, and connectors must be specified as a compatible system.
Continue with the Right Lumaz Path
Collection hub
Compare Lumaz Under Cabinet Lighting
Use the collection after choosing strip, powered bar, or rechargeable bar to compare current lengths, kits, power options, and controls.
Next decision · No wiring
Plan a No-Wiring Under Cabinet Setup
Continue here when drilling, a visible vertical raceway, or access to an outlet is unacceptable and rechargeable or battery-powered operation becomes the main constraint.
Next decision · Glass reflections
Light Glass Cabinets Without Hotspots
Continue here when the shelves hold models or collectibles and glass reflections, visible light points, color fidelity, or uneven shelf brightness becomes the main decision.