Closet & Wardrobe Lighting Solution
Recommended Closet Lighting Plan by Storage Layout
Divide the wardrobe wherever a shelf, vertical partition, drawer bank, or doorway blocks light, then give each resulting visibility zone its own source and control. For a typical existing reach-in closet with one open hanging bay, start with the Lumaz Type-C Rechargeable Under Cabinet LED Light Bar near the front underside of the top shelf. Change to local pucks for divided compartments, powered strip runs for stacked solid shelves, or a layered powered system for a walk-in wardrobe.
Keep one lighting zone when
- The reach-in closet has one open hanging or shelf bay with no solid obstruction between the source and stored items.
- One control behavior suits the entire zone.
- The source can sit near the front without being directly visible at normal eye level.
Split the lighting plan when
- Vertical dividers create separate garment, shoe, bag, or accessory bays.
- Solid shelves prevent a top-mounted light from reaching lower levels.
- A walk-in layout needs both safe room circulation and local wardrobe visibility.
Lumaz layout rule: check three forms of visibility before fixing any light—the stored item must receive light, the sensor or control must remain reachable, and the bright source should stay outside normal sightlines. A light that passes only one or two of these checks is in the wrong position.
Match the Storage Structure to the Light Position
| Storage layout | What blocks the light | Source position | Control starting point | Failure to avoid |
|---|---|---|---|---|
| Reach-in closet with one open hanging bay | The shelf front, hanging clothes, and the user's body block a ceiling light. | One linear light near the front underside of the shelf above the rail, aimed across garment fronts. | Motion for short access; always-on for dressing or reorganizing. | Mounting at the rear, where the back wall becomes bright but dark garments remain indistinct. |
| Wardrobe divided into narrow bays | Vertical partitions stop light from crossing between compartments. | One local source inside each active bay; use a puck for a compact target or a short bar for a wider bay. | Independent motion for brief access; manual control when items can block the sensor. | Using one central light and assuming it can illuminate through opaque dividers. |
| Stacked solid shelves | Every shelf is a horizontal shadow boundary. | A short linear run beneath each active shelf, or a carefully tested vertical side wash when shelf fronts can receive light evenly. | One powered dimming control for coordinated daily use; local motion only when the levels are accessed separately. | Lighting only the top shelf and leaving every lower level dependent on spill light. |
| Walk-in wardrobe | Room corners, hanging runs, tall storage towers, and the user create several different shadow zones. | Main room light for circulation plus local bars, strips, or pucks at garment and display zones. | Grouped powered control when several zones operate together; local sensors only for isolated storage. | Treating accent pucks or rechargeable bars as the only whole-room light. |
This layout logic is the storage equivalent of a kitchen work-zone plan. If you need to apply the same obstruction-first method to counters, use the Kitchen Counter and Work-Zone Lighting Plan; do not copy kitchen fixture positions into a wardrobe without remapping the shelves, doors, clothing, and eye-level sightlines.
Map Visibility Zones Before Counting Lights
- Load the closet normally. Return dark garments, storage boxes, folded items, bags, and shoes before evaluating shadows. An empty wardrobe hides the obstructions that determine the real layout.
- Draw every opaque boundary. Mark solid shelves, vertical partitions, drawer fronts, doors, and tall stored objects. Each boundary may create a new lighting zone.
- Name the retrieval action. Hanging clothes need broad front visibility; folded stacks need shelf-level light; shoes and accessories may need smaller local pools.
- Mark a source line. Start near the front underside of the shelf or cabinet top that serves the zone. Move inward only enough to hide the fixture without losing the item fronts.
- Mark the control and service path. Show the motion field, touch point, cable route, driver or adapter location, and the direction used to remove a rechargeable light for charging.
Check 1 · Item visibility
Can the user distinguish the stored items?
Judge garment fronts, labels, shelf contents, and drawer interiors from the normal standing position—not by how bright the cabinet wall appears.
Check 2 · Source visibility
Can the bright LEDs be seen directly?
Inspect the closet from standing and seated heights and from the room outside. Recess or reposition the source when it creates direct glare.
Check 3 · Control visibility
Can the sensor or control detect the real action?
Open doors, reach past hanging clothes, and fill shelves before accepting the sensor position or hidden touch point.
Configure Each Closet by Its Storage Layout
Layout 1 · Reach-in closet
Use One Front Linear Source for One Open Bay
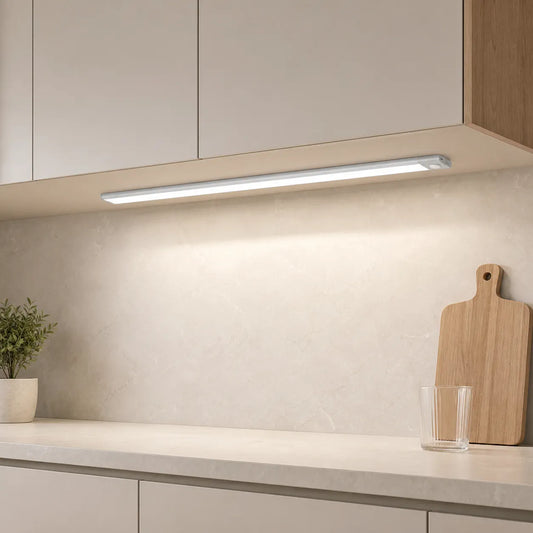
Recommended setup: install one rechargeable bar near the front underside of the shelf above an uninterrupted hanging or storage bay. Match the bar length to the useful zone rather than the door opening, keep its motion field clear of hanging garments, and switch to always-on mode for longer dressing or organizing sessions.

- Best fit: one dark hanging or shelf bay in an existing closet where routing a permanent cable is disproportionate to the problem.
- Fit facts: 10cm, 20cm, 30cm, 40cm, and 50cm lengths; black or silver finish; 3000K, 4000K, and 6000K; magnetic installation.
- Why this model: stepless dimming plus always-on, night-motion, and all-day-motion modes let one fixture support both brief retrieval and deliberate dressing.
- Not ideal when: solid shelves or vertical dividers split the bay, several lights must run together, or routine charging would be impractical.
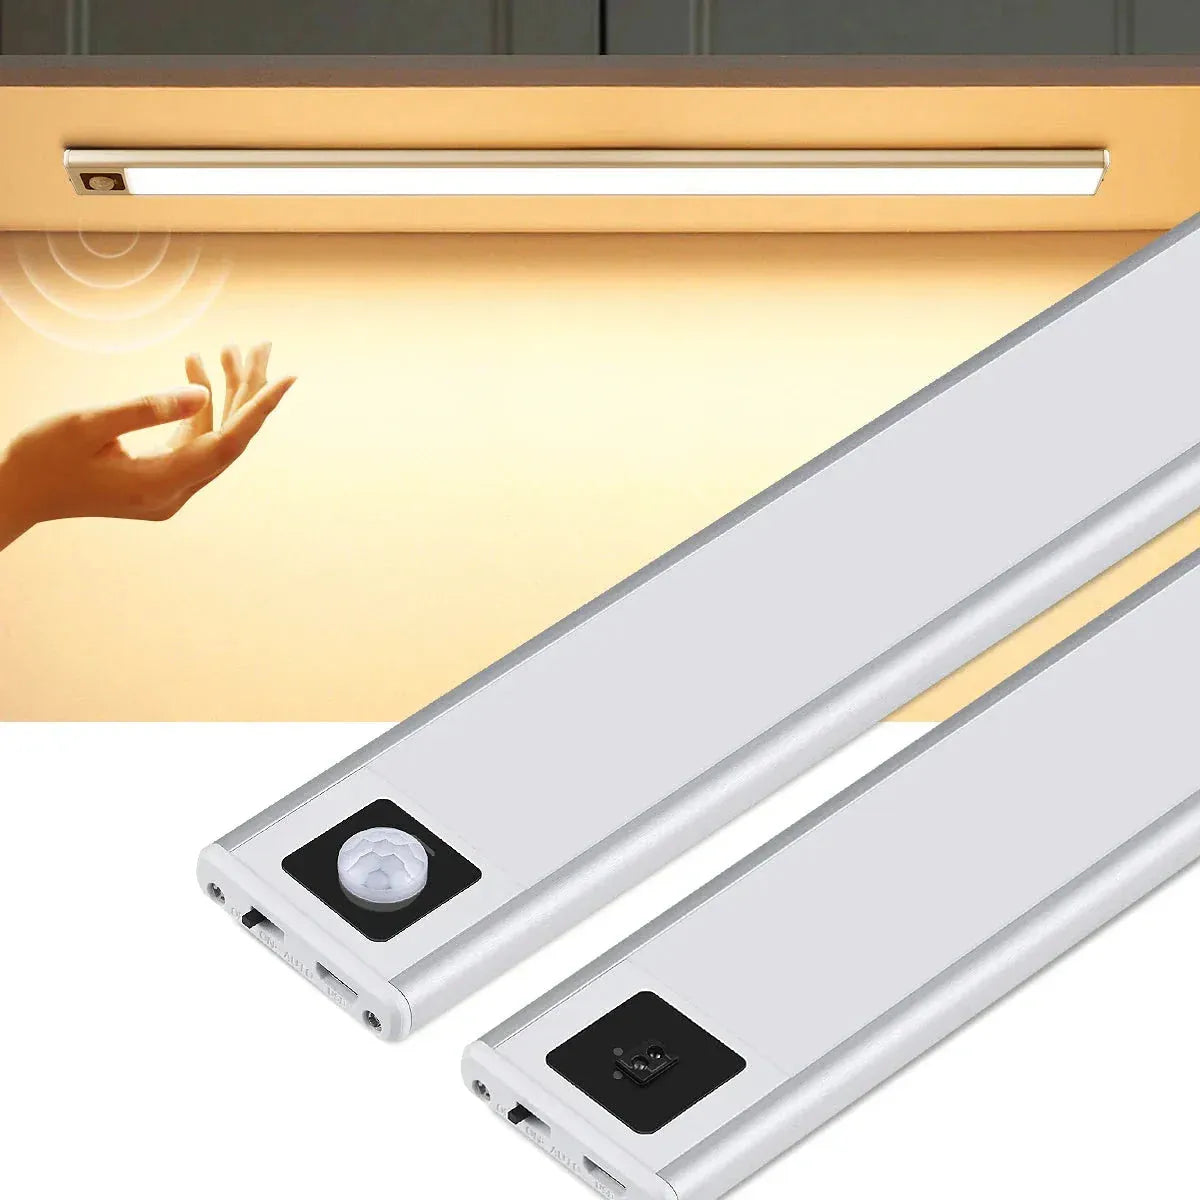
- Best fit: a 20cm or 40cm wardrobe section where the fixture profile remains visible from the room.
- Profile facts: 0.9cm aluminum body, magnetic mounting, USB rechargeable power, and PIR-motion or hand-sweep variants.
- Why this model: the lower-profile body reduces visual weight when the shelf edge offers little concealment.
- Not ideal when: a different length is required or the user needs the broader mode and color-temperature choices of the Type-C bar.
Reach-in placement test: close the room door, open the closet, and approach from the normal direction. The sensor should respond before the user reaches into the bay, while the light itself should remain shielded by the shelf front at normal eye level.
Layout 2 · Divided wardrobe
Treat Each Opaque Bay as an Independent Visibility Zone
Recommended setup: place one local puck near the front of each compact bay that is actively used. Do not space lights evenly across the wardrobe; light the shoe section, linen stack, accessory bay, or other target that remains dark after the doors open. Keep the sensor in front of stored items so a hand or approaching user crosses its field first.
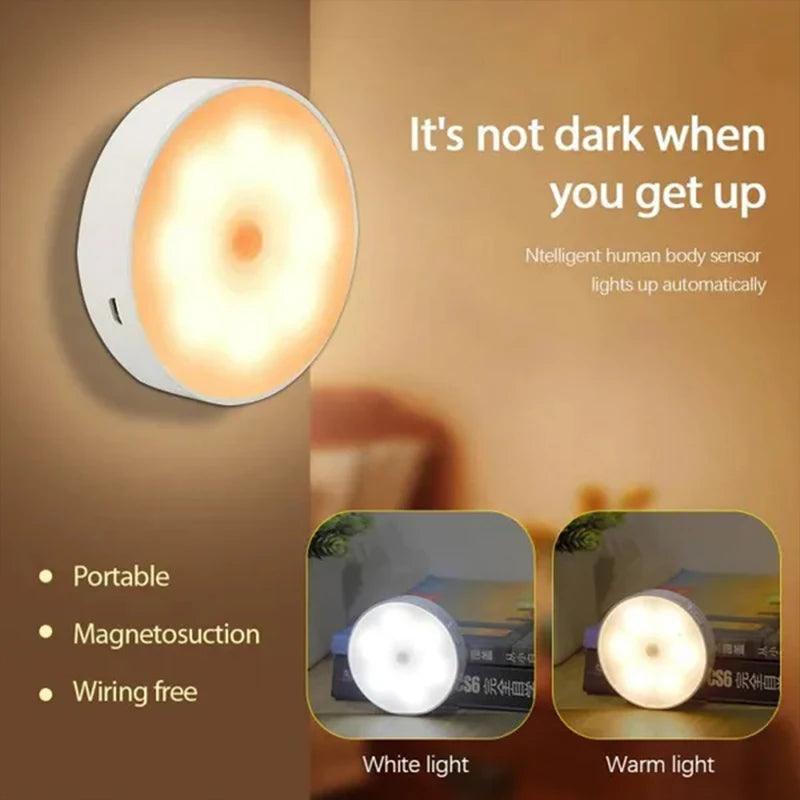
- Best fit: shoe, linen, accessory, or small hanging compartments visited briefly and separated by opaque partitions.
- Control facts: PIR sensor, 120-degree sensing angle, 25-second auto-off, magnetic mounting, USB rechargeable power, and 2- to 6-piece pack options.
- Why this model: one compact automatic source can serve each genuine shadow zone without attempting to throw light through the divider.
- Not ideal when: garments or boxes block the sensor, the light must remain on for extended viewing, or many bays need synchronized daily operation.
When the cabinet is unusually deep, a door or shelf blocks the trigger, or the rear remains dark even after the source moves forward, use the Deep Cabinet and Pantry Lighting by Shelf Construction for a more detailed top-versus-side placement and trigger plan.
Layout 3 · Stacked solid shelves
Repeat a Linear Source Below Every Active Shelf Level
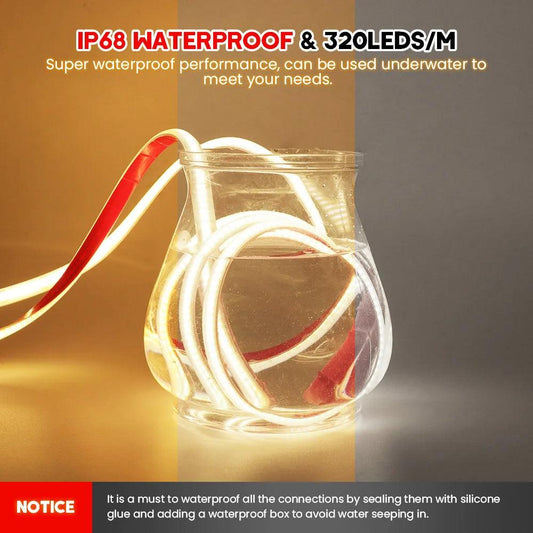
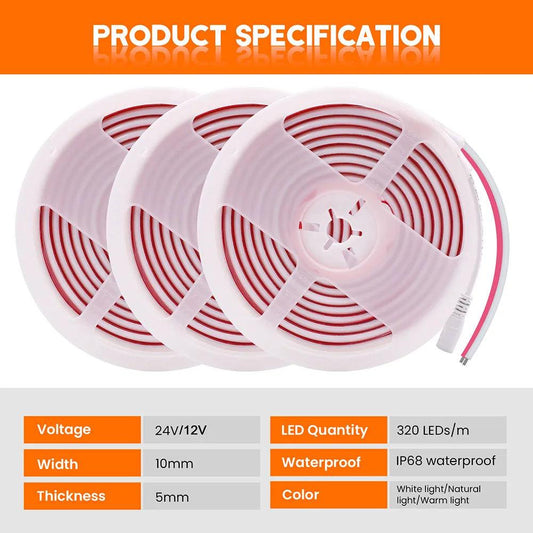
Recommended setup: treat every solid shelf as a new ceiling. For a built-in wardrobe with power and concealed cable routes, install one measured COB strip beneath each shelf level that requires visibility, position it toward the front, and return the runs to one accessible hub and dimming control.
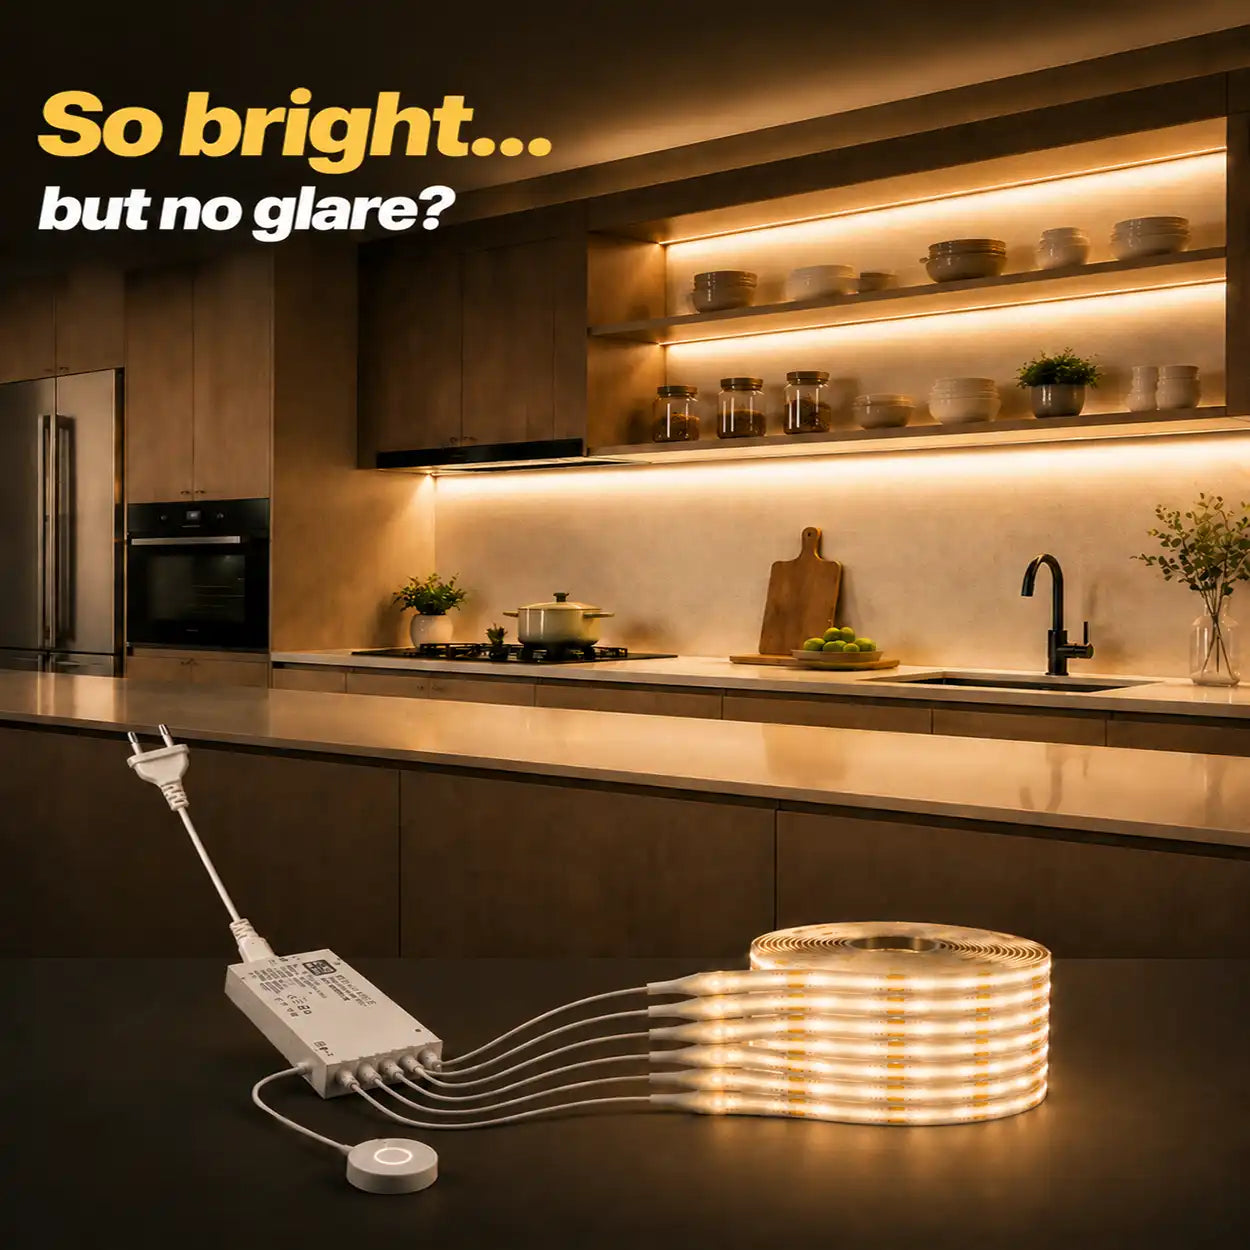
- Best fit: a built-in wardrobe with several active solid shelves, an outlet, and a concealed route back to one serviceable power location.
- Layout facts: 1m, 2m, 3m, and 5m lengths; 2-, 4-, 5-, and 6-strip options; 8mm PCB; cuttable every 2.5cm.
- Why this model: the centralized adapter supports coordinated shelf runs, while 320 LEDs/m COB construction produces a smoother exposed line and the through-wood control can operate through compatible panels up to 25mm.
- Not ideal when: the wardrobe has no outlet or cable path, every level needs independent automatic activation, or the furniture must remain fully removable.
- Measure each active shelf underside separately and label it before choosing strip quantities.
- Mark holes or cable transitions through vertical partitions before the wardrobe is loaded.
- Dry-fit the complete hub, strip, and control layout; test the actual panel material and thickness at the intended hidden touch point.
- Keep the adapter, hub, and connections accessible rather than sealing them behind fixed cabinetry.
- Illuminate the filled shelf and inspect the source from outside the wardrobe before cutting or fixing the strips.
Layout 4 · Walk-in wardrobe
Layer Main Circulation Light with Controlled Wardrobe Zones
Recommended setup: retain adequate ceiling or room lighting for safe movement, then place Lumaz smart pucks at distinct display or retrieval zones such as shoes, bags, accessories, or short hanging bays. Group only the zones that should operate together; use linear light instead when a long shelf or hanging run needs continuous coverage.
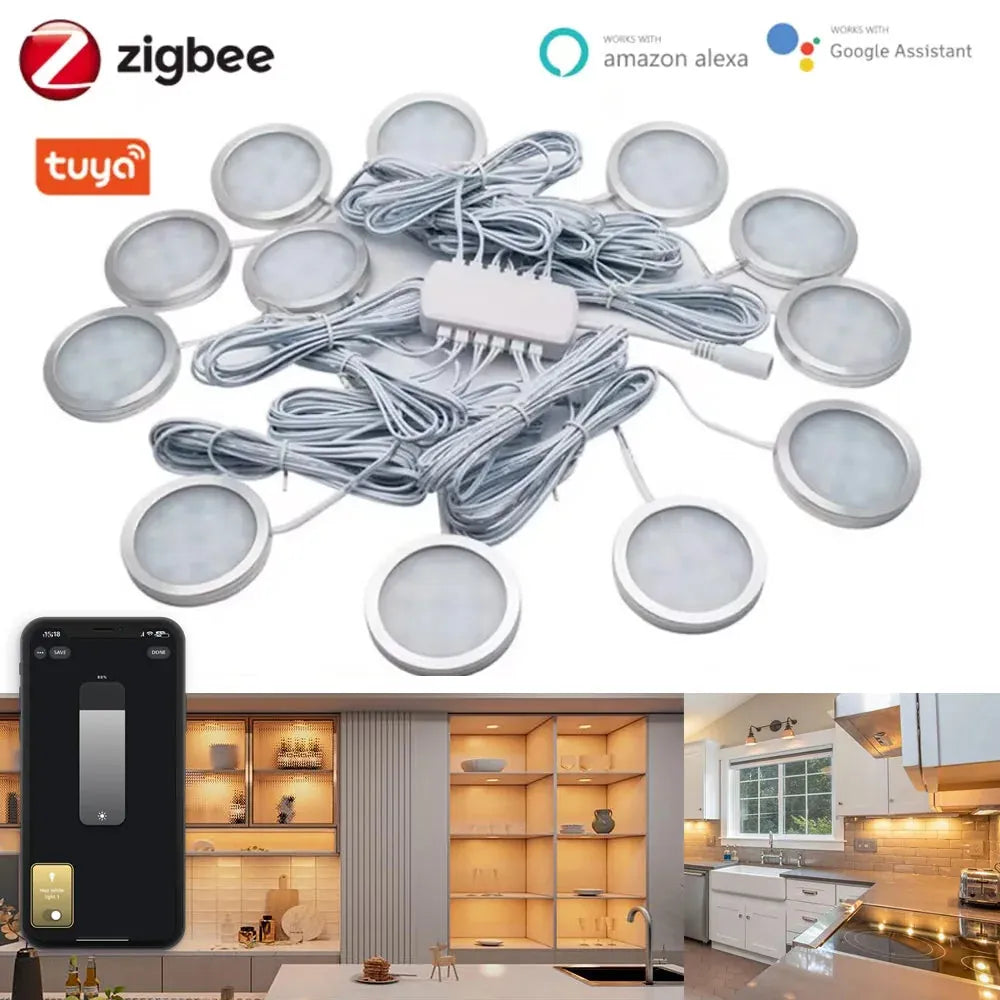
- Best fit: a powered walk-in or display wardrobe with multiple distinct bays and a compatible Zigbee setup where grouped app or voice control adds real value.
- System facts: 2- to 12-puck full kits, 12V output, 200lm per puck, 120-degree beam angle, dimming, 3500K or 6000K, and 1.5m light cables.
- Why this model: the kit coordinates several focal points without turning each bay into a separate rechargeable maintenance task.
- Not ideal when: the wardrobe needs one uninterrupted light line, has no compatible control environment, or the pucks would be expected to replace proper whole-room lighting.
After wardrobe task zones are visible, use Layered Lighting: Balance Task, Ambient and Decorative Light to set the relationship between local cabinet light and the room's main layer. The wardrobe lights should reveal clothing and objects; the main layer should support circulation and overall comfort.
Choose Control by Access Pattern, Not Novelty
| Access pattern | Control choice | Positioning requirement | Switch when |
|---|---|---|---|
| Brief, frequent retrieval from an open bay | Motion mode | The approaching user or reaching hand must enter the sensor field before clothing or the door blocks it. | Use always-on when dressing or sorting routinely outlasts the automatic cycle. |
| Long dressing, folding, packing, or seasonal reorganization | Manual or always-on mode with dimming | The control must remain reachable after the wardrobe is filled. | Use motion only for zones normally visited for a few seconds. |
| Several powered walk-in zones used together | Grouped app, voice, or central dimming control | Confirm platform compatibility, cable reach, and a usable manual fallback before fixing the lights. | Keep independent control where zones serve different routines. |
| Cabinet-door activation is essential | Dedicated door-contact system or a deliberately tested sensor placement | The door movement must reliably create the intended trigger without stored items causing false or missed activation. | Do not assume a PIR product is a door-contact switch; choose based on the required behavior. |
Maintenance rule: one or two rechargeable lights can simplify an existing wardrobe. Once several zones must charge and operate together, powered grouping usually becomes the cleaner ownership plan. If the primary constraint is avoiding wiring across several rooms or furniture types, compare the broader No-Wiring Under Cabinet Lighting Solutions.
Verify the Finished Closet with Its Contents in Place
- Open every door and drawer. Confirm that hardware does not strike the light, cable, magnetic release path, or sensor field.
- Check dark materials. View black, navy, and textured clothing from the normal standing position; do not judge the result only with pale garments or an empty cabinet.
- Check every obstruction boundary. Look beneath solid shelves and beside vertical dividers for levels or bays that the selected source cannot reach.
- Check direct glare. Stand at the closet, sit nearby, and view it from the room entrance. Reposition a visible source before relying on dimming to hide it.
- Trigger the real routine. Approach, open, reach, dress, and reorganize as the user normally would. Confirm that the selected motion, manual, or grouped control remains predictable.
- Service the system once. Remove a rechargeable light or reach the powered adapter, hub, and connectors before considering the installation complete.
Questions That Determine Your Lighting Setup
Is one light enough for a reach-in closet?
One Lumaz rechargeable bar is a practical starting point when the closet is one open bay and no shelf or divider blocks the source. Split the plan when the hanging section, shoe shelf, or storage tower remains separated by an opaque boundary.
Does every solid shelf need its own light?
Every active shelf level needs a source that can reach it, because a solid shelf blocks light from above. This can be one strip beneath each active shelf or a tested side-lighting route; do not add a light to an unused level merely for symmetry.
Should a closet light be at the front or back?
Start near the front underside so light reaches garment and item fronts. Move the Lumaz bar, puck, or strip inward only enough to shield the source at normal sightlines, then retest the filled storage zone.
When should I stop adding rechargeable lights?
When several fixtures must operate together every day, charging access becomes part of the layout. Keep rechargeable Lumaz lights for isolated zones; use the powered COB or Zigbee configuration when coordinated multi-zone operation is the real requirement.
Continue with the Right Lumaz Path
Collection hub
Compare Lumaz Under Cabinet Lighting
Use the collection after mapping the storage zones to compare current bar, puck, strip, power, size, color, and control options.
Next decision · No wiring
Plan a Removable No-Wiring Setup
Continue here when the storage layout is clear but rentals, finished furniture, or missing outlets make the power path the dominant constraint.
Next decision · Deep storage
Plan Deep Cabinets and Solid Shelf Bays
Use this plan when cabinet depth, door behavior, or shelf construction makes trigger and top-versus-side placement the next decision.