How to Fix Dark Kitchen Countertops With Under Cabinet Task Lighting
Fix Dark Kitchen Countertops with the Right Under Cabinet Task Light
Start by finding out why the countertop is dark before choosing a fixture. A ceiling light can leave a person's body between the source and the work surface, while a deep or matte countertop absorbs more of the light that reaches it. Map the real prep and cleanup zones, then choose continuous coverage, a shorter bar, or a local puck only where that shape solves the actual problem.
Best fit
- Prep, sink-side cleanup, baking, or appliance zones located beneath wall cabinets.
- The ceiling light leaves a shadow when the user stands between it and the countertop.
- The cabinet run has a safe mounting surface and either a concealed power route or a practical cordless alternative.
The plan changes when
- An open shelf or missing upper cabinet leaves no suitable underside mounting surface.
- A hood, sink window, tall cabinet, or corner divides the kitchen into separate lighting runs.
- No outlet or acceptable cable route exists, or the counter is used only for brief visits.
Lumaz planning principle: plan the task surface first and the fixture second. For each work zone, decide why it is dark, how much of the surface must stay visible, where the source should sit, and how it will be powered; then match that plan to a continuous strip, a fixed bar, or a removable rechargeable bar.
Why a Dark Countertop Still Looks Dark
Adding more fixtures is not always the first fix. Stand at the position where the task happens and identify which condition is limiting the light. The answer changes the layout before it changes the product.
| What you notice | Likely cause | First adjustment |
|---|---|---|
| Your hands cast a broad shadow over the work area. | The ceiling fixture is behind the person using the counter. | Place the under-cabinet source toward the front half of the cabinet underside so it reaches the working edge. |
| The backsplash is bright but the cutting board remains dull. | The source is mounted too far back or aimed at the wall instead of the task depth. | Test the front-to-back position with the normal objects on the counter before fixing the light in place. |
| A long dark section appears between otherwise bright spots. | Small, separated pools of light do not cover the full working width. | Use a continuous strip or a closely matched bar run across the active zone rather than adding one more isolated puck. |
| The light is on, but a deep or matte surface still feels visually flat. | The surface absorbs more of the available light and needs consistent coverage, not just a bright point. | Increase the covered length and choose a controllable fixture that can be set comfortably for the task, then verify it from the user's position. |
Once the cause is clear, continue with the work-zone map below. If the primary problem is visible glare or reflections from a glossy surface rather than insufficient task visibility, use the separate glossy-countertop lighting guide instead of treating both problems as the same fix.
Map the Kitchen Before Choosing a Light
A cabinet-by-cabinet shopping list often produces bright empty countertops and leaves the actual cutting board or sink edge in shadow. Instead, sketch the countertop as a sequence of activities. Mark where food is prepared, where dishes are cleaned, where hot cookware lands, and where small appliances are operated.
- Place the real objects. Put the cutting board, mixer, coffee machine, dish rack, and other frequently used items where they normally sit.
- Observe the shadow from the working position. Use the kitchen under normal evening lighting, stand where each task happens, and note which part of the surface your head, shoulders, or cabinets darken.
- Mark the available mounting surface. Record the usable underside length of each wall cabinet and every interruption created by a hood, window, tall cabinet, corner, or open shelf.
- Mark power before selecting fixtures. Locate the outlet, the route that can hide an adapter or connecting cable, and any section that would require a visible crossing.
- Separate wet and hot boundaries. Keep adapters, loose connectors, and ordinary indoor wiring away from splashes, steam, and hot appliance zones, and follow the product instructions and local installation requirements.
Planning output: each work zone should end with five notes: activity, shadow location, usable mounting length, desired coverage, and power route. These notes—not the total kitchen length—determine the lighting configuration.
Give Each Counter Zone the Right Priority
| Work zone | What to light | Useful coverage pattern | Condition that changes the plan |
|---|---|---|---|
| Main prep or baking zone | The full working width of the cutting board, mixing area, or rolling surface | Continuous linear light across the active counter, normally positioned toward the front half of the cabinet underside | Use separate runs when a corner, hood, window, or cabinet break interrupts the mounting surface or cable route. |
| Sink and cleanup zone | The sink edge, draining area, and adjacent cleanup surface rather than the backsplash alone | A wide linear source with the power components kept clear of splash exposure | Do not extend an ordinary indoor system through a wet location merely to preserve one continuous run. |
| Cooking and landing zone | Controls, preparation space, and the safe landing area beside the cooktop | First use an effective hood light if one is already present; add task light to the adjacent landing area only where the surface remains dark | Heat, steam, or the hood structure may require this area to remain independent from the main under-cabinet run. |
| Coffee or appliance station | The controls, cup area, and short preparation surface in front of the appliance | One short linear fixture aligned with the operation area | A dedicated powered bar is practical for frequent use; a rechargeable bar is cleaner when no cable route exists. |
| Short landing area or isolated corner | The specific place used to set down groceries, read controls, or prepare one drink | A short bar or one deliberately placed local pool of light | Change to linear coverage if the working area extends across most of the cabinet width. |
| Decorative or unused counter | Only the part that contributes to the desired room appearance | No dedicated task light unless the area also supports a real activity | Use a layered-lighting plan when the goal is atmosphere or visual continuity rather than countertop visibility. |
Do not assume every cabinet needs the same light. The main prep surface usually deserves the most continuous and dependable coverage. A coffee station may need one short fixture, while a counter used only for display may need no dedicated task light at all.
Turn the Work-Zone Map into Lighting Runs
For each priority zone, make the following decisions in order. This prevents a convenient switch or available product length from dictating a poor lighting position.
Decision 1 · Coverage
Continuous or local?
Use linear coverage for chopping, baking, cleanup, and other activities that move across the counter. Reserve a local pool for a compact landing point or appliance control area.
Decision 2 · Position
Light the working edge
Begin near the cabinet's front underside so the beam reaches the front half of the worktop. Move inward only enough to hide the source or reduce a reflection from the countertop or backsplash.
Decision 3 · Power
Follow a realistic cable route
Use continuous power for long daily tasks. Treat a hood, window, tall cabinet, doorway, or unacceptable visible crossing as the boundary between separate electrical groups.
If the counter turns a corner or the cabinet run is interrupted, use the L-shaped kitchen and separate-runs plan to decide which sections should remain connected. If the work zone is clear but no acceptable power route exists, continue to the no-wiring solution.
Choose a Setup for Each Planned Work Zone
Setup 1 · Main prep and cleanup zones
Create a Continuous Powered Line Across the Active Counter
Recommended setup: use one cut-to-fit COB strip run for each uninterrupted cabinet section above a high-priority work zone. Position the strip between the front edge and center of the cabinet underside, test it over the actual cutting-board or cleanup position, and group only the runs that have a practical concealed connection.
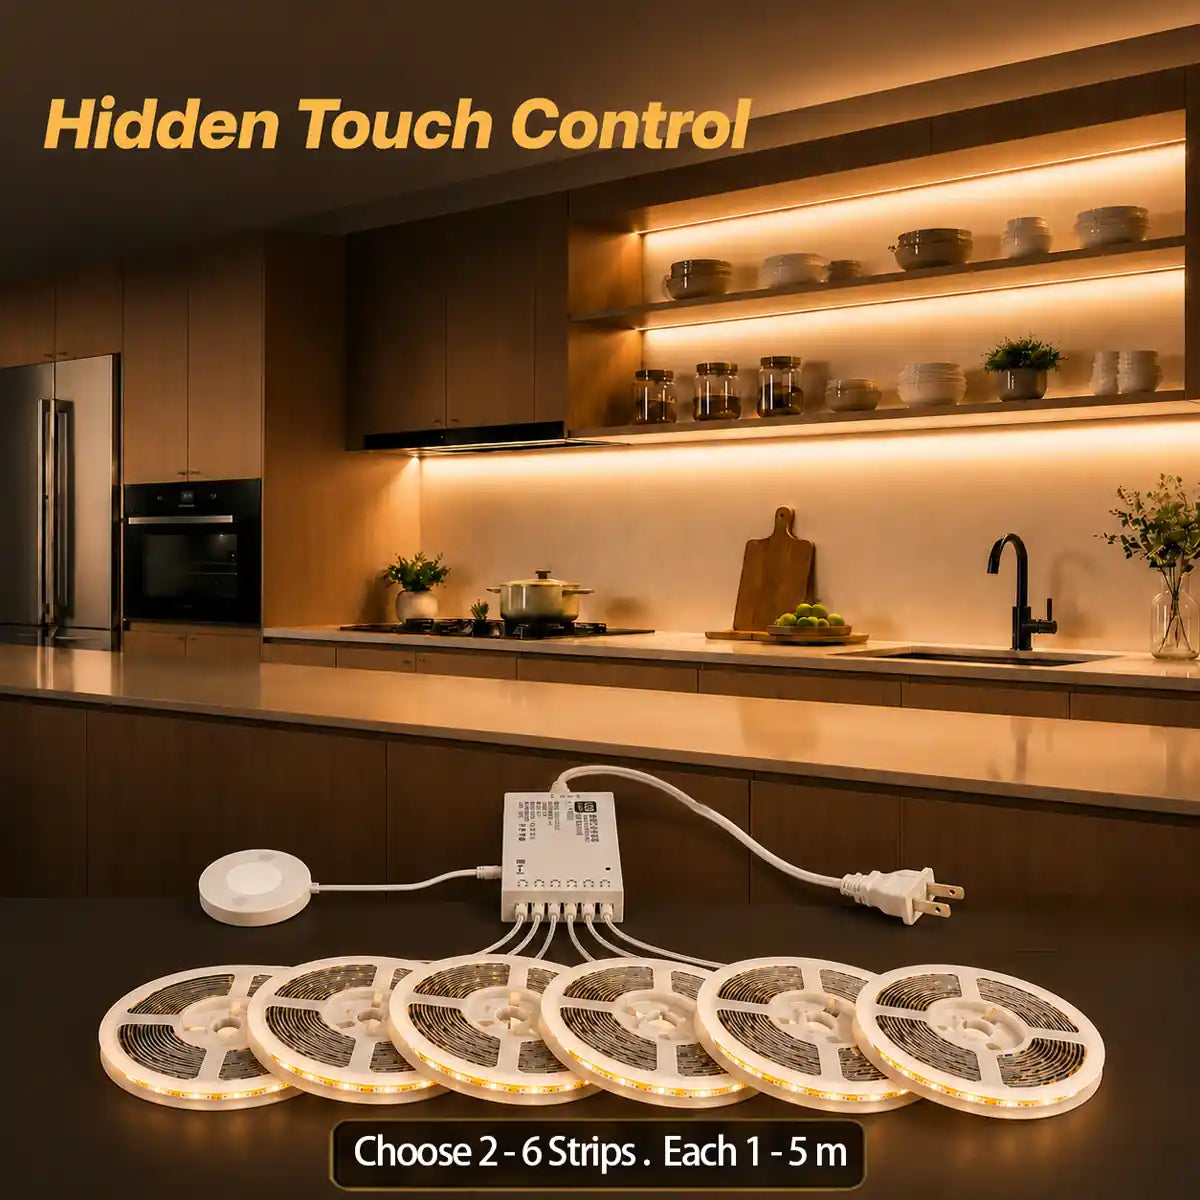
- Best fit: a regularly used prep, baking, or cleanup run with an outlet and a concealable cable path.
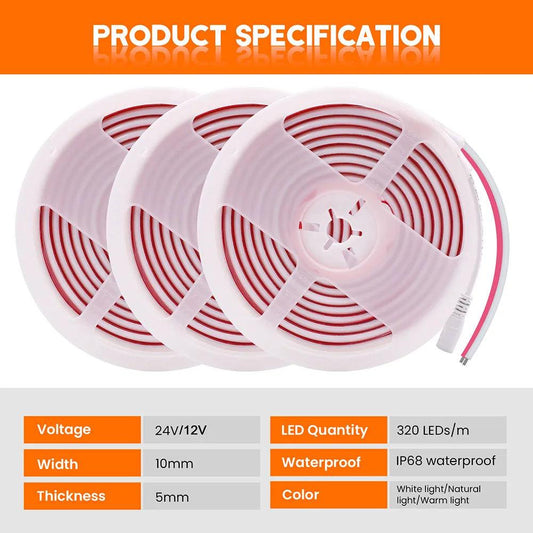
- Planning facts: 1m, 2m, 3m, and 5m lengths; 2-, 4-, 5-, and 6-strip options; cuttable every 2.5cm; warm white, neutral white, and white light choices.
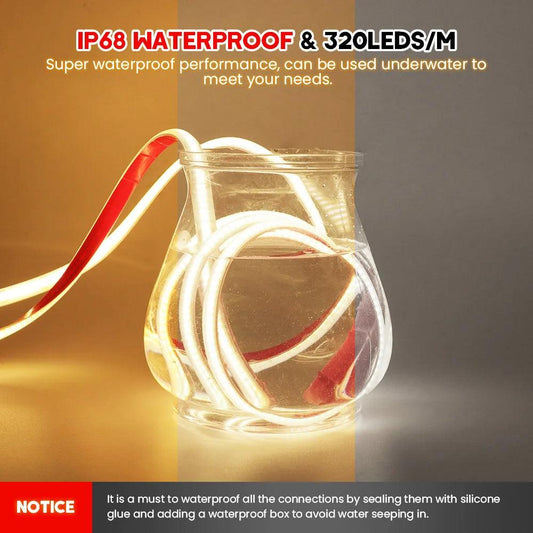
- Why this model: 320 LEDs/m COB construction creates a smoother light line, while stepless dimming and centralized power support broad task coverage across planned runs.
- Not ideal when: the installation must be removable, the run has no acceptable power route, or the cabinet surface cannot support the installation method.
- Measure each usable cabinet underside separately; do not order from the room's total wall length.
- Temporarily test the strip near the front underside with the user standing at the actual task position.
- Move the source inward only when it is directly visible or creates an uncomfortable bright spot on the work surface.
- Keep the adapter accessible and route non-luminous cable away from sink splashes, heat, hinges, and drawer movement.
Setup 2 · Straight independent work zones
Use a Fixed Light Bar for a Defined Counter Section
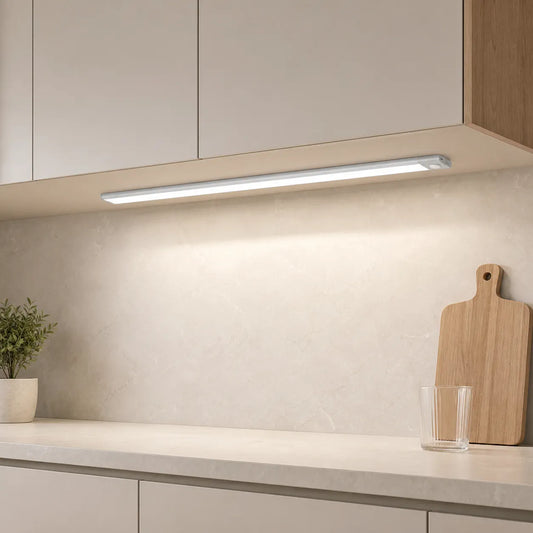
Recommended setup: place one 30cm, 40cm, or 50cm powered light bar beneath a straight cabinet section serving a coffee station, sink-side landing area, or compact prep zone. Align the bar with the activity rather than centering it automatically on the cabinet door, and place the hand-sweep sensor where it can be reached without touching the fixture.
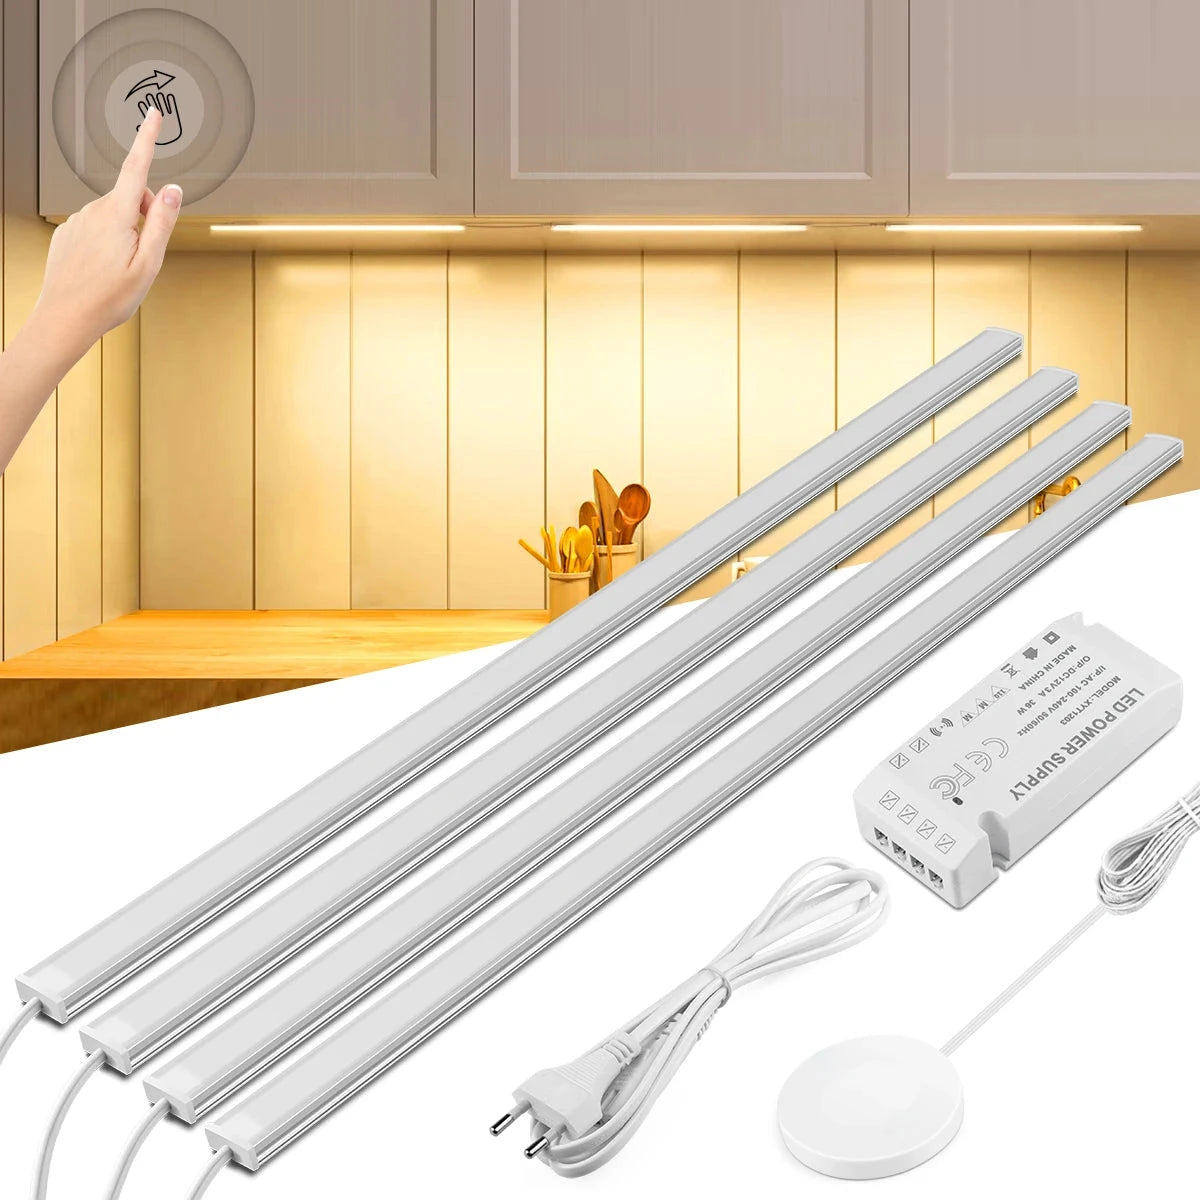
- Best fit: a straight, frequently used work zone whose cabinet length closely matches an available bar size.
- Fixture facts: 7mm aluminum body, 30cm/40cm/50cm lengths, 1- to 6-light kits, stepless dimming, and US or EU power adapters.
- Why this model: the slim fixed form simplifies alignment over one defined zone, while hand-sweep control supports deliberate use during cooking and cleanup.
- Not ideal when: the route bends, needs an exact custom cut, or crosses several irregular cabinet sections; use the Lumaz COB strip kit instead.
Placement check: a bar mounted too far back can make the backsplash bright while leaving the cutting board dull. Test the front-to-back position after the appliances have returned to the counter and before fixing the clips or adhesive location.
Setup 3 · No practical cable route
Use a Removable Bar for an Isolated or Rental Work Zone
Recommended setup: use one rechargeable bar per uninterrupted work zone, match its 10cm to 50cm length to the usable cabinet underside, and mount it magnetically where the light reaches the working edge. Use always-on mode for sustained preparation and reserve motion modes for brief visits.

- Best fit: one or two apartment, finished-cabinet, or isolated work zones where a permanent cable would be visible or impractical.
- Fit and control facts: 10cm/20cm/30cm/40cm/50cm lengths, black or silver finish, 3000K/4000K/6000K light, stepless dimming, and always-on plus two motion modes.
- Why this model: magnetic installation lets the bar follow the work-zone plan without drilling or a permanent cable, while always-on mode supports an intentional task session.
- Not ideal when: most of the counter remains lit for long daily cooking sessions; continuous power avoids making charging part of the kitchen routine.
- Keep the magnetic release direction clear after the kettle, toaster, and other countertop items return.
- Create one accessible charging location before installing several bars.
- Use always-on mode during chopping, mixing, or cleanup so the task light does not depend on continued motion.
- Use motion mode for short nighttime visits when automatic operation matters more than sustained coverage.
When a Local Pool of Light Is Enough
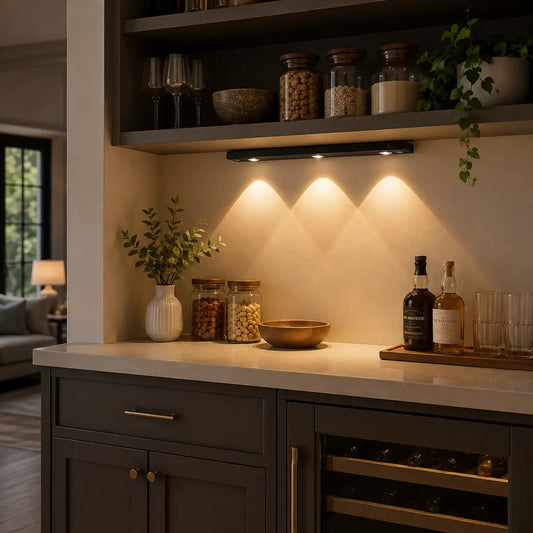
A puck is a secondary exception, not the default answer for a countertop. Use one only when the activity stays within a compact landing point, appliance nook, or short corner. Center it over the activity rather than the cabinet door, and check that the concentrated pool does not create a bright reflection or leave alternating dark patches.
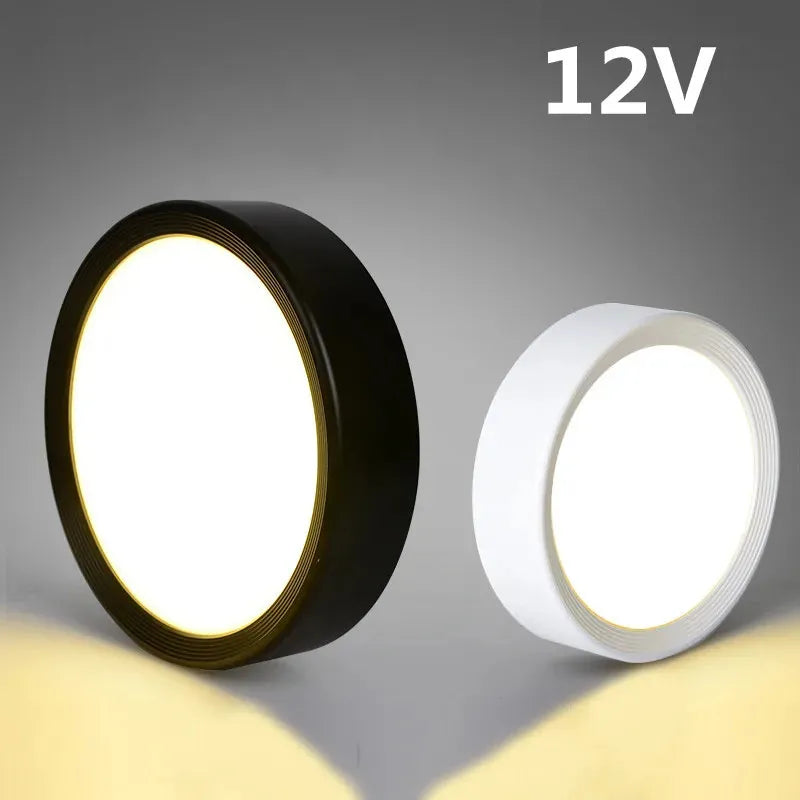
- Best fit: a small landing point or appliance control area that does not require linear coverage.
- Choice facts: 3W to 18W options, warm/natural/cool white, black/white/gold finishes, and 12V surface-mounted construction.
- Why this model: the range of sizes and outputs lets a small target receive deliberate local light without forcing a strip around an awkward short section.
- Not ideal when: the cutting, baking, or cleanup activity spans most of the cabinet width; choose a Lumaz strip or bar for more even coverage.
Verify the Plan in the Finished Kitchen
- Test from the user's position. Stand at each prep, sink, and appliance zone; confirm that the hands and working surface remain visible when the body blocks the ceiling light.
- Check the full task depth. The front half of the counter should not remain dark while the backsplash receives most of the light.
- Return normal countertop objects. Put the appliances, backsplash accessories, and everyday items back, then confirm that the task surface remains visible from the positions where the kitchen is actually used.
- Check every interruption. Confirm that corners, hoods, windows, and tall cabinets have not created an accidental dark working zone or forced a visible cable crossing.
- Use the controls as the task requires. Keep prep and cleanup lighting intentionally on for the full session; use motion only where visits are brief and predictable.
Installation boundary: do not route an ordinary indoor fixture, adapter, or loose connector through splash, steam, or high-heat exposure. Keep power components accessible and clear of the sink and cooking surface, follow the product instructions, and use an installation appropriate to local electrical requirements.
Questions That Determine Your Lighting Setup
Do I need lighting under every upper cabinet?
No. Prioritize the cabinet sections above active prep, baking, cleanup, coffee, and appliance zones. A decorative or rarely used counter may not need dedicated task light. Add lighting there only when visual continuity or ambient effect is part of a broader layered-lighting plan.
Should the light sit near the front or back of the cabinet?
Start near the front underside because the goal is to reach the working edge, not only brighten the backsplash. Move the Lumaz strip or bar slightly inward if the source is directly visible or creates an uncomfortable bright spot, and confirm the final position while standing at the real task zone.
What if a hood, window, corner, or tall cabinet breaks the run?
Treat each uninterrupted cabinet group as a separate planning run. Connect groups only when a non-luminous cable can cross the break safely and remain concealed; otherwise use separate powered groups or a Lumaz rechargeable bar for the isolated section.
What if there is no cabinet above part of the counter?
Do not force an under-cabinet product into a space with no stable mounting surface. Use the open-shelf and no-upper-cabinet task-lighting plan to choose a shelf-integrated, wall-carrier, or millwork route that still places light in front of the user's body and directs it onto the work surface.
Continue with the Right Lumaz Path
Collection hub
Compare Lumaz Under Cabinet Lighting
Use the collection after mapping the work zones to compare current strip, light-bar, puck, power, size, and control options.
Next decision · Lighting layers
Balance Task and Ambient Lighting
Continue here when the work surfaces are covered and the next question is how task light should relate to the kitchen's ambient and decorative lighting.
Next decision · Interrupted layout
Plan Corners, Gaps, and Separate Runs
Use this plan when corners, hoods, sink windows, tall cabinets, or separated cabinet groups change the fixture count and power route.