Workbench and Craft-Table Under-Shelf Lighting
Workbench and Craft-Table Under-Shelf Lighting Plan
For a fixed workbench or craft table used for assembly, cutting, repair, or detailed handwork, start with the Lumaz Through-Wood Touch Sensor COB LED Strip Light Kit. Put the main continuous line toward the front of the shelf so the user's head and shoulders do not shadow the working edge. On a deep bench, treat the front detail zone and rear assembly or storage zone as separate lighting runs rather than trying to solve both with one brighter line. Add a second separated run only when a fully loaded hand-shadow test shows that the active target still disappears.
Best fit
- A fixed workshop bench, model-making station, sewing or craft table, electronics bench, or repair surface beneath a shelf.
- The user needs a clear front work zone, a visible rear zone, or both, without exposed LED points dominating the view.
- An outlet and accessible route exist for a powered system, or the table can be assigned a deliberate cordless fallback.
The plan changes when
- One hand, tool, or the user's upper body still shadows the exact cut, stitch, solder, or assembly point.
- Paint, fabric, print, stain, or material matching requires published CRI above 90.
- The control would sit inside a clamp lane, behind stored tools, or where dust, impact, heat, moisture, or moving equipment can reach it.
Lumaz planning principle: divide the bench by work depth and visibility target, then test shadows with the real hands and tools. Source length, number of runs, light quality, and control position follow that task map—not the total furniture width alone.
Map the Bench with the Real Tools in Place
Clear-bench testing hides the conditions that make workshop lighting fail. Return the vise, cutting mat, machine, parts bins, magnifier, tool rack, and the largest normal project before recording the layout.
- Measure usable depth. Measure from the front working edge to the backboard, not merely the countertop dimension. Mark any machine or fixture that permanently occupies the rear zone.
- Mark task rectangles. Outline the area used for close detail, the wider assembly area, the rear inspection or storage area, and any color-comparison surface.
- Perform the hand-shadow test. Hold the normal tool in the dominant hand and steady the work with the other. Mark where either hand or forearm covers the target under a temporary front source.
- Mark physical conflict lanes. Identify clamp positions, vise movement, shelf brackets, pegboard tools, lids, machine travel, and places where a cable or control could be struck or buried.
- Choose the service side. Select one reachable location for the adapter, hub, dimmer, and spare cable. Do not place a controller where operating it requires reaching across a sharp, hot, powered, or moving tool.
Planning output: the finished sketch should show bench depth, each task rectangle, main shadow direction, primary light line, any cross-fill line, cable route, control position, and service location.
Choose the Light Layout by Bench Depth and Task
| Bench and task condition | Primary source layout | Hand-shadow response | Power and control plan | Lumaz route |
|---|---|---|---|---|
| Shallow bench, approximately 40–55cm deep; one compact repair, sewing, or detail zone | One linear source near the shelf's front underside, aligned over the active rectangle rather than centered on the furniture | Move the line slightly toward the front before adding another source; verify with both hands around the target. | Continuous power and deliberate hand-sweep or touch control outside the clamp lane | 30–50cm Lumaz slim bar |
| Medium bench, approximately 55–75cm deep; detail work at the front and assembly through the center | One continuous COB line toward the front third, sized to the combined active width | Add a lower-output rear or separated parallel run only if the loaded test leaves the center target hidden. | Powered multi-run kit with one accessible dimmer and hub | Lumaz Through-Wood COB kit |
| Deep bench, more than approximately 75cm; front detail zone plus rear machine, assembly, or inspection zone | Divide the surface into a front run and a separately tested rear run; do not ask one line to cross the entire depth | Use the two separated lines as cross-fill, then dim both to the lowest useful combined level. | Centralized continuous power; control must remain outside machine travel and impact zones | Multiple Lumaz COB runs |
| Portable craft table, rental bench, or temporary station without an acceptable cable route | One removable bar above the highest-priority task rectangle; preserve the magnetic removal direction | Reposition the bar before multiplying cordless fixtures; use a separate local task lamp if the hand shadow remains critical. | Rechargeable power in always-on mode for the session | Lumaz Type-C rechargeable bar |
| Paint, fabric, print, stain, model finishing, or material comparison requiring CRI above 90 | A concealed continuous source across the color-review rectangle, separated from strongly colored decorative light | Arrange the line so hands do not cover the sample being compared; add neutral room fill when necessary. | Separately designed compatible 12V power, dimmer, wiring, connectors, and service access | Lumaz high-CRI 12V COB strip |
These depth bands are planning ranges, not fixture performance limits. Shelf height, shelf depth, source shielding, wall reflectance, tool size, and the user's standing or seated posture change the result. Temporary mounting over the fully loaded bench remains the deciding test.
Configure the Lighting for the Actual Work Zone
Plan 1 · Medium or deep fixed bench
Use One Front-Biased COB Run, then Add Cross-Fill Only Where Proven
Recommended setup: dry-fit one Lumaz COB run toward the front third of the shelf underside and align it across the combined detail and assembly width. On a deep bench, assign a second strip to the rear task rectangle instead of placing both runs together. Connect the supported runs to the centralized hub, keep the adapter and dimmer accessible, and test every strip before cutting or exposing adhesive.
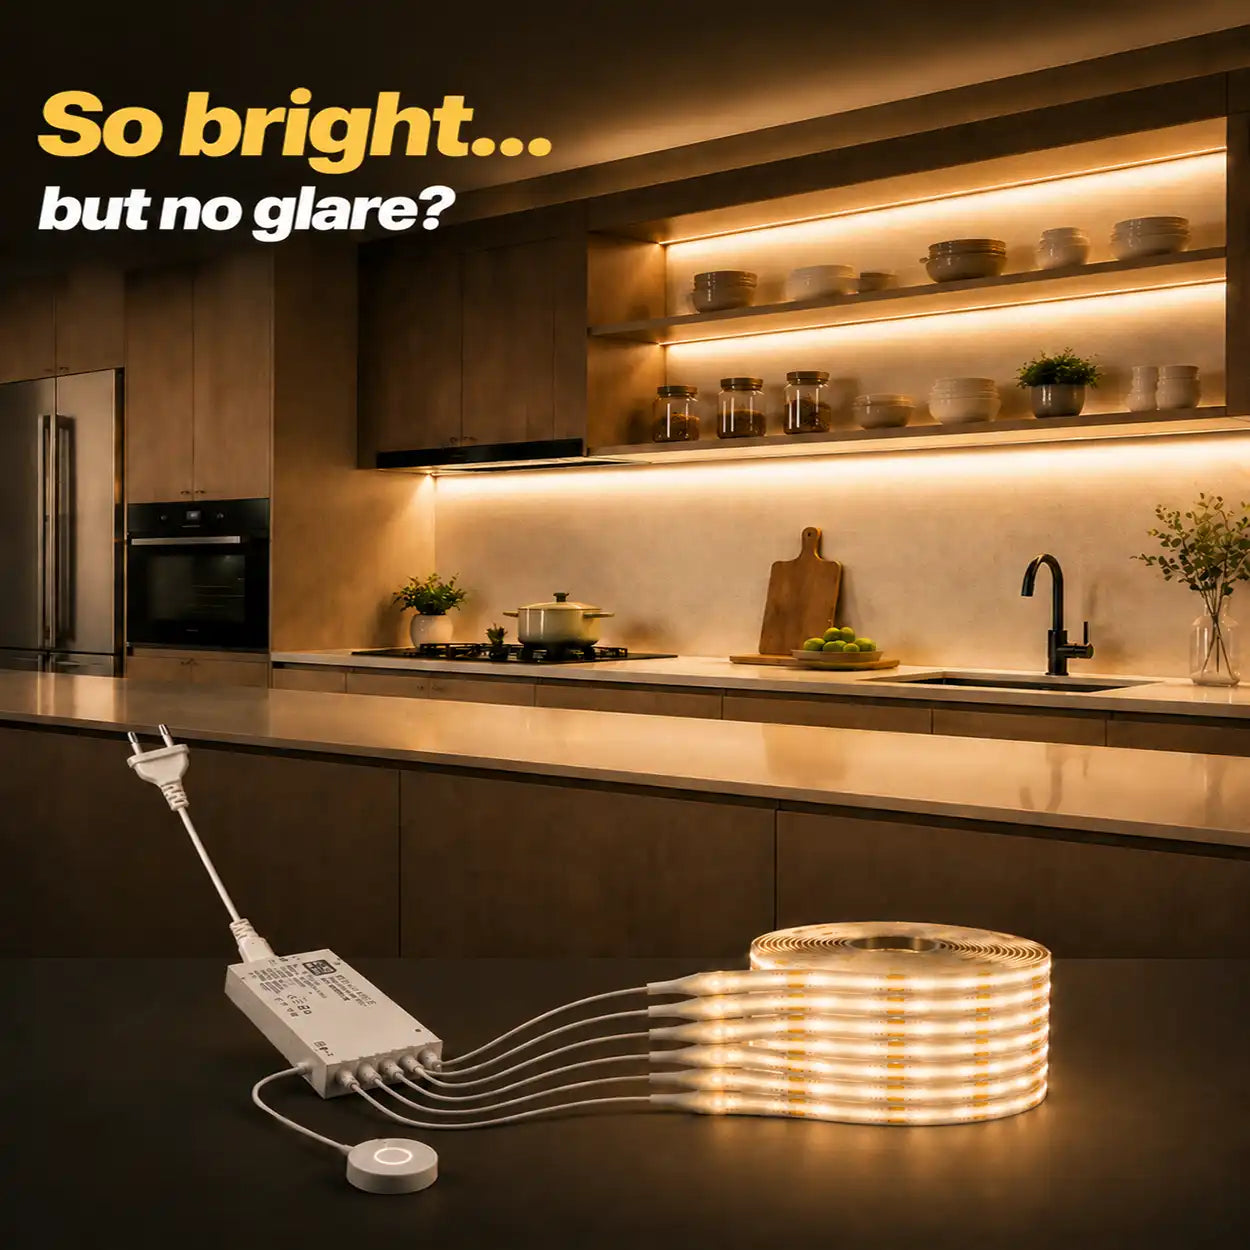
- Best fit: a fixed medium or deep bench with an outlet, a concealable cable route, and one or more measured work rectangles.
- Kit facts: 320 LEDs/m COB; 1m, 2m, 3m, and 5m lengths; 2-, 4-, 5-, or 6-strip options; cuttable every 2.5cm; warm, neutral, or white light.
- Why this model: multiple supported strip runs can serve separate front and rear zones from a centralized adapter, while stepless dimming helps balance primary and cross-fill light.
- Not ideal when: the mounting surface cannot accept the installation, the controller would be exposed to workshop impact or contamination, or there is no acceptable powered route.
- Begin with one front-biased run and perform the real task with the dominant hand, support hand, and normal tool.
- If a hand shadow still covers the target, temporarily place the second run farther back so its light crosses the first shadow rather than merely increasing brightness from the same direction.
- Dim the combined setup until edges, markings, fasteners, and surface defects remain clear without the source becoming visually harsh.
- Route leads away from clamp jaws, vise movement, cutting edges, machine travel, shelf brackets, hot surfaces, and loose material storage.
Plan 2 · Compact defined repair or craft station
Align a Slim Powered Bar with the Task Rectangle
Recommended setup: choose a 30cm, 40cm, or 50cm Lumaz bar that spans the active repair mat, sewing area, or small assembly station. Place its 7mm housing near the shelf's front underside, then locate the hand-sweep sensor on the less congested side where routine tool movement will not operate it.
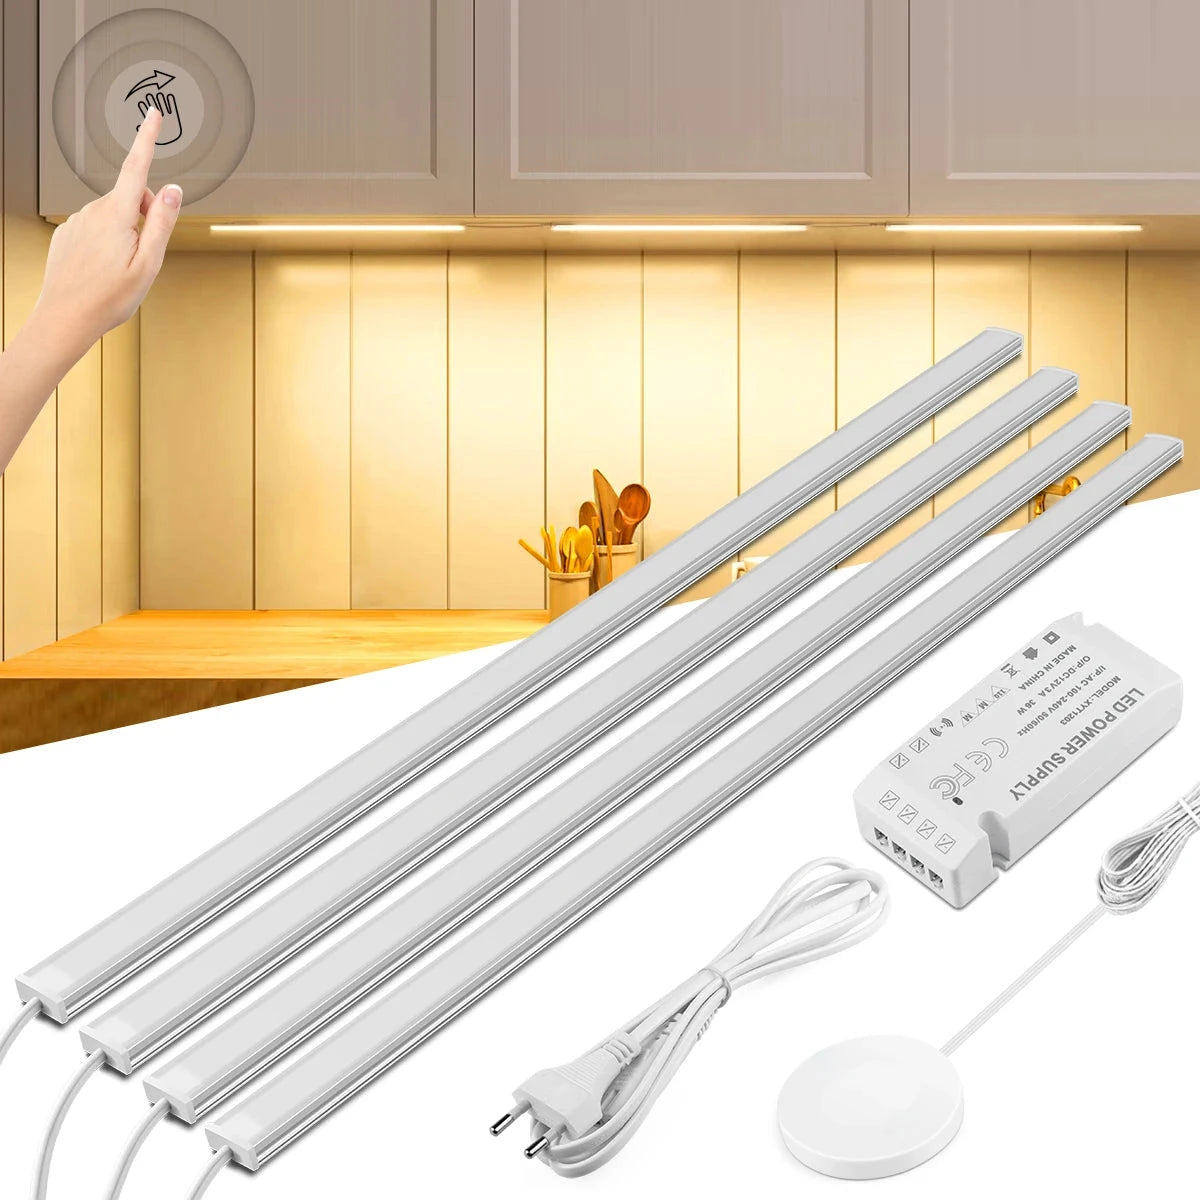
- Best fit: a straight compact task zone whose working width closely matches a 30cm, 40cm, or 50cm bar.
- Fixture facts: 7mm aluminum body; warm white or cool white; 1- to 6-light kits; stepless touch dimming; US or EU adapter.
- Why this model: the rigid slim form is quick to align over one defined rectangle, and deliberate hand-sweep control avoids relying on automatic motion during still precision work.
- Not ideal when: the bench is deep, the task moves across an irregular width, neutral white is required, or one source direction leaves a critical hand shadow.
Plan 3 · Portable or no-wire craft table
Light the Priority Zone with a Removable Rechargeable Bar
Recommended setup: mount one Lumaz rechargeable bar over the task that needs it most, choose a length from 10cm to 50cm that fits the temporary support, and use always-on mode while working. Keep the charging and magnetic removal path clear after organizers, fabric, paper, and tools return to the table.

- Best fit: a rental, folding, temporary, or lightly used craft station where visible cable routing is unacceptable.
- Fixture facts: 10cm to 50cm lengths; black or silver finish; 3000K, 4000K, or 6000K; stepless dimming; magnetic installation.
- Why this model: always-on mode supports an intentional session, while the removable magnetic mount lets the light follow a changing craft-table layout.
- Not ideal when: the bench is used for long daily sessions, the bar cannot be removed safely, or the task requires several cross-fill sources.
Rechargeable under-shelf light is a convenience path, not a substitute for suitable workshop illumination around sharp or powered tools. If the task requires dependable continuous visibility, create a proper powered lighting route and adequate room light before beginning work.
Plan 4 · Color-sensitive craft and finishing
Specify a Complete High-CRI 12V System
Recommended setup: use the Lumaz high-density COB strip only as the source inside a complete compatible 12V system. Define the color-review rectangle, conceal the strip from direct view, and specify the required power supply, dimmer, connectors, wire, and service route before cutting. Start with 4000K for a neutral mock-up, then compare real paint, thread, fabric, wood, or print samples under the completed room lighting.
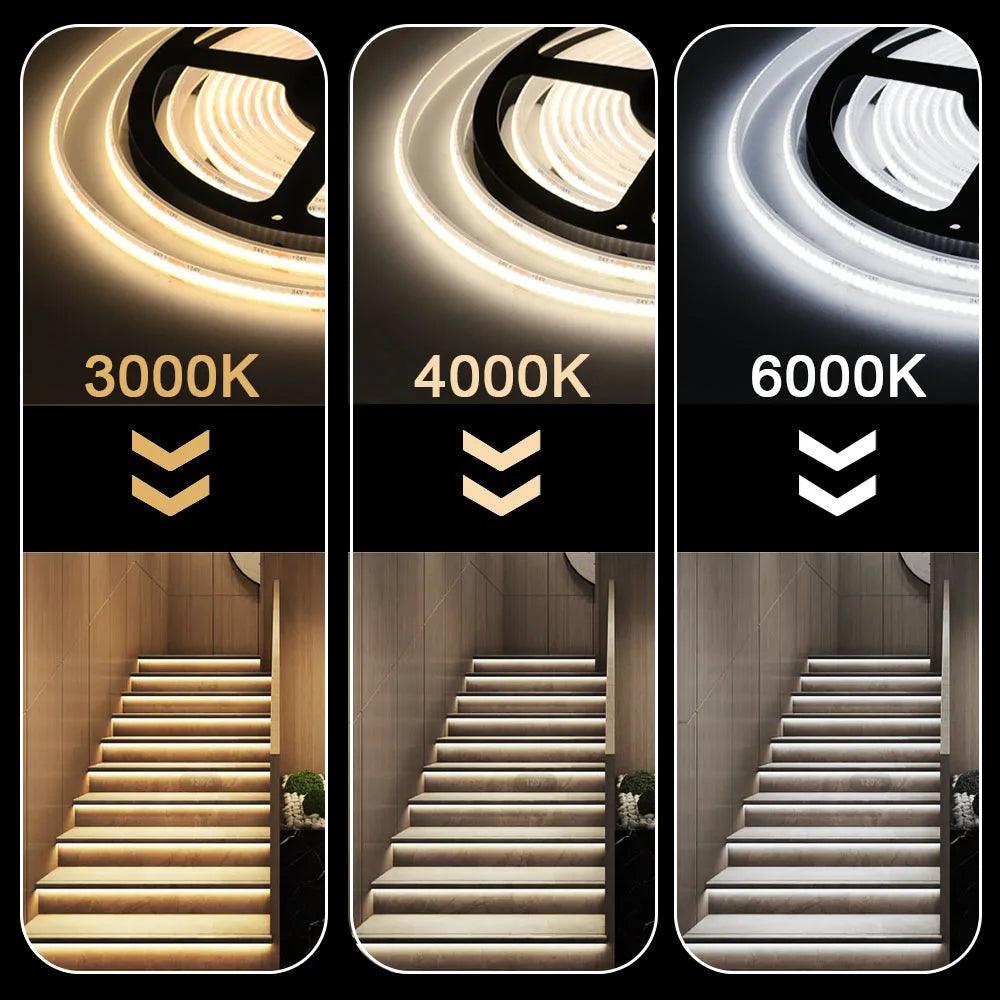
- Best fit: paint mixing, fabric and thread matching, print review, model finishing, stain selection, or material comparison requiring published CRI above 90.
- Strip facts: CRI above 90; 320 LEDs/m; 3000K, 4000K, or 6000K; 1m to 20m lengths; cuttable and dimmable construction.
- Why this model: the published high color rendering supports more natural-looking material comparison, while the continuous COB source can be designed across the full review area.
- Not ideal when: the user expects a complete plug-in kit; the package contains the 2-pin strip but no power supply or dimmer.
Place the Control Where the Workshop Cannot Bury or Damage It
Reachable clean side
Use a Deliberate Control Position
Place the hand-sweep or touch point near the bench entrance or less active side, outside the clamp lane and away from stacked projects. The user should operate it before placing hands near the task.
Hidden touch option
Dry-Test the Actual Shelf Material
The Lumaz powered bar and COB kit list through-wood detection up to 25mm behind compatible non-metallic material. Test the finished shelf and mark the control location before fixing the sensor or cable.
Impact and contamination
Keep Controls Outside the Work Envelope
Do not put the controller where clamps, long stock, tool handles, machine travel, heat, moisture, loose abrasive dust, or routine cleanup can strike or cover it. Relocate the control rather than relying on careful behavior forever.
Verify Visibility with the Hardest Normal Task
- Load the bench. Return the vise, machine, mat, tool rack, parts bins, project, and vertical backboard items.
- Use the smallest important target. Check a cut line, stitch, component marking, fastener head, surface scratch, or color edge that must remain visible.
- Test both hands and every posture. Stand, sit, lean over the bench, hold the normal tool, and steady the work. The target should not disappear beneath a hand or body shadow.
- Separate front and rear results. Confirm the front detail zone and rear assembly zone independently. Add or move a run only for the zone that fails.
- Inspect reflections and exposed sources. Check polished tools, glossy cutting mats, magnifiers, and protective screens from the working position; move or shield a visible line before simply increasing brightness.
- Run the control test. Clamp material, move the largest normal project, retrieve tools, and clean the surface. The switch, dimmer, adapter, cables, and magnetic release path must remain reachable and protected.
Use the Kitchen Counter and Work-Zone Lighting Plan when the main challenge is a standing household counter rather than a tool-loaded bench. If the craft station includes a monitor or long seated computer work, use the Desk and Home Workspace Under-Shelf Lighting Plan to check the screen-reflection and seated-sightline conditions separately.
Questions That Determine Your Lighting Setup
Does a deep workbench need two rows of under-shelf lighting?
Not automatically. Begin with one Lumaz COB line toward the front third and test the fully loaded bench with both hands and the normal tool. Add a separated rear run only when the center or rear task rectangle remains shadowed; place it to cross-fill the failed zone rather than doubling light from the same direction.
Where should the light sit to reduce hand shadows?
Start toward the shelf's front underside so the source reaches the working edge before the user's body blocks it. Then perform the task with dominant and support hands. If one hand still covers the target, move the line or add a separated cross-fill source from a different depth.
Do painting and fabric work require a different Lumaz product?
Use the Lumaz high-CRI 12V COB strip when CRI above 90 is a stated requirement and a complete compatible system can be designed. For general crafts without a published high-CRI requirement, the Lumaz Through-Wood COB kit provides a more complete powered starting system with neutral-white availability and dimming.
Can I use a rechargeable bar over a workbench?
Use it for a portable, temporary, or lightly used craft table where a cable is the primary constraint. For long daily sessions, multiple lighting zones, or tasks where continuous visibility matters, choose a powered Lumaz bar or COB system rather than making charging part of the workflow.
Continue with the Right Lumaz Path
Collection hub
Compare Lumaz Under Cabinet Lighting
Use the collection after mapping depth, task rectangles, shadows, power, and control to compare current bars, strip kits, lengths, light colors, and installation options.
Next decision · Household work zones
Map Kitchen Counter and Work-Zone Lighting
Continue here when the surface is a kitchen, utility, or household counter where standing position, sink, cooking equipment, and cabinet interruptions change the plan.
Next decision · Lighting layers
Balance Task, Ambient, and Decorative Light
Continue here when the work surface is visible and the next decision is how the focused bench light should relate to general room light and surrounding contrast.