
How to Install Hardwired Under Cabinet Lighting: A Step-by-Step Guide
Table of Contents
- Hardwired Under-Cabinet Lighting: Key Benefits
- Tools and Materials Needed
- Hardwired Under-Cabinet Lighting Installation Steps
- FAQs
- Conclusion
Under cabinet lighting is essential for creating a well-lit, functional, and aesthetically pleasing kitchen. Hardwired under cabinet lighting offers a permanent and reliable solution, ensuring consistent illumination without the clutter of exposed wires. This comprehensive guide provides a step-by-step approach to installing hardwired under cabinet lighting, supported by research and expert recommendations.
Hardwired Under-Cabinet Lighting: Key Benefits
Hardwired under-cabinet lighting is a strong choice when you want permanent, reliable power and a clean, built-in finish. It is especially effective for task lighting, where stable output and tidy wiring matter most.
1. Consistent and Reliable Power Supply
Hardwired lighting fixtures are directly connected to your home's electrical system, providing a stable power supply. According to the National Electrical Manufacturers Association (NEMA), hardwired lighting solutions are less prone to power fluctuations and failures compared to plug-in or battery-operated options.
2. Cleaner Aesthetics
With hardwired installations, there are no visible cords or plugs, resulting in a cleaner and more professional look. This seamless integration enhances the overall aesthetic appeal of your kitchen, making it look more modern and organized.
3. Enhanced Safety
Hardwired installations eliminate the risk of accidental disconnections and reduce the potential for electrical hazards. The Electrical Safety Foundation International (ESFI) notes that hardwired lighting is generally safer than other types of installations, particularly in high-traffic areas like kitchens.
Quick comparison of common under-cabinet power options:
| Option | Pros | Cons | Best For |
|---|---|---|---|
| Hardwired | Cleanest finish, stable power, fewer visible parts | Higher install complexity; may require an electrician | Permanent kitchens, remodels, new builds |
| Plug-in | Fastest install, easy upgrades, renter-friendly | Visible cords unless managed; outlet-dependent | Quick retrofits, short-term setups |
| Battery | No wiring, flexible placement | Lower output; recharging or battery replacement | Closets, pantries, occasional-use zones |
🗣️ Customer perspective: “Hardwiring took more planning, but the finished look feels like it came with the kitchen—and the light is always there when we need it.”
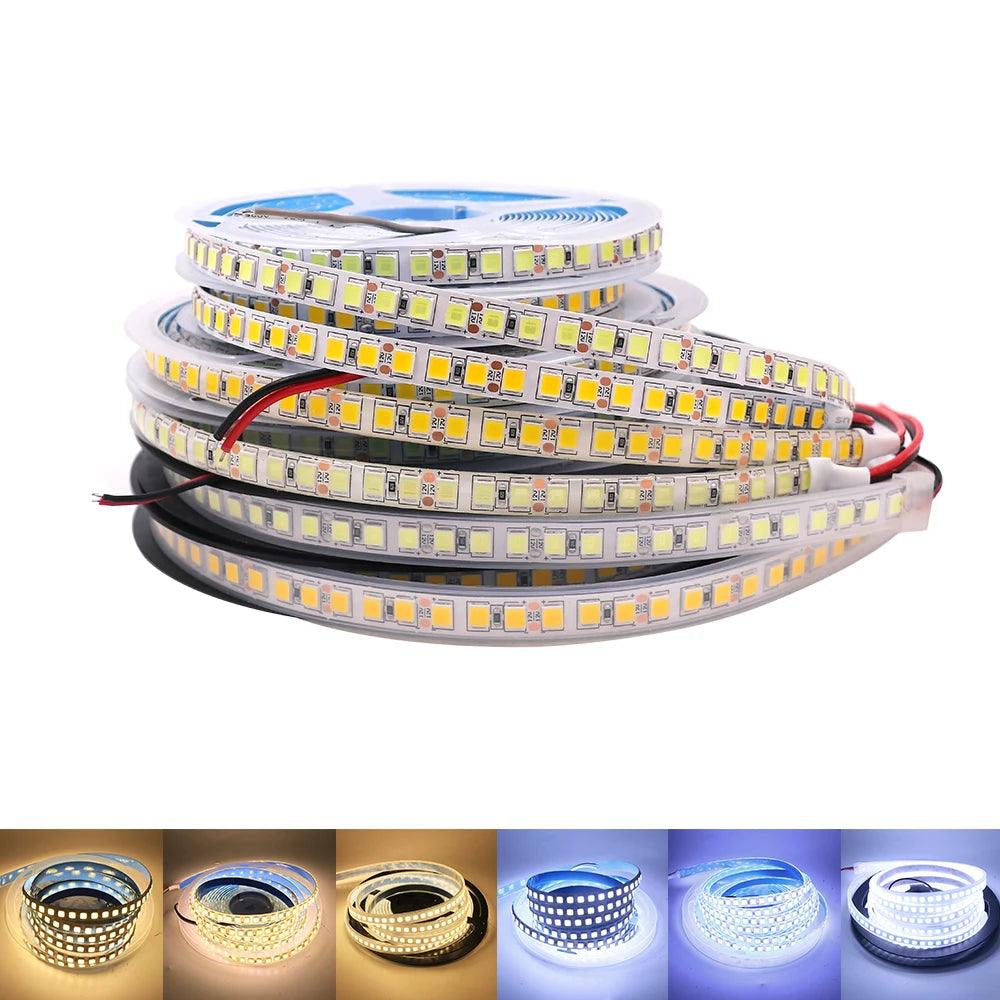
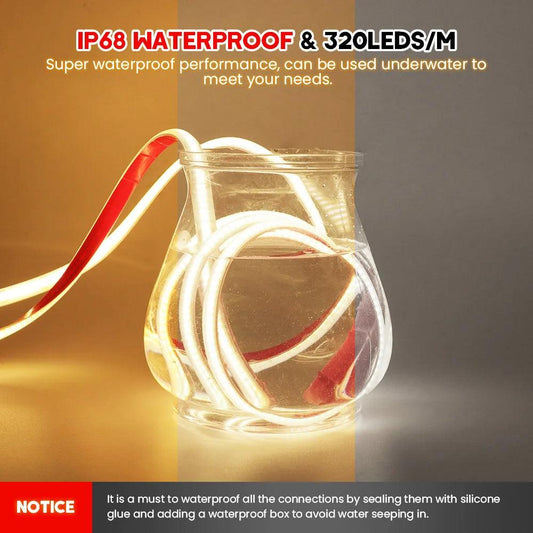
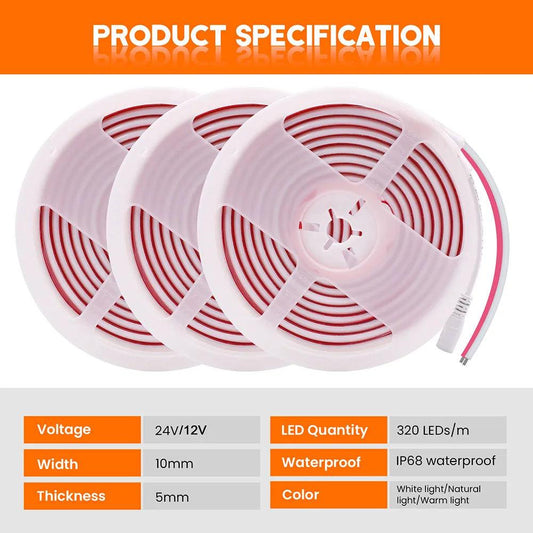
For step-by-step hardwired installs that prioritize consistency and coverage, LED strip systems are often the most adaptable option. A 12V SMD 2835 LED strip light with multiple color choices and density options allows you to tailor brightness and protection level to fixed cabinet runs, supporting clean wiring and dependable task lighting.
Tools and Materials Needed
Gather everything before you start so you can complete the wiring safely and avoid mid-install delays. If you are not comfortable working inside electrical boxes, hire a licensed electrician.
Before you begin, gather the necessary tools and materials:
- Hardwired under cabinet lights
- Measuring tape
- Pencil or marker
- Drill with appropriate bits
- Screwdriver
- Wire stripper
- Wire nuts/connectors
- Electrical tape
- Voltage tester
- Circuit breaker panel access
- Mounting screws or adhesive strips
- Cable clamps or conduit (if needed)
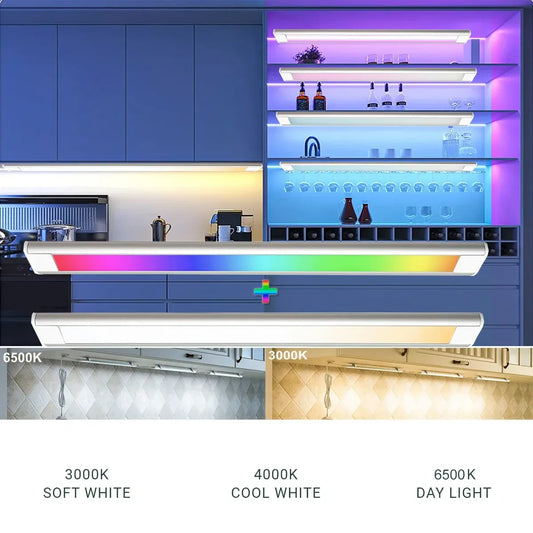
💡 Lumaz tip: Choose fixtures that are dimmable and specify CRI and CCT clearly, so you can match comfort and appearance across your kitchen without guesswork.
Hardwired Under-Cabinet Lighting Installation Steps
Use a repeatable process: plan layout, power down safely, route and secure wiring, make code-compliant connections, then test for flicker and uniform coverage. For LED efficiency and selection basics, see the U.S. Department of Energy.
Step 1: Planning and Preparation
a. Assessing the Space
Measure cabinet lengths and decide how many fixtures you need. A common planning range is 8–12 inches between light centers for smaller fixtures, but the best spacing depends on beam spread, mounting depth, and diffuser use; test one run and adjust to reduce shadows and scalloping.
b. Choosing the Right Fixtures
Select fixtures that meet your lighting needs and fit the space available. Look for energy-efficient options, such as LED lights, which consume less power and have a longer lifespan. The U.S. Department of Energy recommends LED lights for their energy efficiency and durability.
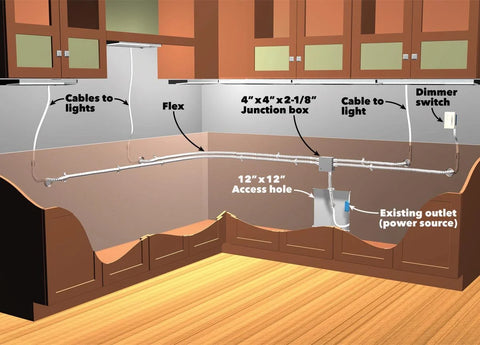
c. Power Source Identification
Identify an existing electrical circuit to which you can connect the new lighting. It is crucial to choose a circuit that can handle the additional load of the new fixtures. If you are unsure, consult an electrician to verify the circuit capacity.
Step 2: Turning Off the Power
Before starting any electrical work, turn off the power at the circuit breaker panel. Use a voltage tester to confirm power is off at the wires you will handle; for electrical safety basics see CPSC electrical safety and guidance from ESFI.
Step 3: Marking the Locations
Use a measuring tape and pencil to mark the exact locations where the lights will be installed. Ensure the marks are evenly spaced and centered under the cabinets for uniform light distribution.
Step 4: Drilling Holes for Wiring
Drill holes in the underside of the cabinets where the wires will pass through. Use a drill bit that matches the diameter of the electrical wiring to ensure a snug fit. Be cautious not to drill too deep and damage the cabinets.
Step 5: Running the Wiring
a. Route the Wires
Route the electrical wires from the power source to the marked locations under the cabinets. Use cable clamps or conduit to secure the wires along the way, ensuring they are neatly tucked away and not exposed.
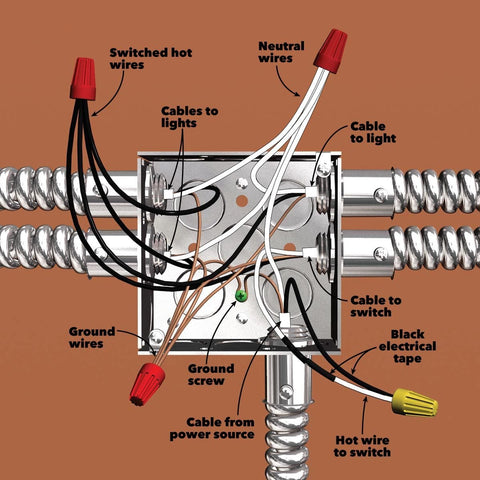
b. Connecting the Wires
Strip about 1/2 inch of insulation from the ends of the wires using a wire stripper. Connect the wires from the fixtures to the electrical wires, matching the colors (black to black, white to white, and green or bare copper to ground). Secure the connections with wire nuts and wrap them with electrical tape for added safety.
Step 6: Mounting the Lights
Secure the light fixtures to the underside of the cabinets using screws or adhesive strips, depending on the manufacturer's instructions. Ensure the fixtures are firmly attached and positioned correctly over the marks.
Step 7: Connecting to the Power Source
a. Wiring to the Power Source
Connect the other end of the electrical wires to the power source. If connecting to an existing outlet, use wire nuts to make the connections inside the outlet box. For a direct connection to the circuit breaker panel, ensure the connections are made following the National Electrical Code (NEC) standards.
b. Installing a Switch
Install a switch to control the under cabinet lights. This can be a wall switch or a dedicated under cabinet switch. Ensure the switch is installed in a convenient and accessible location.
Step 8: Testing the Installation
After all connections are made, turn the power back on at the circuit breaker panel. Use the voltage tester to ensure that the fixtures are receiving power. Turn on the switch to test the lights and verify that they are working correctly.
Step 9: Final Adjustments and Safety Checks
a. Adjusting the Fixtures
Make any necessary adjustments to the positioning of the light fixtures to ensure even illumination across the countertop.
b. Conducting Safety Checks
Inspect all connections to ensure they are secure and insulated. Check for any exposed wires and cover them with electrical tape if necessary. The ESFI recommends double-checking all connections and fixtures to ensure they meet safety standards.
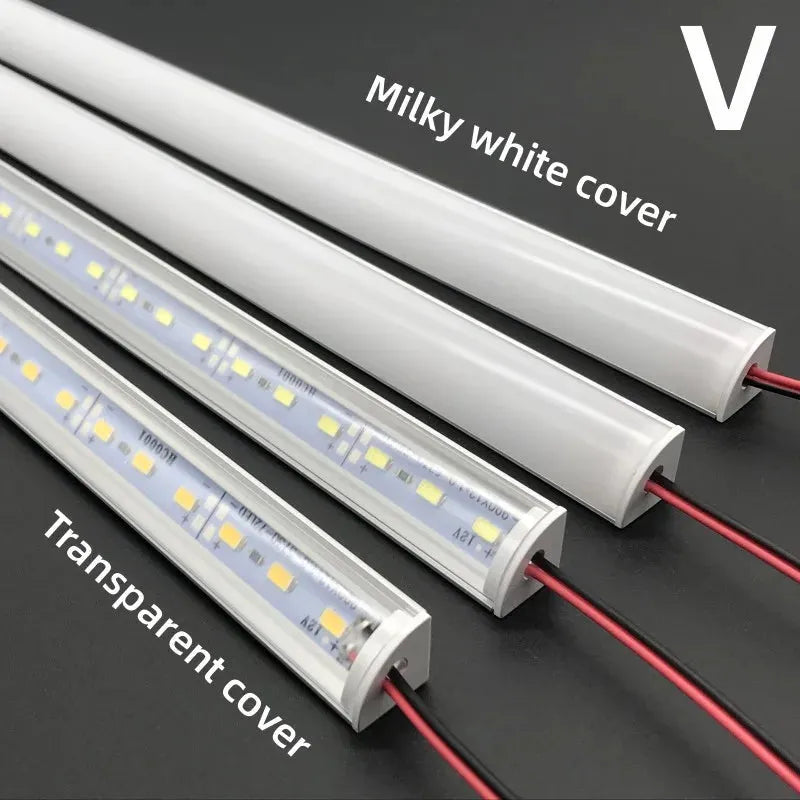
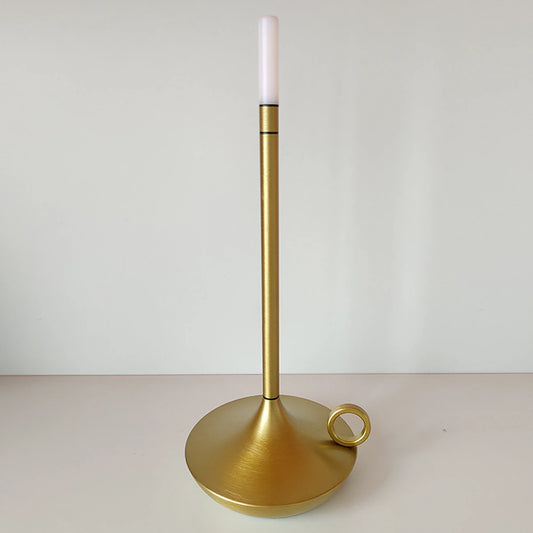
For installers who want predictable light direction and a clean edge finish, choosing the right fixture shape simplifies each step of the process. A V-shaped 12V under-cabinet LED light bar in an aluminum channel helps direct light evenly across the counter while keeping wiring and mounting neat in hardwired setups.
FAQs
Quick answers to common hardwired under-cabinet questions, including cost, controls, and design compatibility.
Can Under Cabinet Lighting Be Hardwired?
Yes. Hardwiring connects fixtures directly to household power, which improves reliability and eliminates visible cords. It is a common choice for permanent installs and remodels where you want the cleanest finish.
Is hardwired under cabinet lighting more expensive to install?
Yes, the installation cost for hardwired lighting is generally higher due to the need for professional installation and potentially more complex wiring. However, the long-term benefits often outweigh the initial costs.
What types of lights can be hardwired under cabinets?
LED strips, puck lights, and linear light bars are commonly used for hardwired under cabinet lighting.
How do I control hardwired under cabinet lights?
Hardwired lights can be controlled via wall switches, dimmers, or integrated with smart home systems for remote control.
Does hardwired under cabinet lighting require maintenance?
Minimal maintenance is needed, primarily ensuring that connections remain secure and replacing any bulbs as necessary.
Is hardwired lighting suitable for all kitchen designs?
Yes, hardwired lighting is versatile and can be adapted to various kitchen designs, providing both functional and aesthetic benefits.
Conclusion
Hardwired under-cabinet lighting is a long-term upgrade that improves task visibility, reduces clutter, and supports a clean, integrated look. The best results come from planning fixture layout, using LED systems with appropriate specs, and following safe wiring practices.
Installing hardwired under cabinet lighting enhances the functionality, safety, and aesthetics of your kitchen. By following these detailed, research-backed steps, you can achieve a professional and reliable lighting solution. Hardwired installations provide consistent power, cleaner aesthetics, and improved safety, making them a superior choice for modern kitchens.
Further Reading
Explore the full guide for this topic: Under Cabinet Lighting Installation: What’s Possible in Your Home


 />
/>
 />
/>
 />
/>
 />
/>
 />
/>