
Heat Management in Enclosed Cabinets: Preventing Puck Light Overheating and Driver Failure
Table of Contents
- Overview: Why managing heat in enclosed cabinets matters
- How heat builds up in enclosed cabinets: sources and physics
- Temperature thresholds: LEDs, drivers, and safe operating limits
- How to detect overheating and early signs of driver failure
- Practical solutions: ventilation, heat sinking, driver placement, and derating
- Retrofitting tips for common cabinet types: kitchens, AV cabinets, and retail displays
- Design checklist and simple thermal calculations for installers
- Comparing cooling strategies: effectiveness, cost, and suitability
- Testing, maintenance, limitations, and compliance
- FAQs
- Conclusion
Overview: Why managing heat in enclosed cabinets matters
Enclosed cabinets trap heat from puck lights and their drivers, shortening component life and creating failure risks. Proper thermal management prevents overheating, improves reliability, and protects finish materials and stored items.
How heat builds up in enclosed cabinets: sources and physics
Heat accumulates from LEDs, drivers, and other electronics; lack of airflow prevents dissipation. Understanding heat sources and transfer paths helps you choose effective mitigation.
Key contributors:
- LED puck light emitters — convert some electrical energy to heat at the diode and circuit board.
- LED drivers — generate heat during power conversion; many are more sensitive to ambient temperature than LEDs.
- Reflections and insulation — cabinet backs and glass retain heat; tight seals reduce convection.
Simple heat-transfer concept: heat must flow from hot components to the environment. In an enclosed box the only paths are conduction (through parts and mounting), convection (air movement), and radiation (emission to surfaces). When airflow is limited, internal temperature rises until generation equals dissipation.
Temperature thresholds: LEDs, drivers, and safe operating limits
Most puck lights and drivers have limits that, if exceeded, degrade performance and life. Know the numbers before you design or retrofit.
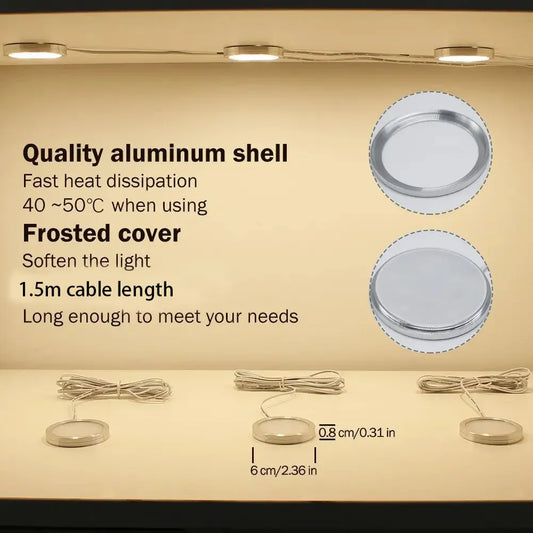
- Typical LED junction target for long life: keep below ~85°C; many manufacturers specify max junction (Tj) around 120°C but recommend lower operational Tj for longevity.
- Driver ambient ratings: common constant-voltage drivers are rated for ambient temperatures of 40–50°C; operation above ratings shortens life and can cause early failure.
- Cabinet internal temperature targets: aim to keep cabinet air temperature below 50–55°C to stay within driver ratings and prevent accelerated lumen depreciation.
Sources: US Department of Energy notes that higher operating temperatures reduce LED lifetime and lumen maintenance (DOE: Solid-State Lighting), and heat-transfer fundamentals explain rapid temperature rise in low-convection enclosures (MIT OCW: Heat and Mass Transfer).
How to detect overheating and early signs of driver failure
Early detection saves components. Use simple tools and inspections to find heat problems before catastrophic failure.
Practical diagnostic steps:
- Visual inspection: discoloration, melted wiring insulation, or bubbling lacquer inside a cabinet are red flags.
- Touch test: briefly and carefully feel the puck and driver housing (do not sustain contact). If it's too hot to touch (~>60°C), it's above safe comfort levels.
- Measure with tools: IR thermometer for surface temps, thermal-imaging camera for hotspots, and a data-logging thermometer for ambient trends.
- Electrical checks: flickering, dimming, or driver hum often precede full failure.
Recommended tools:
- Non-contact IR thermometer — quick spot checks
- Thermal imaging camera or handheld thermal imager — maps hotspots
- Temperature & humidity data logger — for 24–72 hour monitoring under typical use
Practical solutions: ventilation, heat sinking, driver placement, and derating
Reduce internal temperature with layered strategies: improve airflow, move or upgrade drivers, add passive cooling, and operate below rated limits.
Actionable fixes (easy → advanced):
- Increase ventilation: add discrete vents at top and bottom for natural convection; even small openings (1–2 in²) can reduce temperature by several degrees.
- Relocate drivers: if safe, move drivers outside the cabinet into a ventilated area to remove the largest heat source.
- Use low-profile heat sinks or thermal pads: attach to the driver or puck housing to improve conduction to the cabinet structure.
- Add forced ventilation: small, quiet fans (12 V or USB powered) create airflow; use thermostatic control to run only when needed.
- Derate: choose a driver with higher ambient rating or run the LED at reduced drive current to lower heat generation and extend life.
Quick checklist when choosing solutions:
- Can the driver be moved out of the enclosure? If yes, do it.
- Is passive ventilation enough? Test with temp sensors for 24 hours.
- Will fans be acceptable acoustically and visually?
- Does local code or UL listing allow opening the cabinet for ventilation?
🔥 Smart thermal management is key to longevity. Lumaz drivers are engineered for cooler, more reliable performance in any setup.
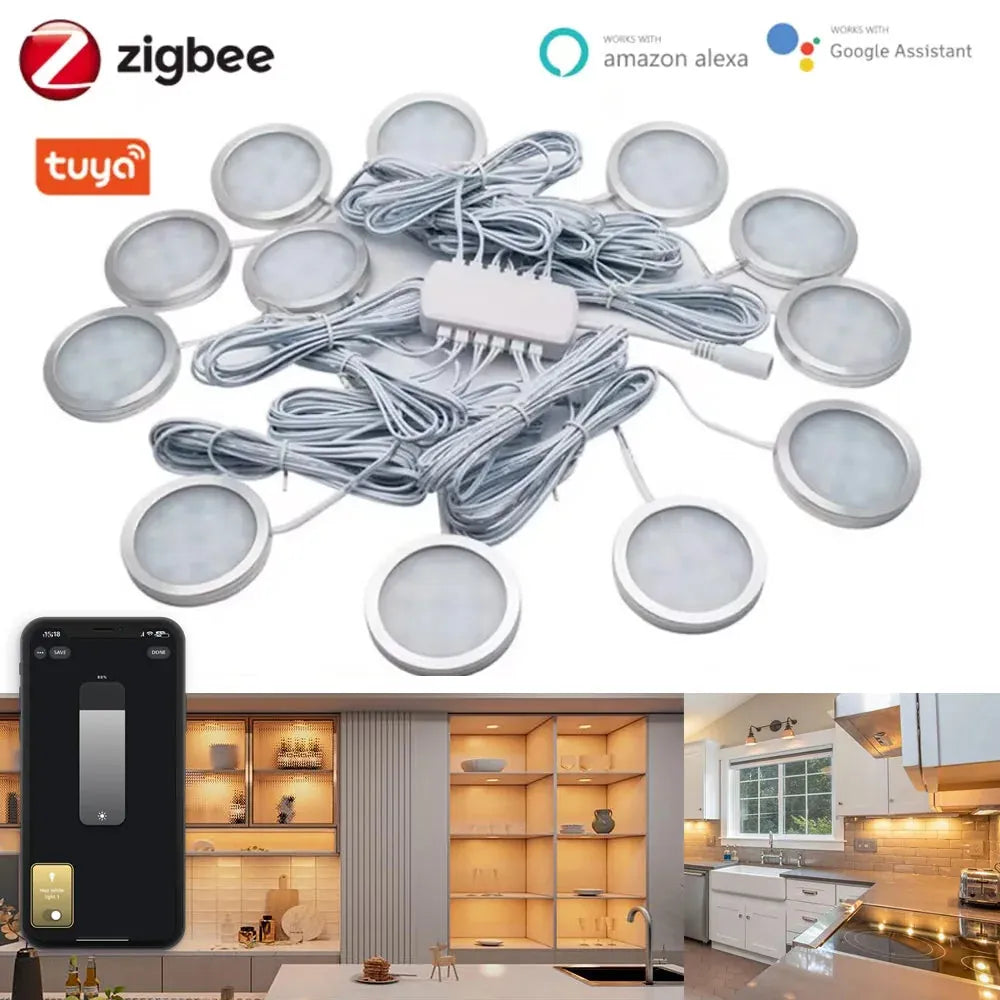
For users installing puck lights in tight or enclosed cabinets, minimizing heat buildup is key to long-term reliability. Tuya Zigbee Smart Under Cabinet LED Puck Lights (12V, full kit) feature integrated low-heat drivers and efficient LED modules, making them easier to install in compact spaces while maintaining safe operating temperatures and consistent performance.
Retrofitting tips for common cabinet types: kitchens, AV cabinets, and retail displays
Different cabinet uses need tailored approaches: kitchens tolerate more ventilation; AV cabinets have more electronics; display cases require discreet cooling.
Kitchen cabinets
- Add soffit vents or perforated toe-kicks to permit airflow without visible openings.
- Route driver wiring to an adjacent cabinet behind appliances where heat can dissipate.
- When replacing lights, pick low-watt puck LEDs with external drivers.
AV/media cabinets
- Use active ventilation (quiet fans) and front/rear vent grilles to move air across equipment.
- Separate lighting drivers from A/V gear to avoid compounding heat loads.
Retail or museum displays
- Prefer thermal conduction strategies — aluminum mounting plates, discrete heat-sinking — to avoid visible vents.
- Consider intermittent operation (timers) to reduce average heat.
Design checklist and simple thermal calculations for installers
Follow a methodical checklist and use a basic heat-balance estimate to size vents or fans and predict cabinet temperature rise.
Design checklist:
- List all heat sources (LEDs, drivers, other electronics) in watts.
- Estimate cabinet internal volume (m³) and typical ambient room temperature.
- Decide acceptable internal temperature rise (ΔT) above room temp — commonly 10–20°C.
- Select mitigation (vent area or fan flow) and validate with calculation or measurement.
Quick heat-balance estimate
Use this simplified approach to estimate natural convection required or fan flow.
Step 1 — total heat load (Q): add watts from LEDs and drivers. Example: 6 puck lights × 3 W + 1 driver loss ~ 30 W.
Step 2 — desired ΔT: choose 15°C.
Step 3 — required airflow for forced convection (approximate):
Airflow (CFM) ≈ Q (W) ÷ [1.2 × ΔT (°C) × 0.0625]; (where 1.2 is air density factor and 0.0625 converts to CFM). For the 30 W example and ΔT = 15°C, airflow ≈ 30 ÷ (1.2×15×0.0625) ≈ 30 ÷ 1.125 ≈ 26.7 CFM.
This shows that a small 25–30 CFM fan can maintain the desired ΔT. For passive venting, aim for vent area to allow comparable natural flow or pair with smaller fan.
Comparing cooling strategies: effectiveness, cost, and suitability
Choosing the right approach depends on noise tolerance, cost, aesthetics, and whether you can relocate drivers.
| Strategy | Cooling Effectiveness | Cost (typical) | Noise/Visual Impact | Best Use |
|---|---|---|---|---|
| Move driver outside cabinet | High | Low–Medium (wiring effort) | None | Kitchens, cabinets with adjacent space |
| Passive vents (top/bottom) | Low–Medium | Low | Minimal (visible grilles) | Small heat loads, unobtrusive installations |
| Heat sinks / conduction plates | Medium | Low–Medium | Low (discreet) | Display cases, retrofits where airflow limited |
| Forced ventilation (small fans) | High | Medium | Low–Medium (some noise) | AV cabinets, high heat loads |
| Use higher-rated drivers / derating | Medium | Medium–High (component cost) | None | Any cabinet where electronics can’t be moved |
🔥 "We had puck lights fail within months in our bar display until we added a shallow fan. Now everything runs cool and lasts." — Home DIY forum user
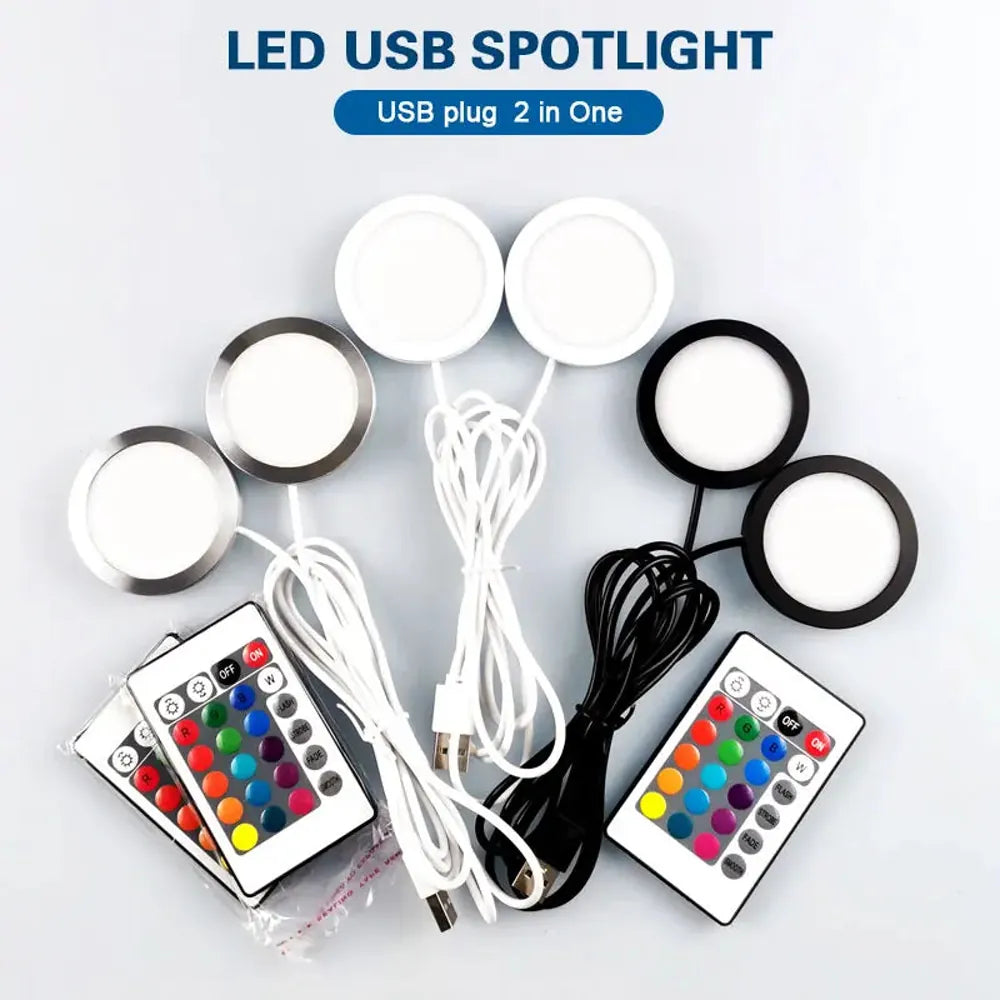
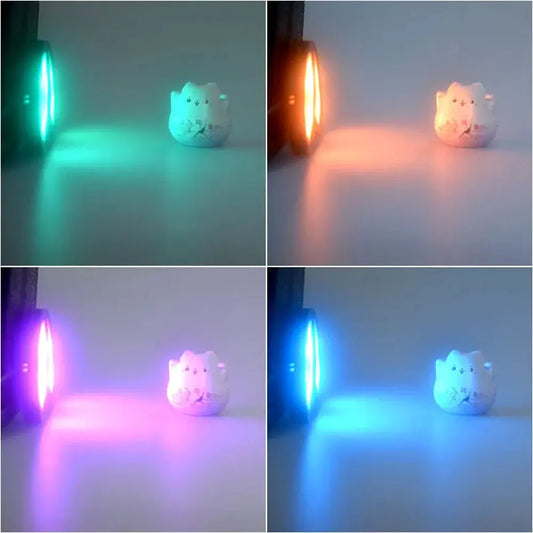
For users looking for a low-heat, low-maintenance option, minimizing additional cooling needs simplifies installation and daily use. Dual-head 2-in-1 USB RGB under cabinet LED puck lights with remote control and 16 colors generate minimal heat, making them ideal for compact or enclosed spaces where airflow is limited and quiet, safe operation is important.
Testing, maintenance, limitations, and compliance
After installation, test under real-use conditions, schedule maintenance, and be aware of product and code limits.
Testing protocol (minimum):
- Baseline: record room temp and cabinet temp with lights off.
- Run test: operate lights for 2–4 hours under normal patterns and log max internal temps.
- Inspect drivers and wiring for hot spots or discoloration.
- Re-test after any mitigation to confirm improvement.
Maintenance tasks:
- Quarterly visual checks and cleaning of vents/fans
- Annual thermal imaging scan for hidden hotspots
- Replace drivers sooner if they show signs of overheating or reduced performance
Limitations and caution:
- Opening cabinets may affect fire-rating and UL listings — consult product documentation and local code.
- Moisture in kitchens requires IP-rated components and careful fan placement.
- Some thin-profile puck lights are designed for enclosed use; always check manufacturer ratings before modifying installations.
FAQs
1. Can puck lights be used safely inside closed cabinets?
Yes—if the lights and their drivers are rated for enclosed use, internal temperatures stay within spec, and you provide adequate heat management (venting, relocating drivers, or using low-heat LEDs). Check manufacturer specifications.
2. How much does overheating shorten LED and driver life?
Higher operating temperatures accelerate lumen depreciation and electrolyte aging in driver capacitors. Conservatively, every 10°C increase in temperature can roughly halve component lifetime in many electronics — so small reductions in temperature significantly extend life.
3. Are there puck lights specifically rated for enclosed fixtures?
Yes. Search for "IC-rated" or "enclosed-rated" on product specs. These are engineered for lower heat dissipation and typically have better thermal paths. Still follow manufacturer installation guidelines.
4. Is it better to add vents or use a fan?
Vents are quieter and simpler but less effective for high heat loads. Fans provide predictable cooling and can be thermostatically controlled. Choose based on heat load, noise constraints, and aesthetics.
5. Will using LEDs instead of halogen reduce cabinet heat enough?
Generally yes. LEDs convert much less energy to heat than halogen bulbs. But drivers still produce heat; if many LEDs are used, total heat can still be significant and must be managed.
6. What are safe installation practices for wiring and drivers in cabinets?
Use appropriately rated cable, maintain separation between high-heat components and combustible surfaces, secure drivers so they can’t contact insulation, and follow NEC/local codes. When in doubt, consult a licensed electrician.
7. How do I choose a replacement driver if the original failed from heat?
Pick a driver with a higher ambient-rating (e.g., rated to 60°C), lower internal losses (higher efficiency), and, if possible, an external or remote driver location. Match voltage/current specs to the LEDs and add thermal protection (thermal cutouts or thermostats) where feasible.
8. Can smart controls or timers help reduce heat-related failures?
Yes. Timers and occupancy sensors reduce operating hours and cumulative heat load, lowering the average operating temperature and extending component life. Combine with thermal management for best results.
Conclusion
Effective heat management is essential for ensuring the longevity and safe operation of puck lights in enclosed cabinets. By considering ventilation, driver placement, wattage derating, and thermal materials, users and installers can prevent overheating, protect stored items, and maintain consistent lighting performance over time. Proper planning and maintenance reduce failure risks while maximizing both safety and reliability.
Further Reading
Explore the full guide for this topic: Puck Lights for Kitchens, Cabinets, Displays, and Specialty Applications


 />
/>
 />
/>
 />
/>
 />
/>
 />
/>