
Glare Control for Under Cabinet Lighting: Achieving Optimal Comfort and Visibility
Table of Contents
- Introduction: The Importance of Glare Control in Under Cabinet Lighting
- What is Glare and How Does it Affect Under Cabinet Lighting?
- How to Identify Glare Issues in Your Current Under Cabinet Lighting Setup
- Choosing the Right Fixtures to Minimize Glare
- Proper Placement of Lights to Reduce Glare
- Using Diffusers and Frosted Covers to Soften Light and Control Glare
- The Role of Dimmable Lighting in Reducing Glare
- Practical Tips for Maintaining Glare-Free Lighting
- FAQs
- Conclusion: Achieving Comfort and Clarity with Proper Glare Control
Introduction: The Importance of Glare Control in Under Cabinet Lighting
Glare control protects comfort and clarity at the counter. With the right optics, placement, and dimming, light looks soft, labels stay readable, and eyes feel relaxed.
Under cabinet fixtures sit close to work surfaces; without control, harsh points and backsplash streaks cause eye strain. Managing optics and angles keeps light useful and calming. See program context at ENERGY STAR — Lighting.
What is Glare and How Does it Affect Under Cabinet Lighting?
Glare is visual discomfort from excessive luminance or contrast. In kitchens, exposed LED points and reflected streaks reduce task visibility and increase effort.
Types and causes
- Direct glare: visible LED points or bare optics in the line of sight.
- Reflected glare: bright streaks bouncing off glossy backsplashes or stone.
- Root causes: rear placement, narrow beams, high output without diffusion, mixed angles.
Impact on tasks
- Hard edges on shiny surfaces make text and knife edges harder to see.
- Eye fatigue increases with high contrast between bright sources and dark surroundings.
- Users dim too low to escape discomfort, undermining task clarity.
🙂 “After moving our bars forward and switching to frosted lenses, the backsplash glare disappeared. We can chop and read labels comfortably—even at brighter settings.”
For safety and visual ergonomics in lighting, see OSHA — Electrical Safety.
How to Identify Glare Issues in Your Current Under Cabinet Lighting Setup
Detect glare by observing reflections and eye comfort in typical scenes. Simple tests reveal hotspots, streaks, and unstable dimming behavior.
Quick diagnostics
- Turn off overheads and stand at typical prep spots; scan for bright dots or streaks.
- Place white paper on the counter; note specular reflections or hard-edged hotspots.
- Dim to low levels; watch for flicker and harsh contrast at night.
- Photograph backsplash and counter from eye height to capture glare patterns.
Decision rules
- Visible LED points at eye height → add diffusion or conceal optics.
- Backsplash streaks → move fixtures forward and widen beam or tilt slightly.
- Harsh contrast at night → lower output and unify color temperature across layers.
Choosing the Right Fixtures to Minimize Glare
Pick fixtures with diffused optics and stable dimming. Linear bars in frosted channels outperform narrow spot sources for uniform comfort.
Fixture comparison (glare control)
| Fixture Type | Glare Reduction | Spread | Best Use | Notes |
|---|---|---|---|---|
| Linear bars (frosted lens) | High | Wide, uniform | Main runs | Conceals points; pairs well with dimming |
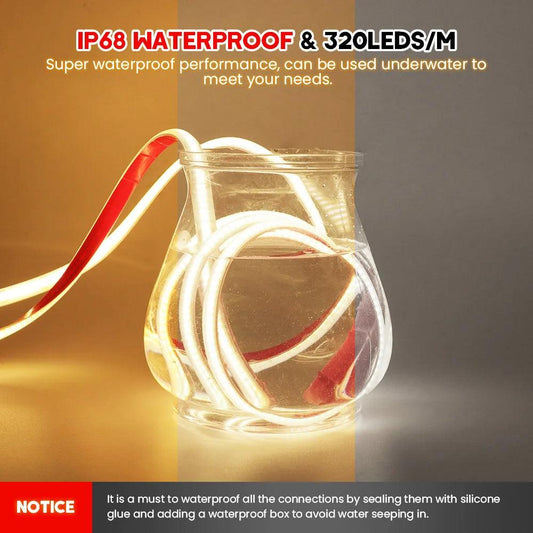
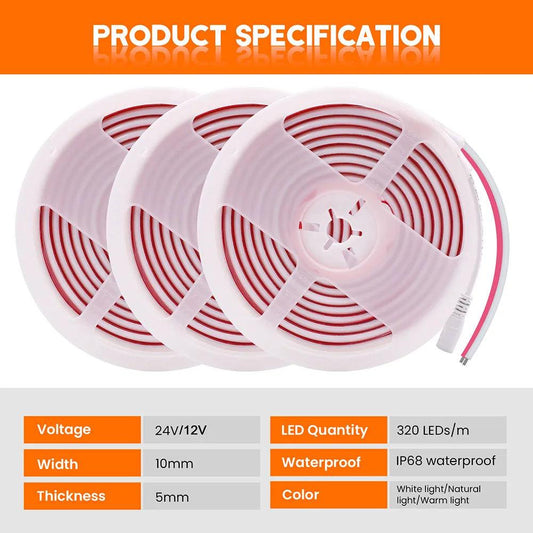
| LED strips + opal channel | High | Wide, configurable | Custom lengths | Deeper channel improves diffusion |
| Puck lights | Moderate | Narrow spots | Accents | Use carefully; add diffusion and lower output |
| Exposed strips (no lens) | Low | Varies | Utility | Prone to point-source sparkle; add lens |
Selection checklist
- Prefer frosted/opal optics that hide LED points.
- Choose high CRI (≥ 90) to retain clarity at lower output levels.
- Ensure dimmer/driver compatibility for flicker-free low-end control.
💡 Lumaz led light bars lights prioritize comfort. Diffused optics, forward placement, and matched dimming make counters bright without the glare—clear for prep, gentle for evenings.
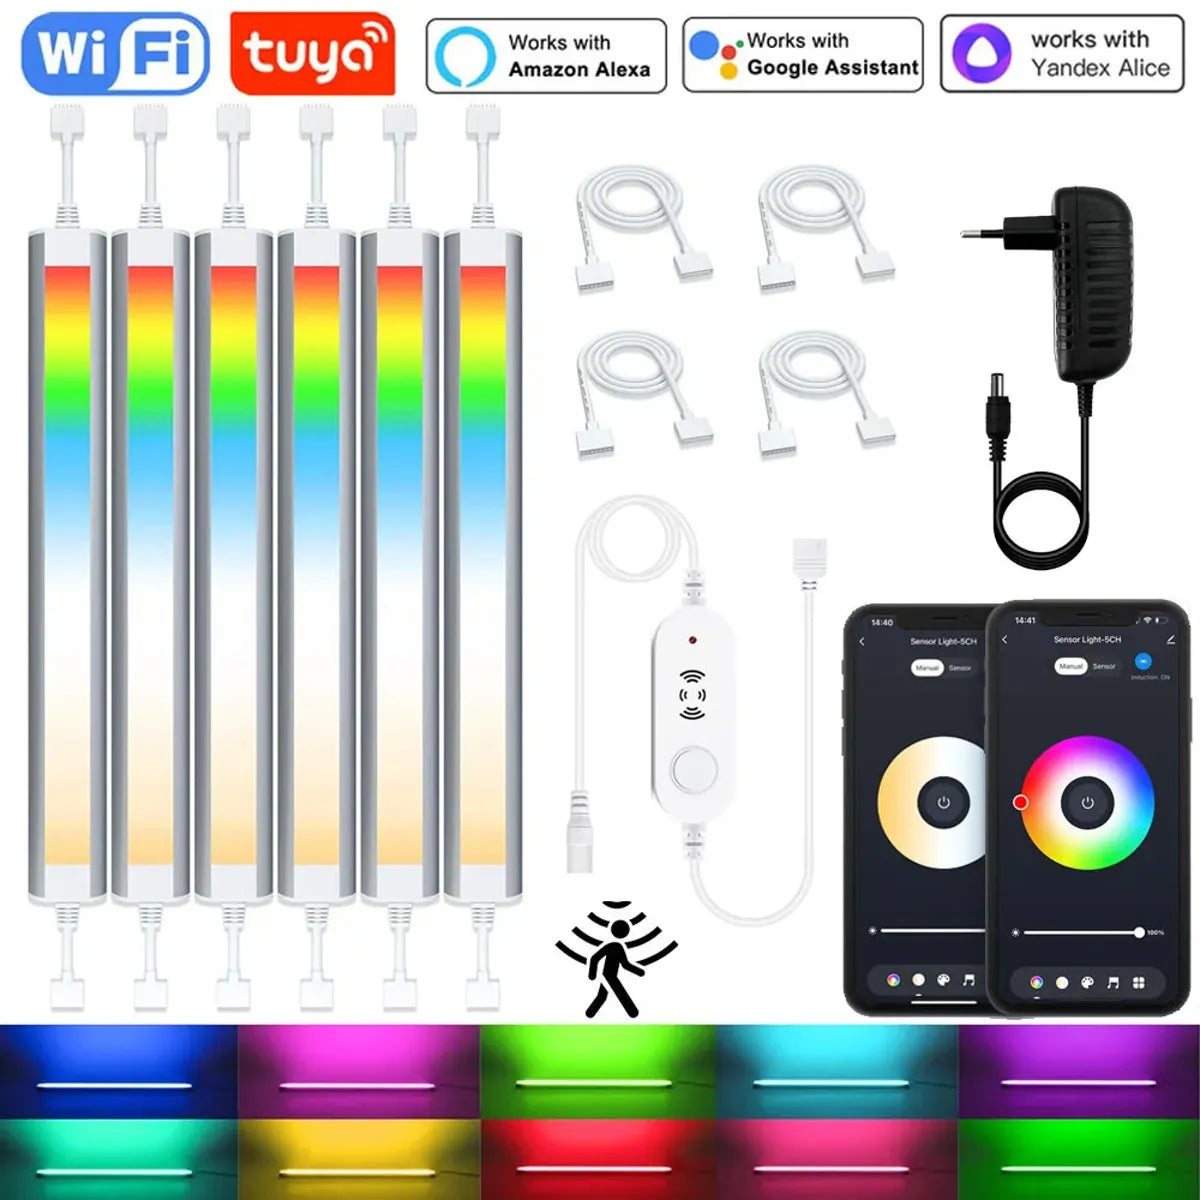
To minimize glare and ensure comfortable, even lighting, the 12V Tuya WiFi Under Cabinet LED Light Bar offers a smooth, diffused light with adjustable brightness. Its motion sensor allows the light to automatically adjust based on your presence, providing consistent illumination without harsh spots, making it a practical option for spaces like kitchens and offices.
Proper Placement of Lights to Reduce Glare
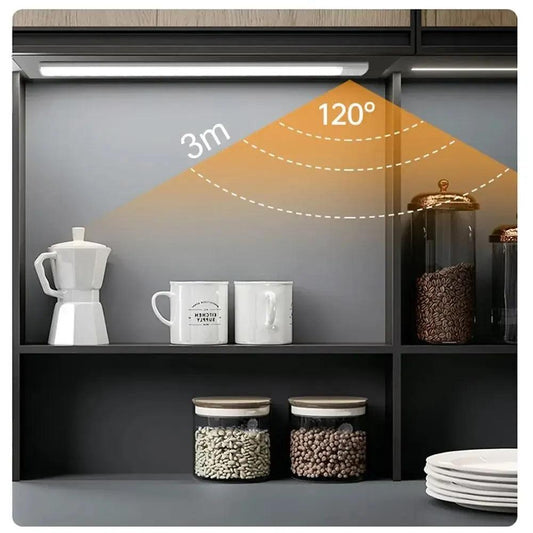
Placement governs glare. Front setback and shallow tilt aim light onto the work zone, reducing backsplash streaks and point-source visibility.
Numeric rules of thumb
- Front setback: 1–2 inches behind the cabinet’s front lip.
- Uniformity: avoid diffuser gaps over 1 inch across the run.
- Beam angle: favor 90–120° on glossy stone; narrower beams suit matte finishes.
Layout patterns
- Run continuous segments; bridge sinks and corner returns with short bars.
- Aim slightly forward to reduce backsplash highlights.
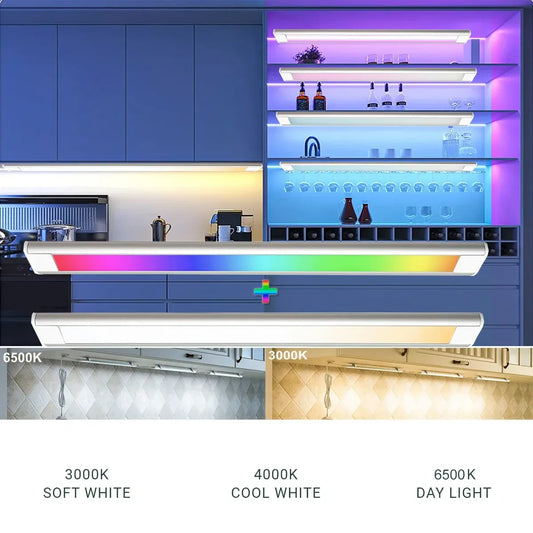
- Unify color temperature per layer to avoid “two‑tone” whites.
Using Diffusers and Frosted Covers to Soften Light and Control Glare
Diffusers scatter light to hide points and soften reflections. The right lens converts bright LEDs into smooth layers that feel comfortable yet clear.
Diffuser types
- Frosted lens: good all-around glare reduction; simple retrofit.
- Opal channel: deeper cavities for strong diffusion; premium look.
- Micro‑prismatic: balances forward throw with controlled luminance.
Pairing rules
- Glossy surfaces → opal or frosted lens with wider beam.
- Matte surfaces → frosted lens; moderate beam works well.
- Front placement + diffusion → fewer specular highlights and hotspots.
The Role of Dimmable Lighting in Reducing Glare
Dimming lowers source luminance and contrast at night. Stable low-end control prevents flicker and color shift, keeping scenes comfortable.
Controls and commissioning
- Match dimmer and driver types (TRIAC, ELV, 0–10V) for smooth curves.
- Set evening presets with lower output and warmer tone (e.g., 3000–3500K).
- Verify minimum levels; raise low-end if shimmer or strobing occurs.
For installation safety context, review OSHA — Electrical Safety.
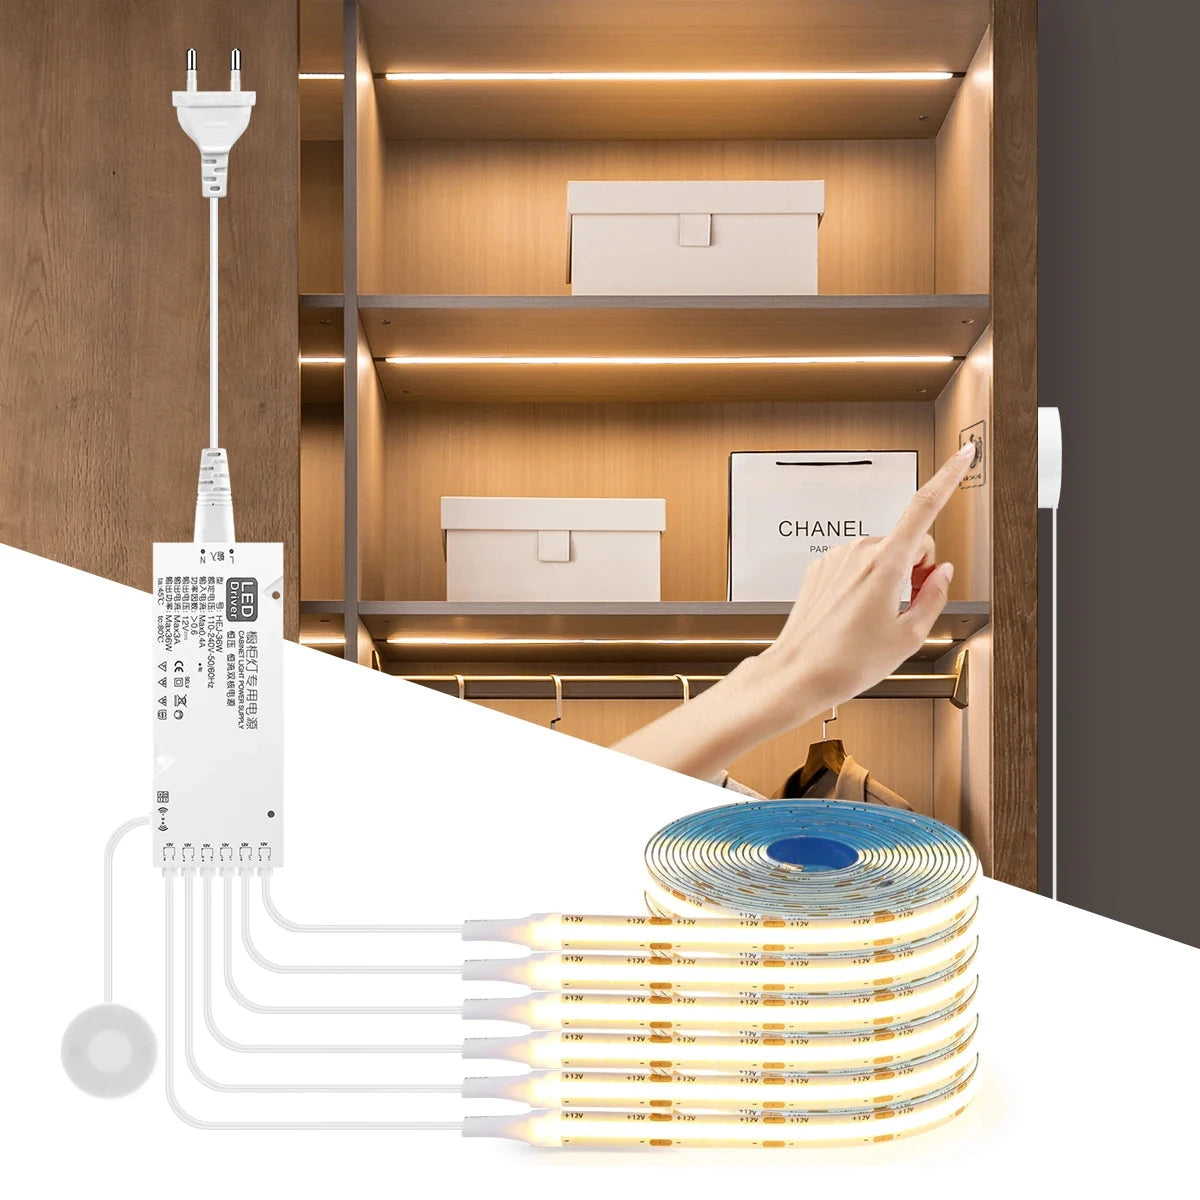
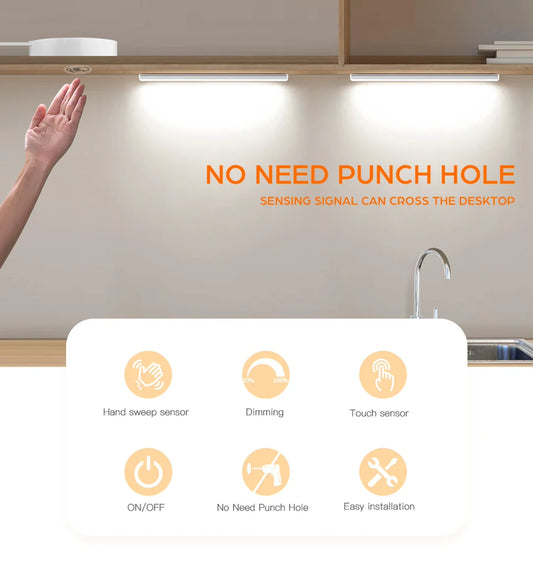
For a smoother lighting experience, the Through-Wood Touch Sensor COB LED Strip Light with stepless dimming allows you to adjust the brightness seamlessly. This ensures that lighting remains soft and comfortable, with no flickering or color shift, ideal for creating a relaxed atmosphere in the kitchen or living areas.
Practical Tips for Maintaining Glare-Free Lighting
Maintenance preserves comfort. Small adjustments and regular cleaning sustain diffusion and keep angles consistent.
Maintenance checklist
- Clean lenses and channels quarterly; dust increases sparkle and streaks.
- Recheck front setback after remodels; maintain 1–2 inch placement.
- Unify scenes across layers; keep task vs ambient ratios near 2:1–3:1.
- Replace aging drivers or mismatched dimmers to eliminate flicker.
Troubleshooting
- Hotspots on stone → add diffusion or widen beam; lower output slightly.
- Backsplash glare → tilt forward and move fixtures nearer the front.
- Mixed color temperatures → standardize CCT per layer for visual harmony.
FAQs
Does glare mean I should always dim my lights?
No. First fix optics and placement. Use diffusion and forward setback, then dim to taste for nighttime scenes.
How do I reduce glare on glossy stone without moving fixtures?
Add an opal channel or frosted lens, lower output slightly, and angle beams forward to minimize reflections.
Are puck lights bad for glare?
Pucks can create hotspots if placed poorly. Space evenly, add diffusion, and keep output moderate for accents.
What color temperature helps with evening comfort?
Warm to neutral (≈ 3000–3500K) reduces harsh contrast at low levels while retaining clarity for routine tasks.
How do I know if flicker is causing discomfort?
At low dim levels, watch for shimmer or eye strain. Match dimmer/driver types and raise minimum levels if needed.
Conclusion: Achieving Comfort and Clarity with Proper Glare Control
Glare control blends optics, placement, and dimming. Diffused, forward-set fixtures make counters clear and evenings comfortable.
Action checklist
- Move fixtures 1–2 inches behind the front lip; aim slightly forward.
- Add frosted or opal diffusion to conceal LED points.
- Set day and night presets; test low-end for flicker-free comfort.
- Verify comfort with a quick photo check; adjust angles or output.
Further Reading
Explore the full guide for this topic: Light Quality for Under Cabinet Lighting: Color, Brightness & Comfort


 />
/>
 />
/>
 />
/>
 />
/>
 />
/>