
How to Set Up Smart Dimming for Under Cabinet Lighting: Enhance Comfort and Flexibility
Table of Contents
- Introduction: The Importance of Smart Dimming in Under Cabinet Lighting
- Understanding the Basics of Smart Dimming Technology
- Choosing the Right Smart Dimmer for Under Cabinet Lighting
- Step-by-Step Guide to Setting Up Smart Dimming for Your Under Cabinet Lights
- Adjusting Brightness Levels for Different Activities and Times of Day
- Creating and Customizing Lighting Scenes for Different Environments
- Integrating Smart Dimming with Voice Control and Other Smart Devices
- Maintaining and Troubleshooting Smart Dimming Systems
- The Future of Smart Dimming: Innovations and Trends
- Frequently Asked Questions (FAQs)
- Conclusion: Why Smart Dimming is Essential for Modern Under Cabinet Lighting
Introduction: The Importance of Smart Dimming in Under Cabinet Lighting
Smart dimming adapts brightness to time and task, delivering comfort and clarity. Under‑cabinet runs benefit from smooth low‑end control and quick scene changes for daily routines.
Target roughly 30–50 footcandles for prep and 5–15 fc for evening guidance; keep color temperature consistent per layer to avoid uneven whites.
Understanding the Basics of Smart Dimming Technology
Smart dimming combines drivers, dimmers, and controllers over Wi‑Fi, Zigbee, Thread/Matter, or Bluetooth. Energy‑efficient dimming reduces runtime when paired with occupancy and scheduling, as noted in ENERGY STAR lighting guidance.
Control and protocol options
- Wi‑Fi: broad app support; cloud features optional.
- Zigbee/Z‑Wave: local mesh; rich sensor integrations via hubs.
- Thread/Matter: cross‑brand interoperability with local control.
- Bluetooth: simple pairing; limited range and automation depth.
Driver technologies
- TRIAC: line‑voltage dimming; verify LED driver support.
- ELV: smoother low‑end for many LEDs; check driver specs.
- 0–10V: wide range control; requires low‑voltage wiring.
- PWM/constant‑voltage controllers: for 12/24V strips and bars.
Low‑end stability and flicker perception are discussed by the RPI Lighting Research Center, guiding commissioning and comfort choices.
Choosing the Right Smart Dimmer for Under Cabinet Lighting
Select dimmers by driver type, scene requirements, and local reliability. Keep one control technology per run and verify low‑end behavior before finalizing.
Dimmer technology comparison
| Dimmer Tech | Driver Match | Low‑End Behavior | Install Complexity | Best Use |
|---|---|---|---|---|
| TRIAC | Line‑voltage LED drivers | Varies; test minimum | Medium | Retrofit wall control |
| ELV | ELV‑compatible drivers | Smoother low‑end | Medium | Premium dimming feel |
| 0–10V | 0–10V drivers | Wide range, precise | Higher (extra wiring) | Long runs, fine tuning |
| PWM inline | 12/24V strips/bars | Stable if matched | Low | Cabinet‑local control |
| Smart module | Varies by ecosystem | Scene‑based | Medium | Voice/app + local |
Selection checklist
- Map dimmer to driver type (TRIAC/ELV/0–10V/PWM).
- Confirm low‑end trim without shimmer or color shift.
- Prefer platforms exposing scenes and brightness locally.
Compatibility expectations are outlined in NEMA SSL guidance, useful when pairing dimmers and LED drivers.
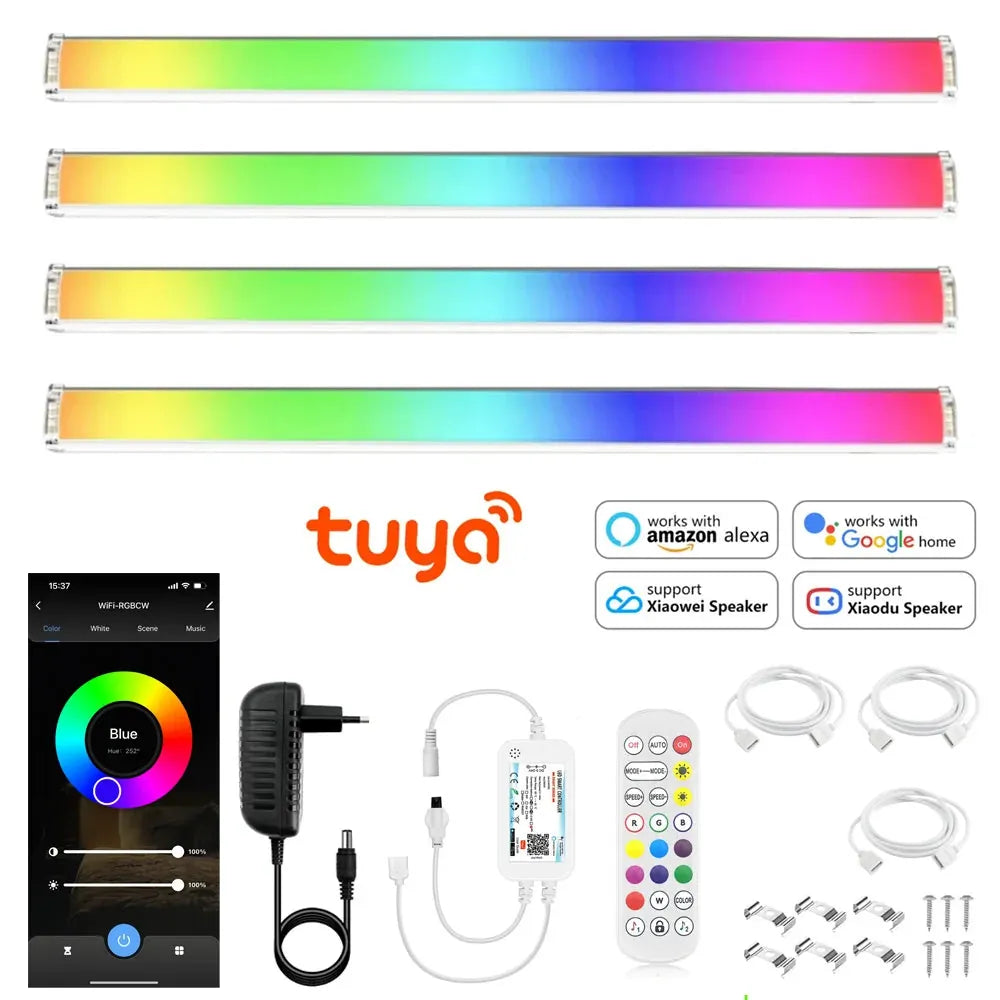
When selecting a smart dimmer for under cabinet lighting, consider factors like the driver type, scene requirements, and local reliability. For adaptable lighting needs, the 12V Tuya WiFi RGB Under Cabinet LED Light Bar with app and voice control offers seamless dimming adjustments, ensuring smooth transitions between brightness levels. Its compatibility with different control technologies allows for easy integration into your existing setup while enhancing functionality for various tasks.
Step-by-Step Guide to Setting Up Smart Dimming for Your Under Cabinet Lights
Setup connects hardware, names scenes, and verifies low‑end behavior. Work methodically and test each zone before daily use.
Hardware and pairing
- Install driver and matched dimmer/controller; verify voltage and listings.
- Pair devices to the platform app; group fixtures by zones (Prep, Sink, Path).
- Enable local control where available; add optional cloud features.
Scene creation
- Create Prep, Evening, and Night scenes with target brightness and tone.
- Align schedules with routine or sunrise/sunset.
- Test minimum levels for flicker and color stability.
Verification
- Run quick checks in quiet and noisy conditions.
- Validate response time from control to steady output.
- Document wattage, lengths, and presets for future tuning.
🙂 “We set Prep at neutral brightness and Night at a gentle low‑end. Cooking feels crisp; evenings are calm—no glare, no tapping around.”
Adjusting Brightness Levels for Different Activities and Times of Day
Brightness should flex with life. Use presets to keep counters clear and comfortable, from morning prep to night guidance.
Preset targets
- Prep: neutral brightness for task clarity.
- Evening: warm, low output for calm meals.
- Night: very low guidance near sinks and paths.
Comfort rules
- Keep one color temperature per layer to avoid two‑tone whites.
- Use diffusers and front placement to reduce glare.
- Verify low‑end stability across cable lengths and loads.
Creating and Customizing Lighting Scenes for Different Environments
Scenes coordinate brightness and tone across layers. Make names short and distinct for easy recall and consistent voice recognition.
Scene design
- Maintain task:ambient ratios around 2:1–3:1 for clarity.
- Limit scene count to essential presets to reduce complexity.
- Group fixtures logically by zone instead of brand.
Example schedules
- Morning: neutral Prep scene on wake‑up.
- Evening: warm low‑glare scene after sunset.
- Night: motion‑linked, very low guidance.
💡 Lumaz champions calm, adaptive light—stable low‑end dimming, clear scene naming, and thoughtful placement so every counter feels bright when needed and soothing when not.
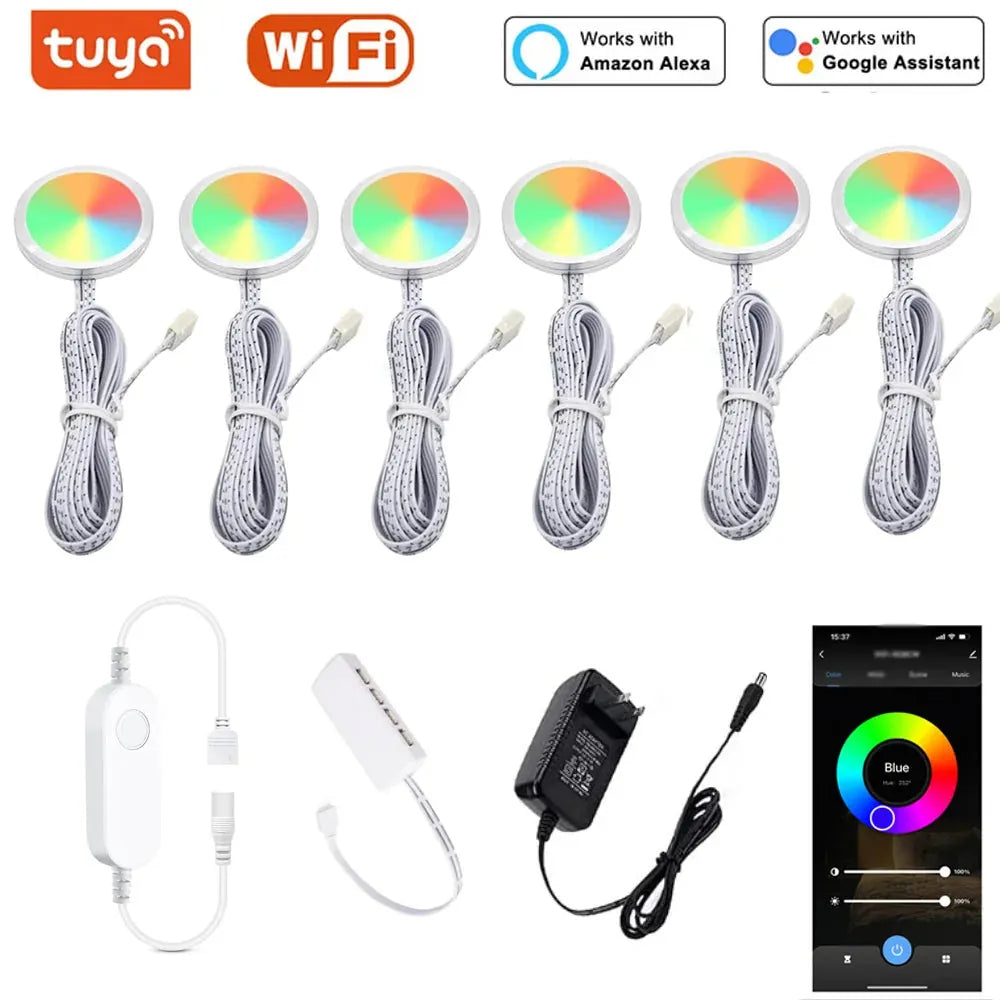
Creating customized lighting scenes allows you to set the perfect ambiance for different environments, from workspaces to relaxation zones. With the Tuya WiFi RGB Under Cabinet LED Puck Lights, you can easily adjust brightness and color tones through both the app and voice control, ensuring each scene is tailored to your needs. By naming your scenes clearly, you can quickly switch between them, whether you’re preparing a meal or enjoying a quiet evening.
Integrating Smart Dimming with Voice Control and Other Smart Devices
Voice and sensors make scenes effortless. Favor local logic for fast response and use ambient inputs to prevent daytime over‑lighting.
Voice and triggers
- Use short, distinct scene names for reliable commands.
- Let manual scenes override schedules temporarily.
- Pair motion/presence with low evening output for comfort.
Integration tips
- Enable Matter/Thread or hub logic to unify brands.
- Test sensor thresholds (pets, reflections) and adjust.
- Keep a physical dimmer as fail‑safe during outages.
Maintaining and Troubleshooting Smart Dimming Systems
Most issues involve naming, network, or dimmer/driver mismatch. Diagnose methodically and retest under different conditions.
Common issues and fixes
- Flicker at low brightness: raise minimum; confirm driver/dimmer match.
- Slow response: favor local automations; improve mesh/Wi‑Fi placement.
- Inconsistent scenes: rename to distinct phrases; document presets.
Maintenance
- Schedule firmware updates during low‑use windows.
- Retest scenes and thresholds after updates.
- Log runtime and adjust schedules to trim idle hours.
The Future of Smart Dimming: Innovations and Trends
Expect faster local scenes, richer context, and broader interoperability. Standards continue to improve device coordination and reliability.
Emerging directions
- Wider Matter adoption for cross‑brand scenes.
- On‑device control reducing cloud dependency.
- Context‑aware presets considering time and ambient light.
Frequently Asked Questions (FAQs)
How do I avoid flicker at low brightness?
Match dimmer and driver technology and set a higher minimum if shimmer appears; confirm color stability after adjustments.
Can smart dimming work offline?
Yes. Use platforms and hubs that support local control; keep a physical dimmer as a reliable fallback.
What presets should I start with?
Prep, Evening, and Night cover most needs; tune levels and tone per space.
Do I need a hub for smart dimming?
Not always. Hubs improve local scenes and sensor integration; Matter/Thread can unify devices across brands.
Conclusion: Why Smart Dimming is Essential for Modern Under Cabinet Lighting
Smart dimming keeps counters comfortable and responsive. With matched drivers, tuned low‑end, and clear scenes, lighting adapts gracefully to daily life.
Action checklist
- Map dimmer to driver type; verify low‑end stability.
- Name short, distinct scenes and align schedules.
- Favor local logic; add sensors for efficient guidance.
Further Reading
Explore the full guide for this topic: Complete Guide to Smart Under Cabinet Lighting: Controls, Sensors & Automation
Related Articles
- Integrating Under-Cabinet Lights with Home Automation Platforms: Hue, HomeKit, Alexa, Zigbee, and Z-Wave
- How Motion Sensors Transform Under Cabinet Lighting
- Voice Control for Under Cabinet Lighting: Integration with Smart Assistants
- Remote Control for Under Cabinet Lighting: Using Apps and Smart Devices


 />
/>
 />
/>
 />
/>
 />
/>
 />
/>